
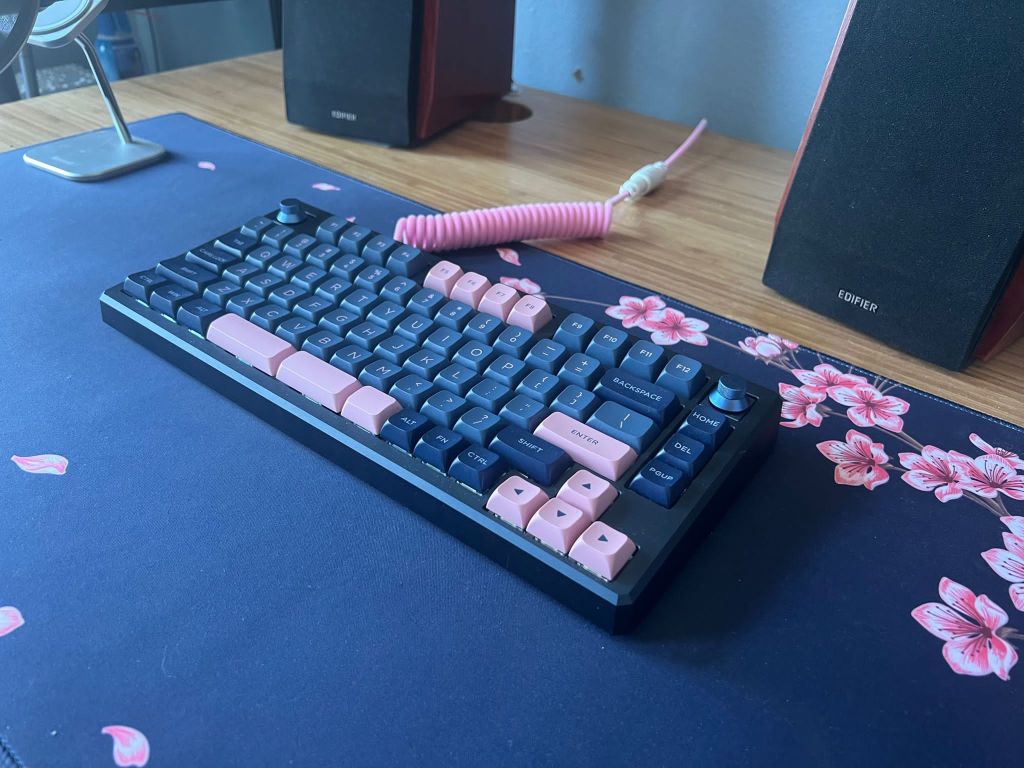
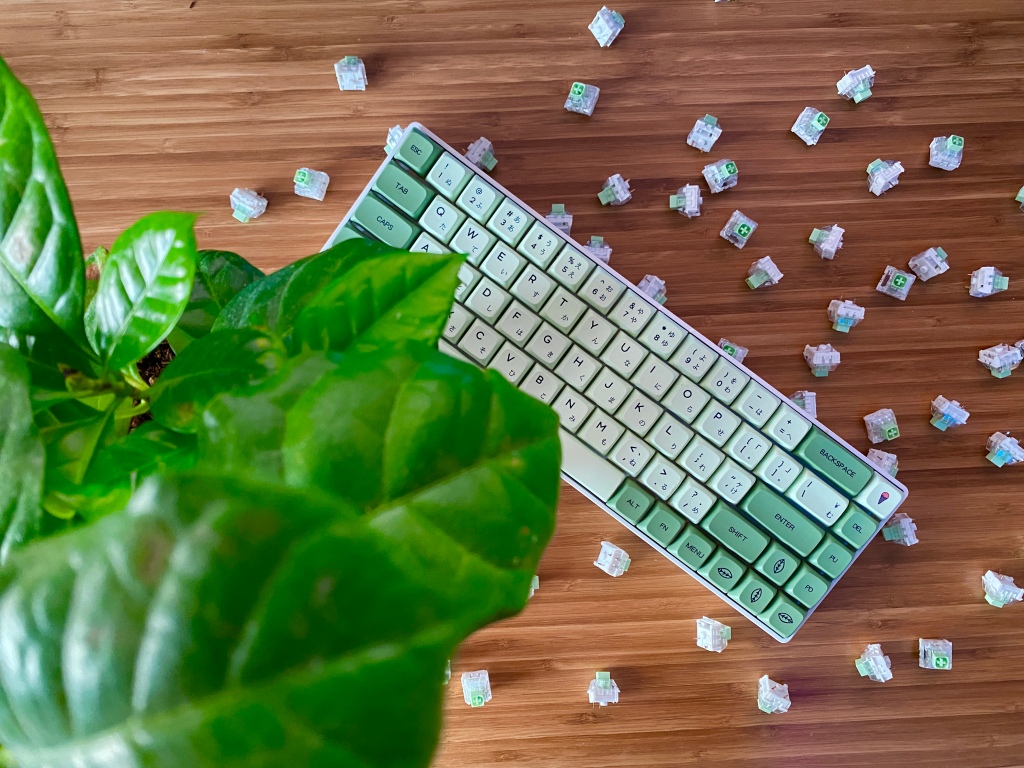
Skyloong has a reputation for making strong valued keyboards that provide a good medium between gaming keyboards and going fully custom. Skyloong’s GK75 Aluminum Kit allows you to get a keyboard that is well made and sounds good with only ten minutes of actual build time.
The Skyloong GK75 is a 75% mechanical keyboard that you can find either as a prebuilt or kit. The GK75 is feature-packed and offers a lot of flexibility.
If the Skyloong GK75 sounds like an interesting board for you keep reading to find out more.
The Verdict
The Skyloong GK75 is a great-value keyboard that gives buyers an opportunity to experiment with the mechanical keyboard hobby without too much risk or difficulty. With a hotswap PCB, preassembled case, installed foam, and prelubed stabs, the GK75 just needs switches and keycaps.
Additionally, the aluminum build, knobs, MacOS support, vibrant backlighting, and optional wireless connectivity are all great features that add to the experience.
Unfortunately, the Skyloong GK75 uses north-facing sockets on its PCB, preventing the use of cherry profile switches keycaps. This is paired with dated software and plate mount stabilizers. At this price point, those are downsides that most competitors don’t have.
That being said if you like the knobs on this board and the GK75’s high-quality design then it is a solid option. Ultimately Skyloong gives the buyer an easy-to-use package. It requires minimal if any modding to make the board sound good and comes with plenty of extras in the box.
If you want a number of features and the GK75 design is enticing then it may be the board for you. Plus if you don’t plan to use cherry profile keycaps then you may find the GK75 does not have any major issues.
In The Box
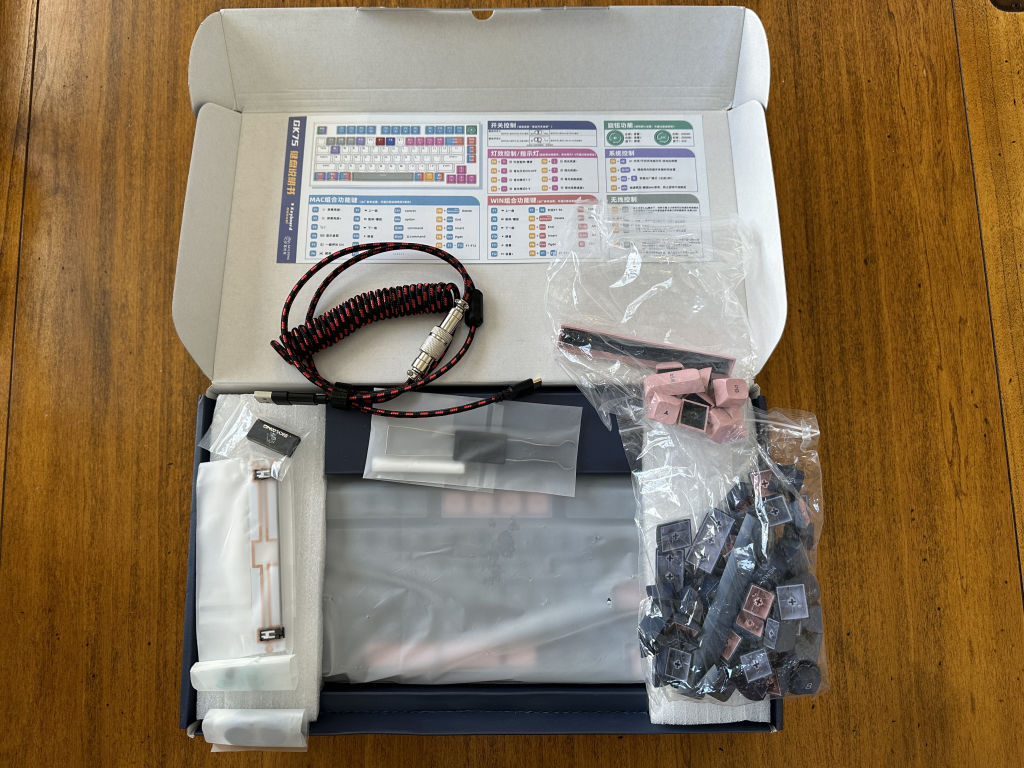
Opening the box you will find the GK75 with a plastic cover over it. Additionally, there are a variety of accessories.
Coiled USB-C Cable: There is a pretty decent quality braided and coiled cable. It features an aviator and comes with a black and red colorway that doesn’t really match the theme of the keyboard. At the end is an adapter already plugged in to make it support USB-A but you can remove this for a USB-C to USB-C connection.
Keycap and Switch Puller: This comes as a switch and keycap puller in one. Usually, I find these a bit harder to use than a dedicated one for each purpose but this one does the job.
USB-A to USB-C Adapter: Whether you want to use the GK75 with a laptop or computer you should have no issues with connectivity with this adapter. That being said you probably won’t need this adapter as there is already an adapter on the cable that you can remove.
CNC Aluminum Knobs: You get 4 high-quality CNC aluminum knobs in the box that you can add to the board as you wish.
Split Spacebar Module: If you would like to use the GK75 with a split spacebar then you can. This way you can have 3 buttons instead of just one where the spacebar is. The stabilizers here will already be lubed and ready to go.
2.4 Ghz Dongle: If you opt to get the wireless version of the board then it will come with a 2.4 Ghz dingle in a slot at the bottom of the board.
Extra Parts: In case you ever need them, Skyloong includes some extra screws, standoffs, and silicone washers. This is really nice to see if you ever lose a part or are further modding your keyboard.
Documentation: You get a manual about the board that comes in what appears to be Mandarin Chinese, along with some information about Skyloong.
In my prebuilt copy, I got a few other accessories. These should come with the GK75 kits.
Extra Keycaps: I got all the remaining keycaps that would have been in a set. Skyloong lets you get all the keycaps that you don’t use with your board in case you want to use the keycaps with another board or want to try using different switches.
Extra Switches: Additionally you will have about six switches that match whatever you get in your board. This is helpful if you ever bend a pin or want to replace a knob with a switch.
Note that if you choose to get a prebuilt then the extras that you get may include different keycaps as Skyloong sells many different versions of the GK75.
Overall all the extras inside the box are really nice to see. Few companies match this experience and it is helpful as you don’t need to buy any extras.
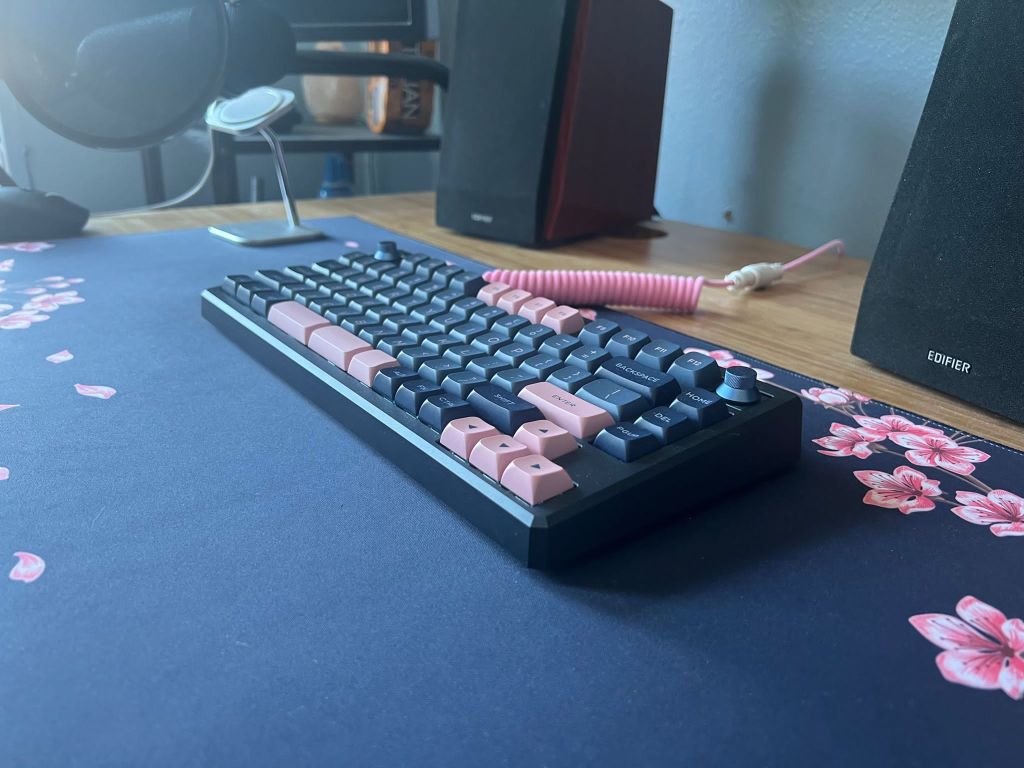
Build Quality
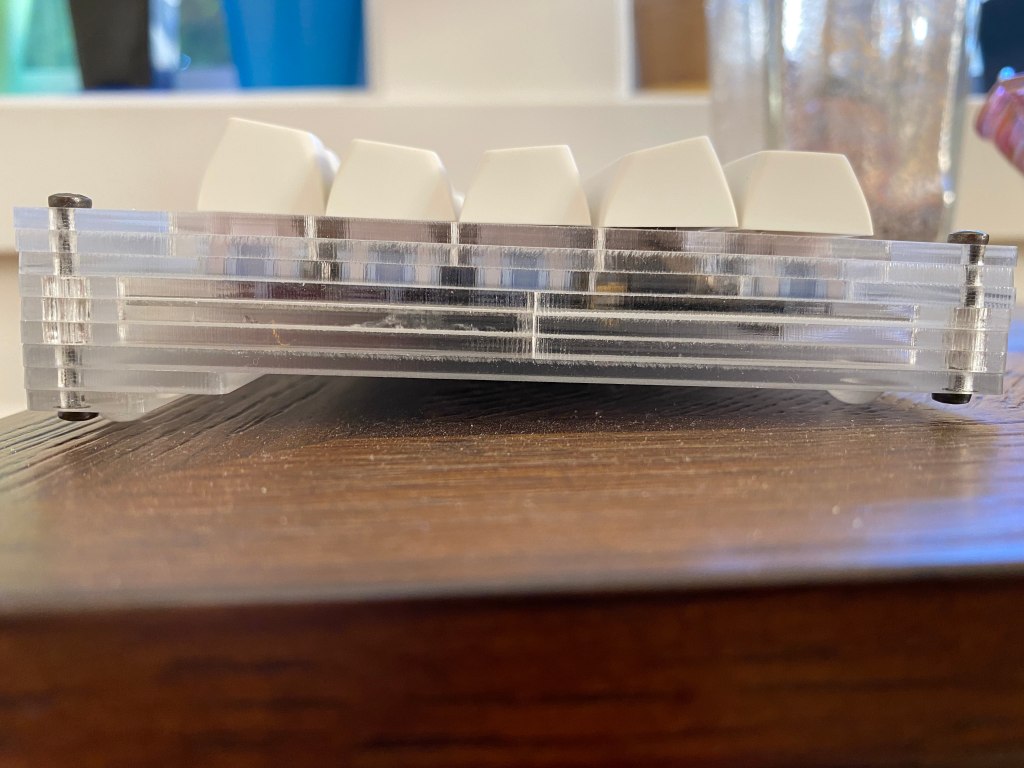
The main element that makes the GK75 Aluminum Kit an upgrade over the standard GK75 is the build quality. For $100 more you get an upgraded aluminum case that feels heftier. It comes in at about 1.2 Kg or 2.65 lbs. The aluminum kit comes in either a medium grey or a dark blue color.
Although the stock angle of the board is quite comfortable, there are two additional levels of flip-out feet. These are made of plastic, as is the rest of the bottom of the board. All the major touchpoints like the top case and the knobs are still aluminum though.
You get a left-mounted USB-C port that is quite deep in the board. This is paired with routing channels through the left, center, and right parts of the front of the board. Personally, I find that cable routing channels don’t actually do that much for cable management and just add more hassle. Next to this USB-C port is a spot for the USB dongle.
When buying the kit you get your choice of either a polycarbonate or fiberglass (FR4) plate. Both materials are on the softer side compared to materials like brass or aluminum. I personally went with the FR4 plate for a slightly firmer and muted sound but many people prefer polycarbonate for a flexible and thocky typing experience.
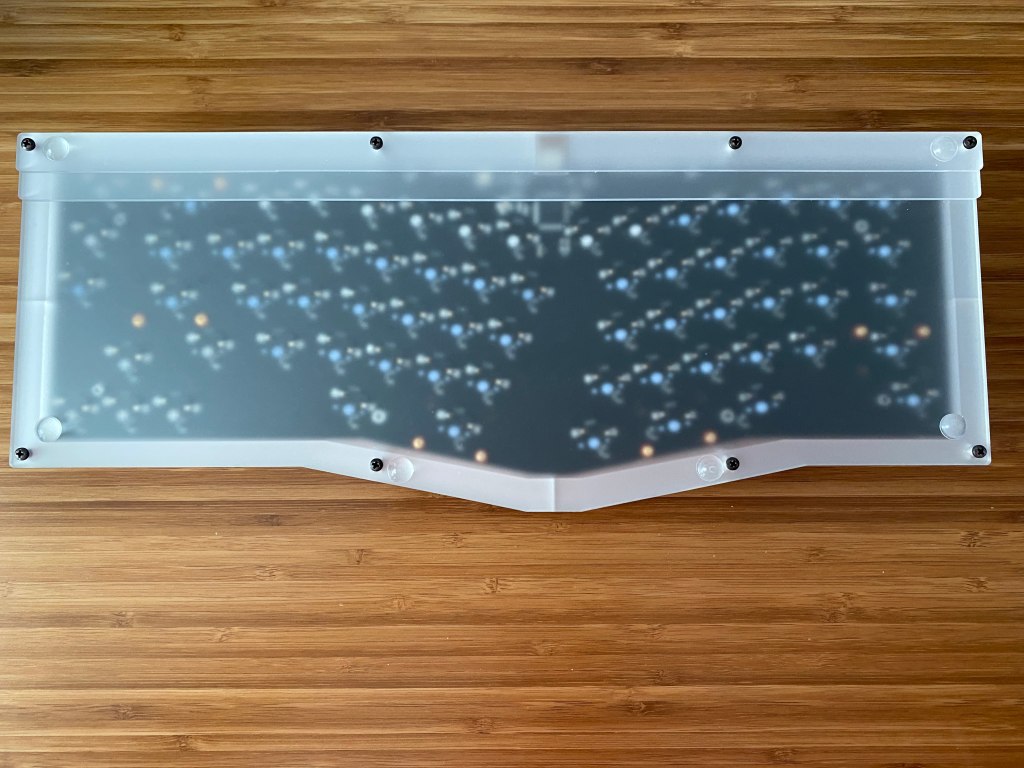
The plate uses a gasket mount structure similar to that of the KBDFans KBD67 Lite. The mount is integrated into the silicone dampening between the plate and the PCB. This offers a deeper and softer typing experience that has made the gasket mounting system popular. However, this form of gasket mount won’t be extremely soft and will still provide a decent layer of firmness because the silicone dampening limits the amount of possible flex in the PCB and plate.
Generally, Skyloong makes well-made products and the GK75 is no different. The build quality of the GK75 Aluminum Kit matches up with other boards at its price point.
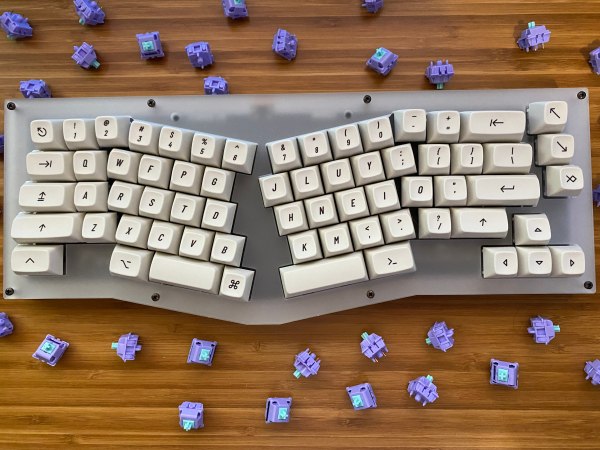
The Build Experience
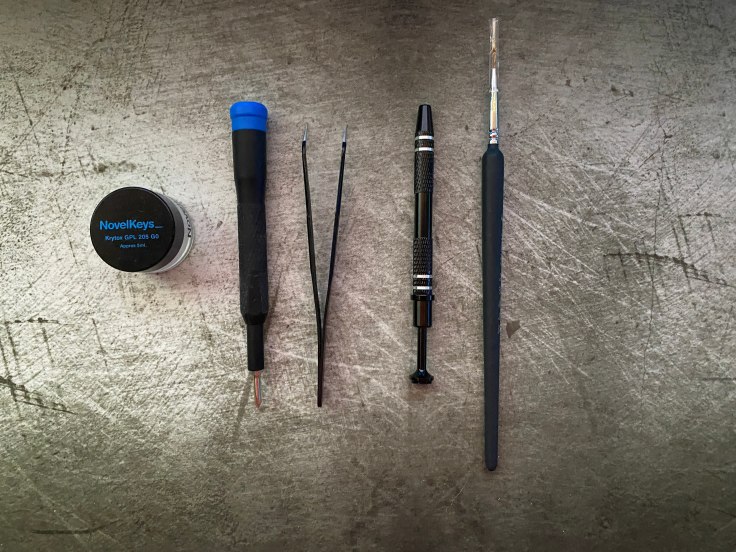
As with all keyboard kits we like to discuss the build experience. Typically when building a keyboard it is nice to have a guide but luckily the GK75 kit is so easy to build with, so you don’t even need a guide.
The case, PCB, plate, and stabilizers are already assembled in the board. Additionally, the already lubed stabs mean you don’t need to open up the board if you don’t want to. You just need to throw in some switches and put on your choice of keycaps. The GK75 Kit can be assembled in about 15 minutes or less.
The best part about the build experience for the GK75 is that it is easy to work with and that sounds good out of the box. This is especially nice for those who are new to keyboards.
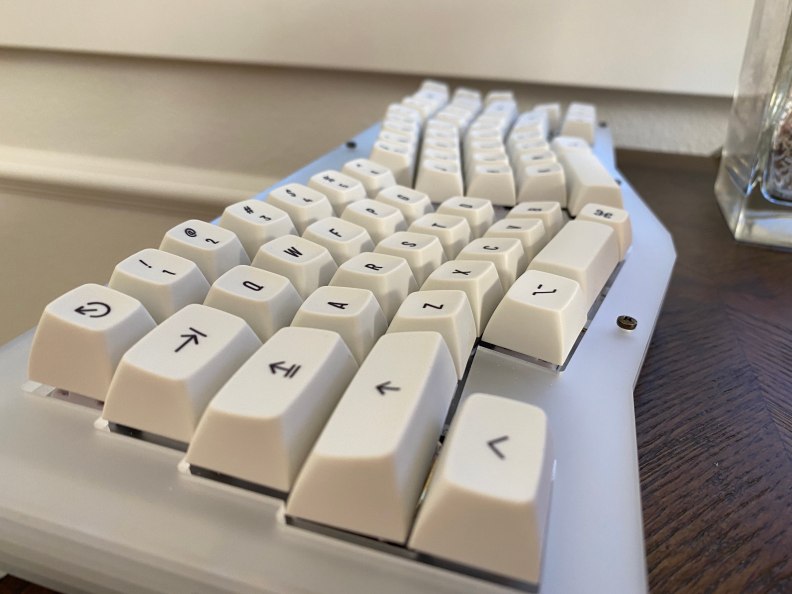
The Keycaps
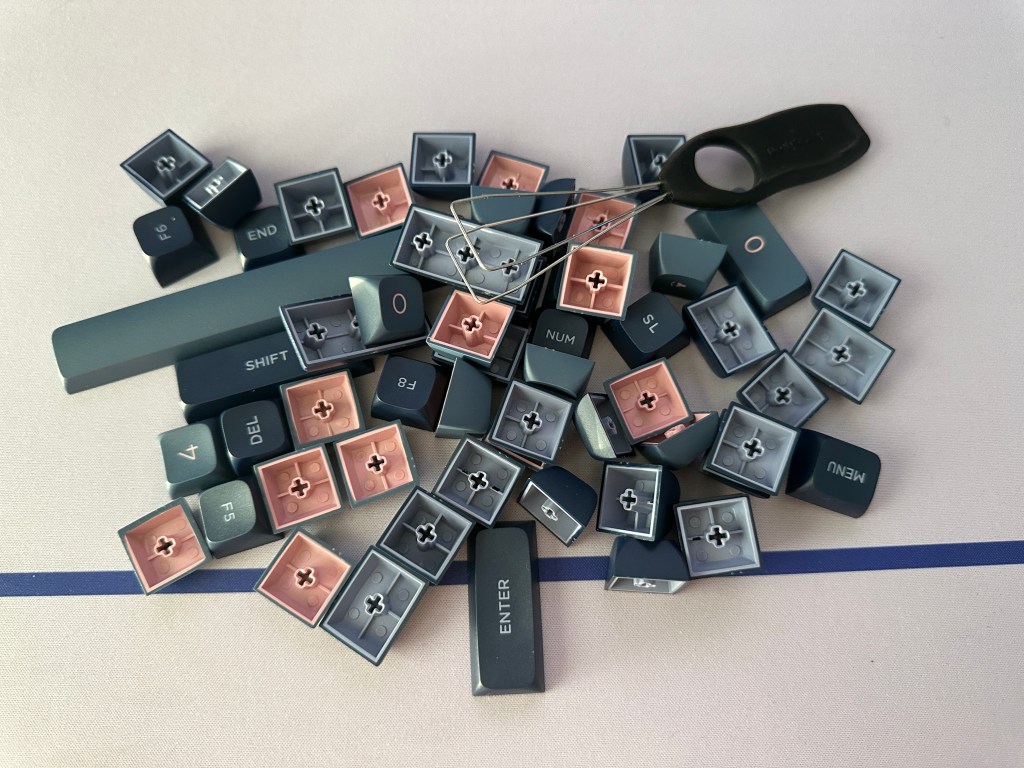
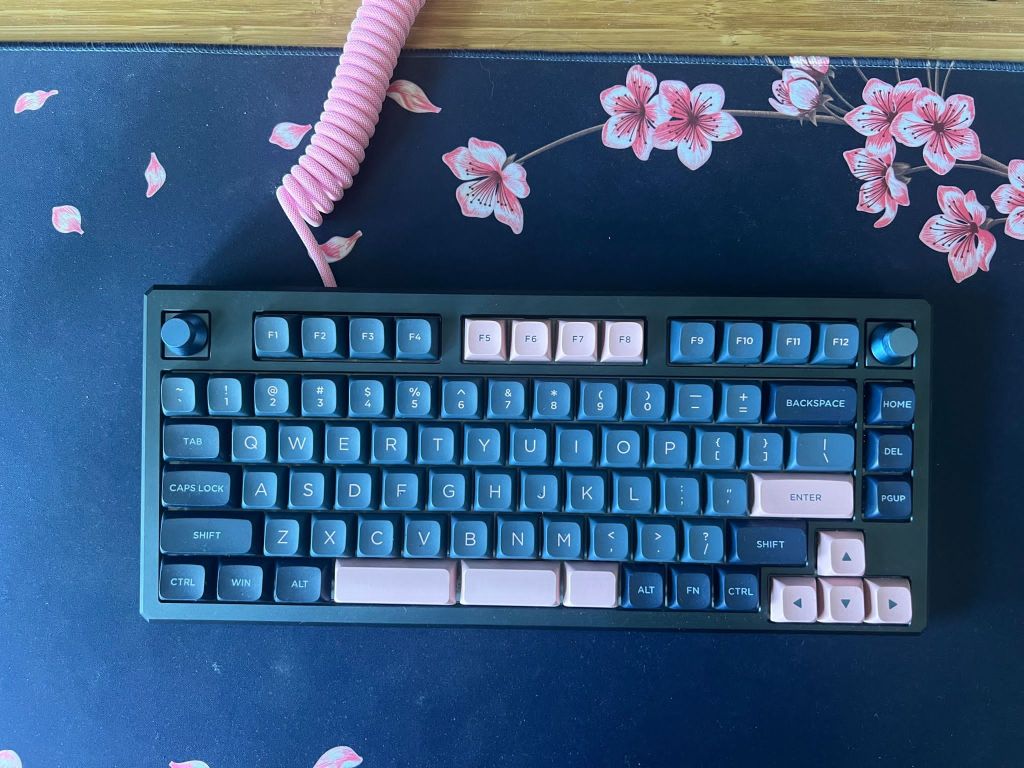
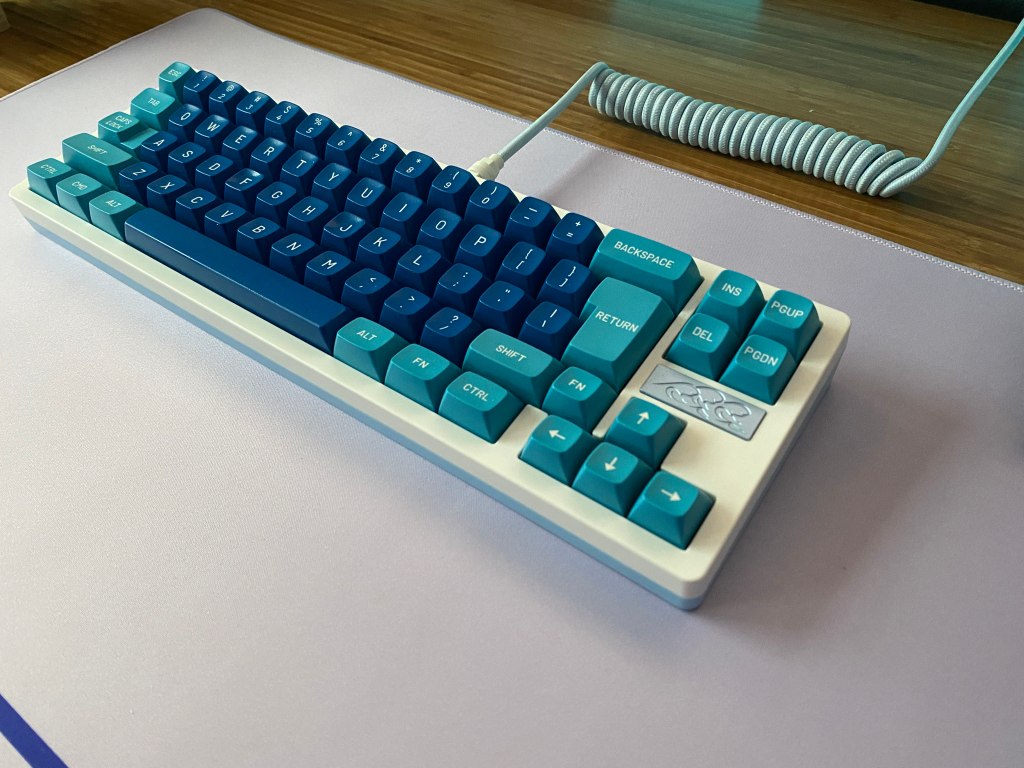
With the GK75 kit, there are no keycaps included with the board. However, Skyloong included some of their own keycaps for me to try out. I tried their Dark Blue Pink set in the custom GK5 profile. This profile is similar to other low profiles like XDA but it has a substantial difference in the angle of each row for a more comfortable typing experience.
This set is included with the Dark Blue GK75 boards and feels pretty high quality. It is made from PBT plastic, with some texture, and doubleshot legends for durability.
Since the GK75 Aluminum comes as a kit, you can choose whatever keycaps you would like. Note that because the GK75 PCB only supports north-facing switches, it will not be compatible with any cherry profile keycaps.
If something similar to cherry profile is important to you, check out Drop’s DCX profile keycaps. However, if price is a concern, there are sets that cost as low as $20 that support the layout of the GK75.
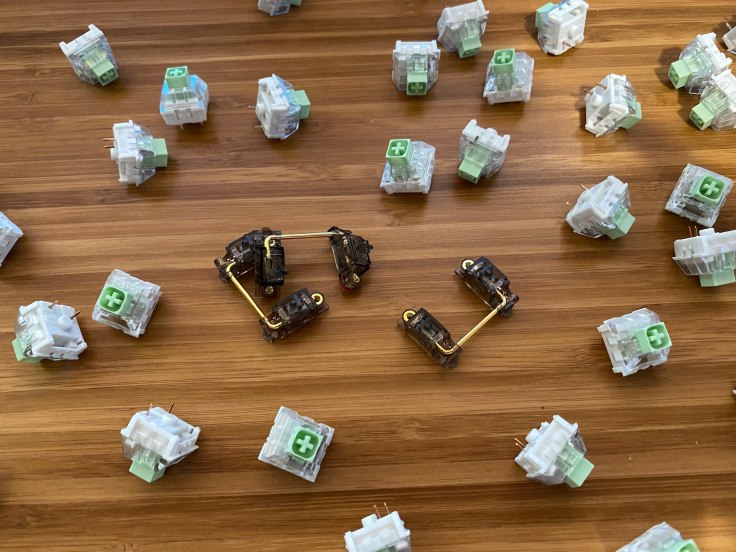
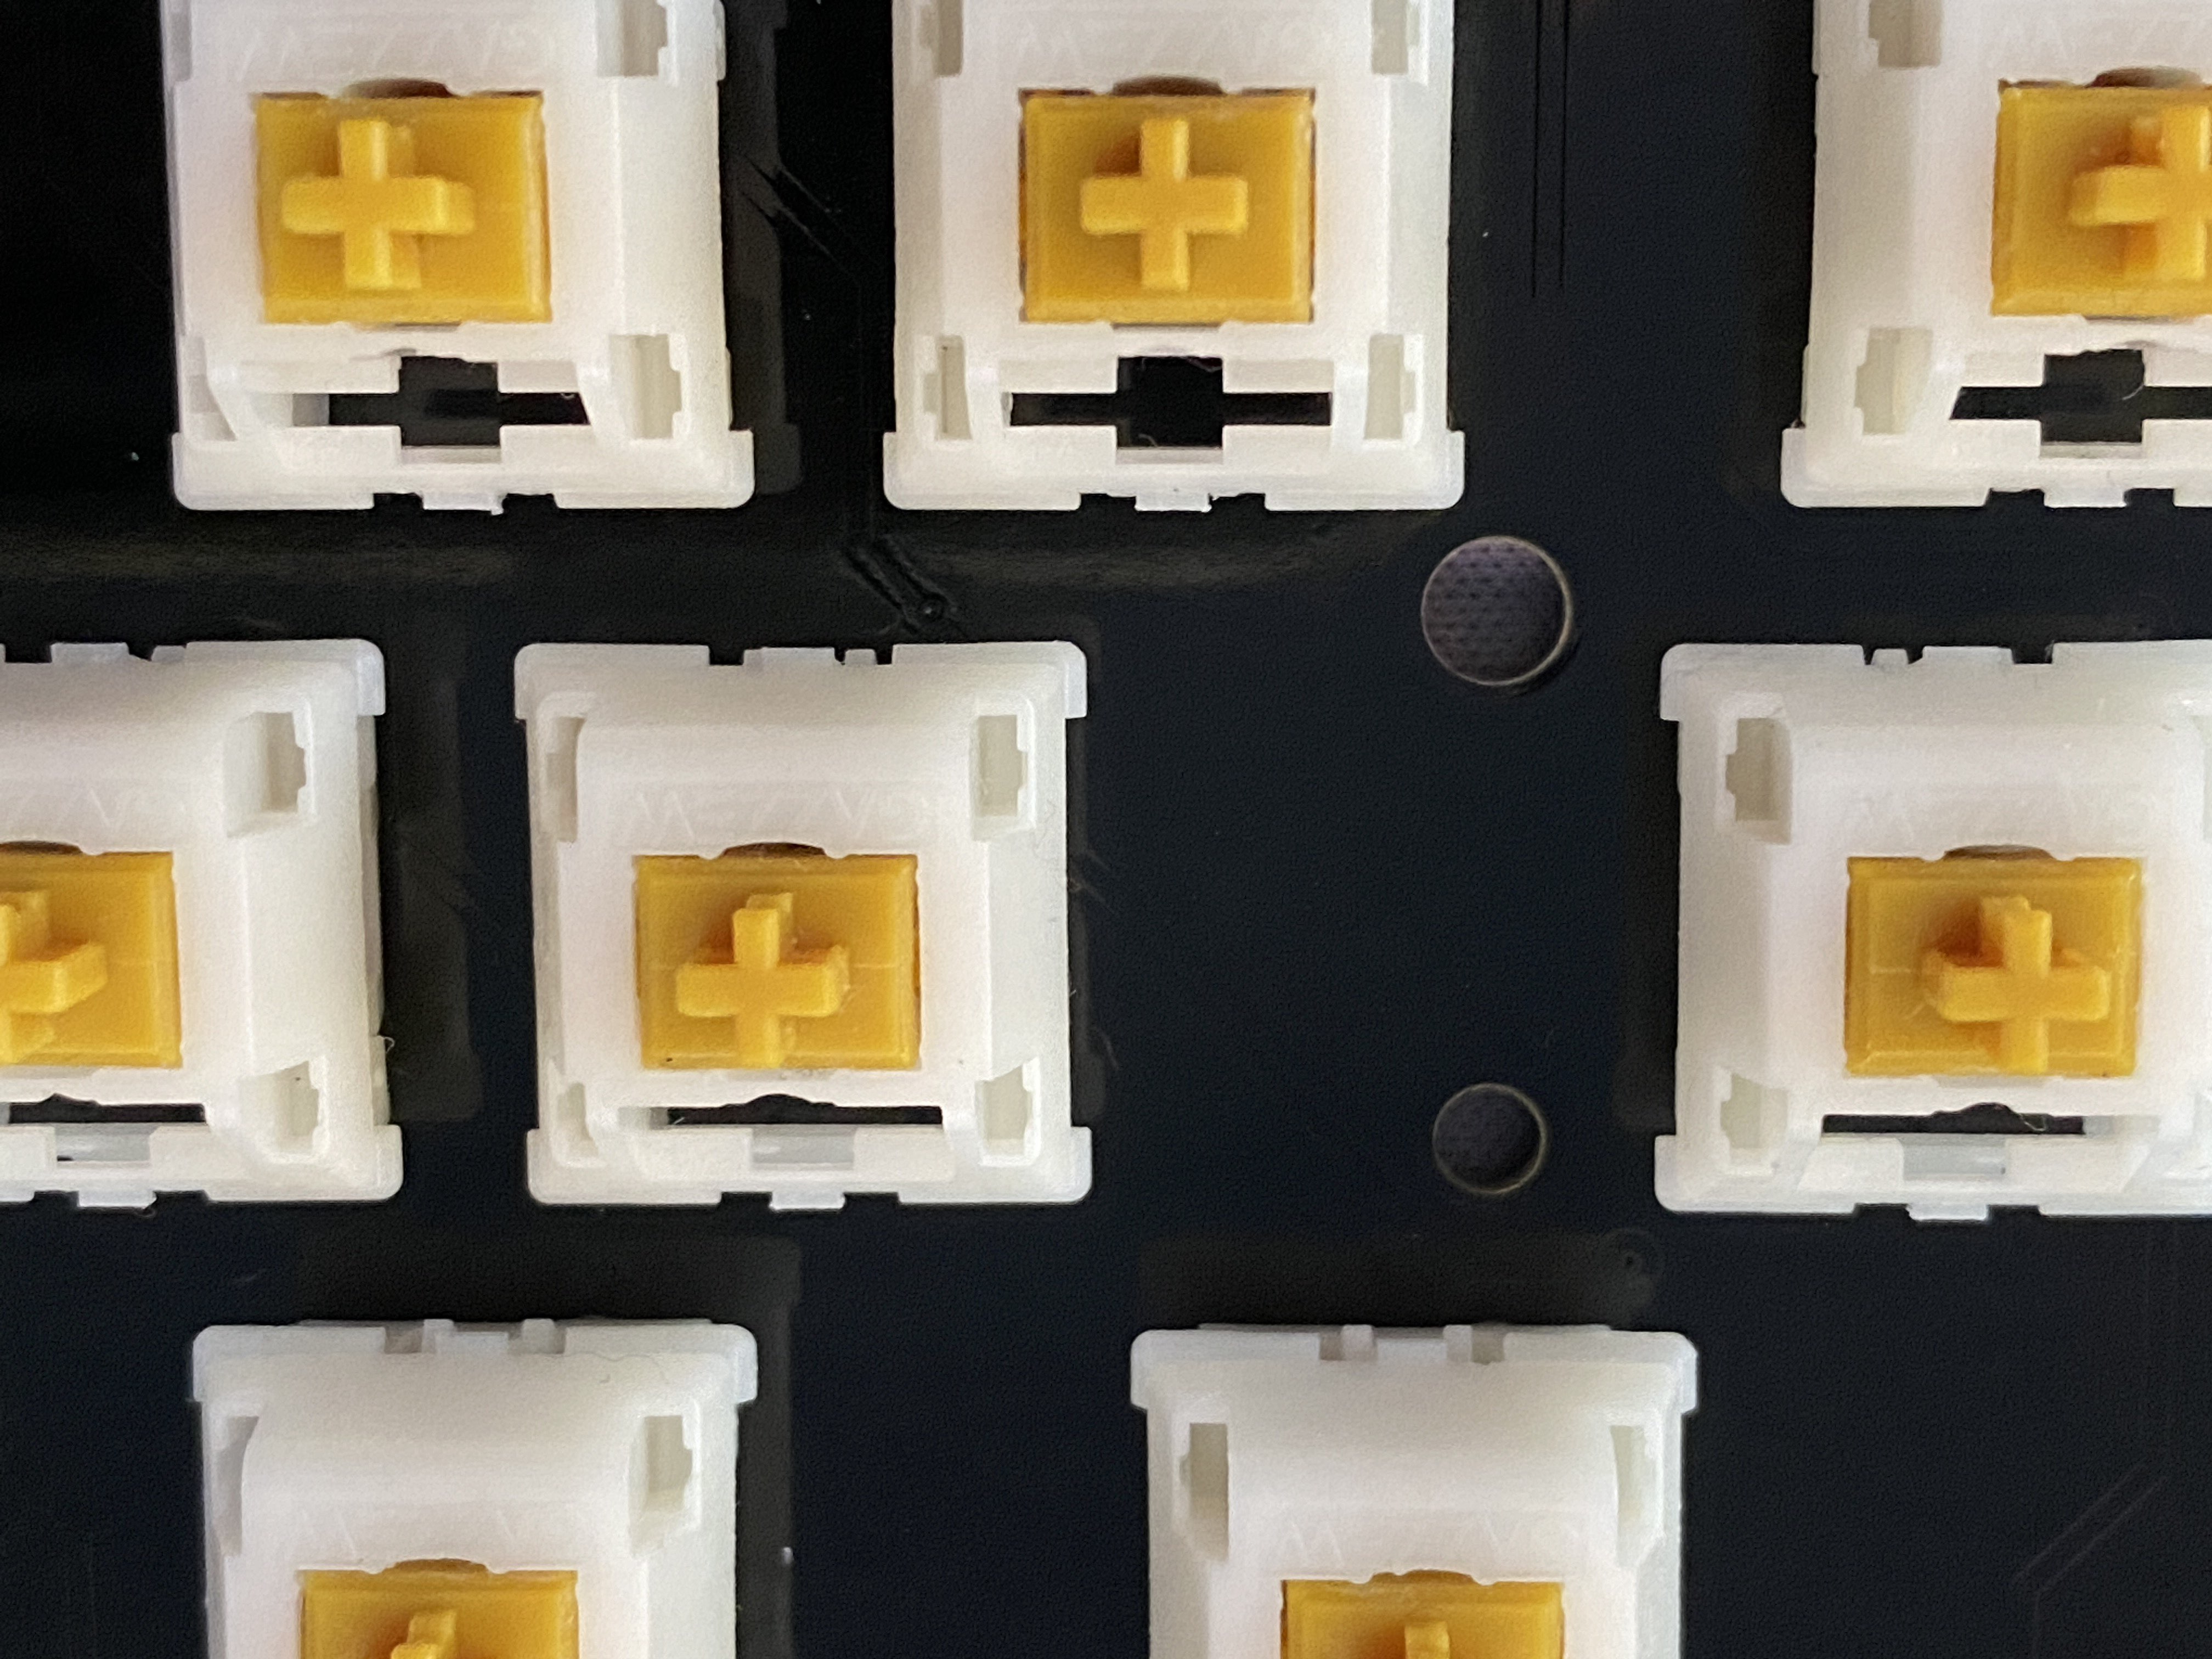
The Switches and Stabilizers
Since this board comes as a kit, no switches come with the GK75. However, the board does come with some prelubed plate mount stabilizers that sound pretty decent.
Typically plate mount stabilizers are not as good as PCB mount stabilizers but I found these to be pretty decent in my unit. At this price point, it would have been nice to see PCB mount stabilizers.
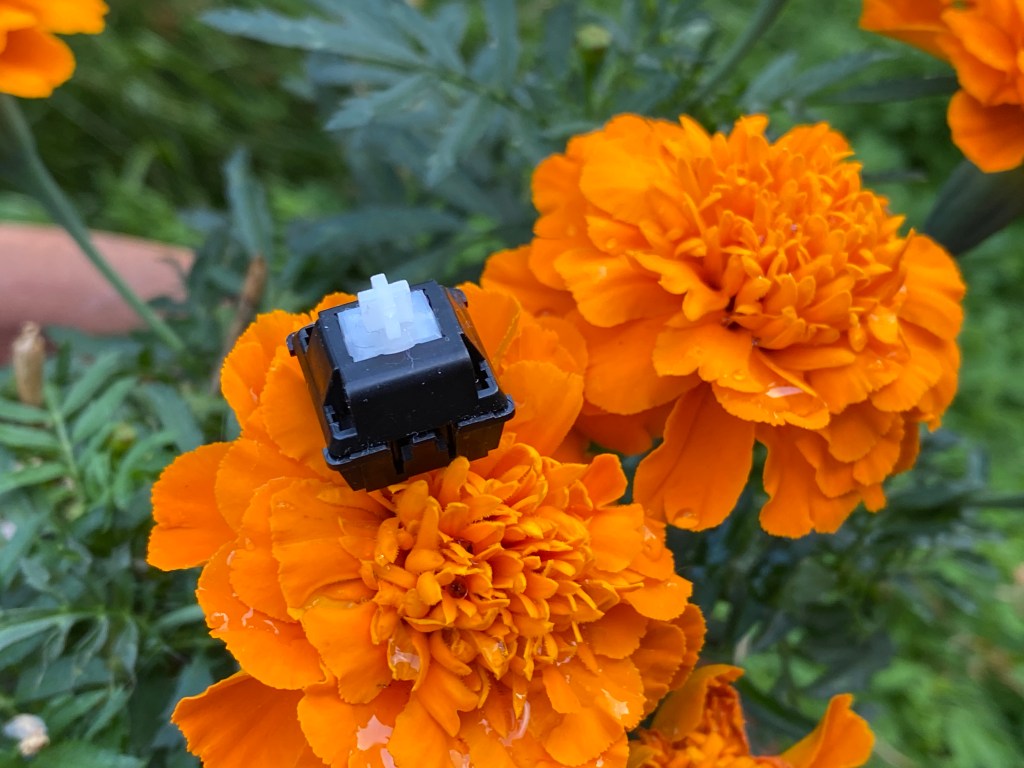
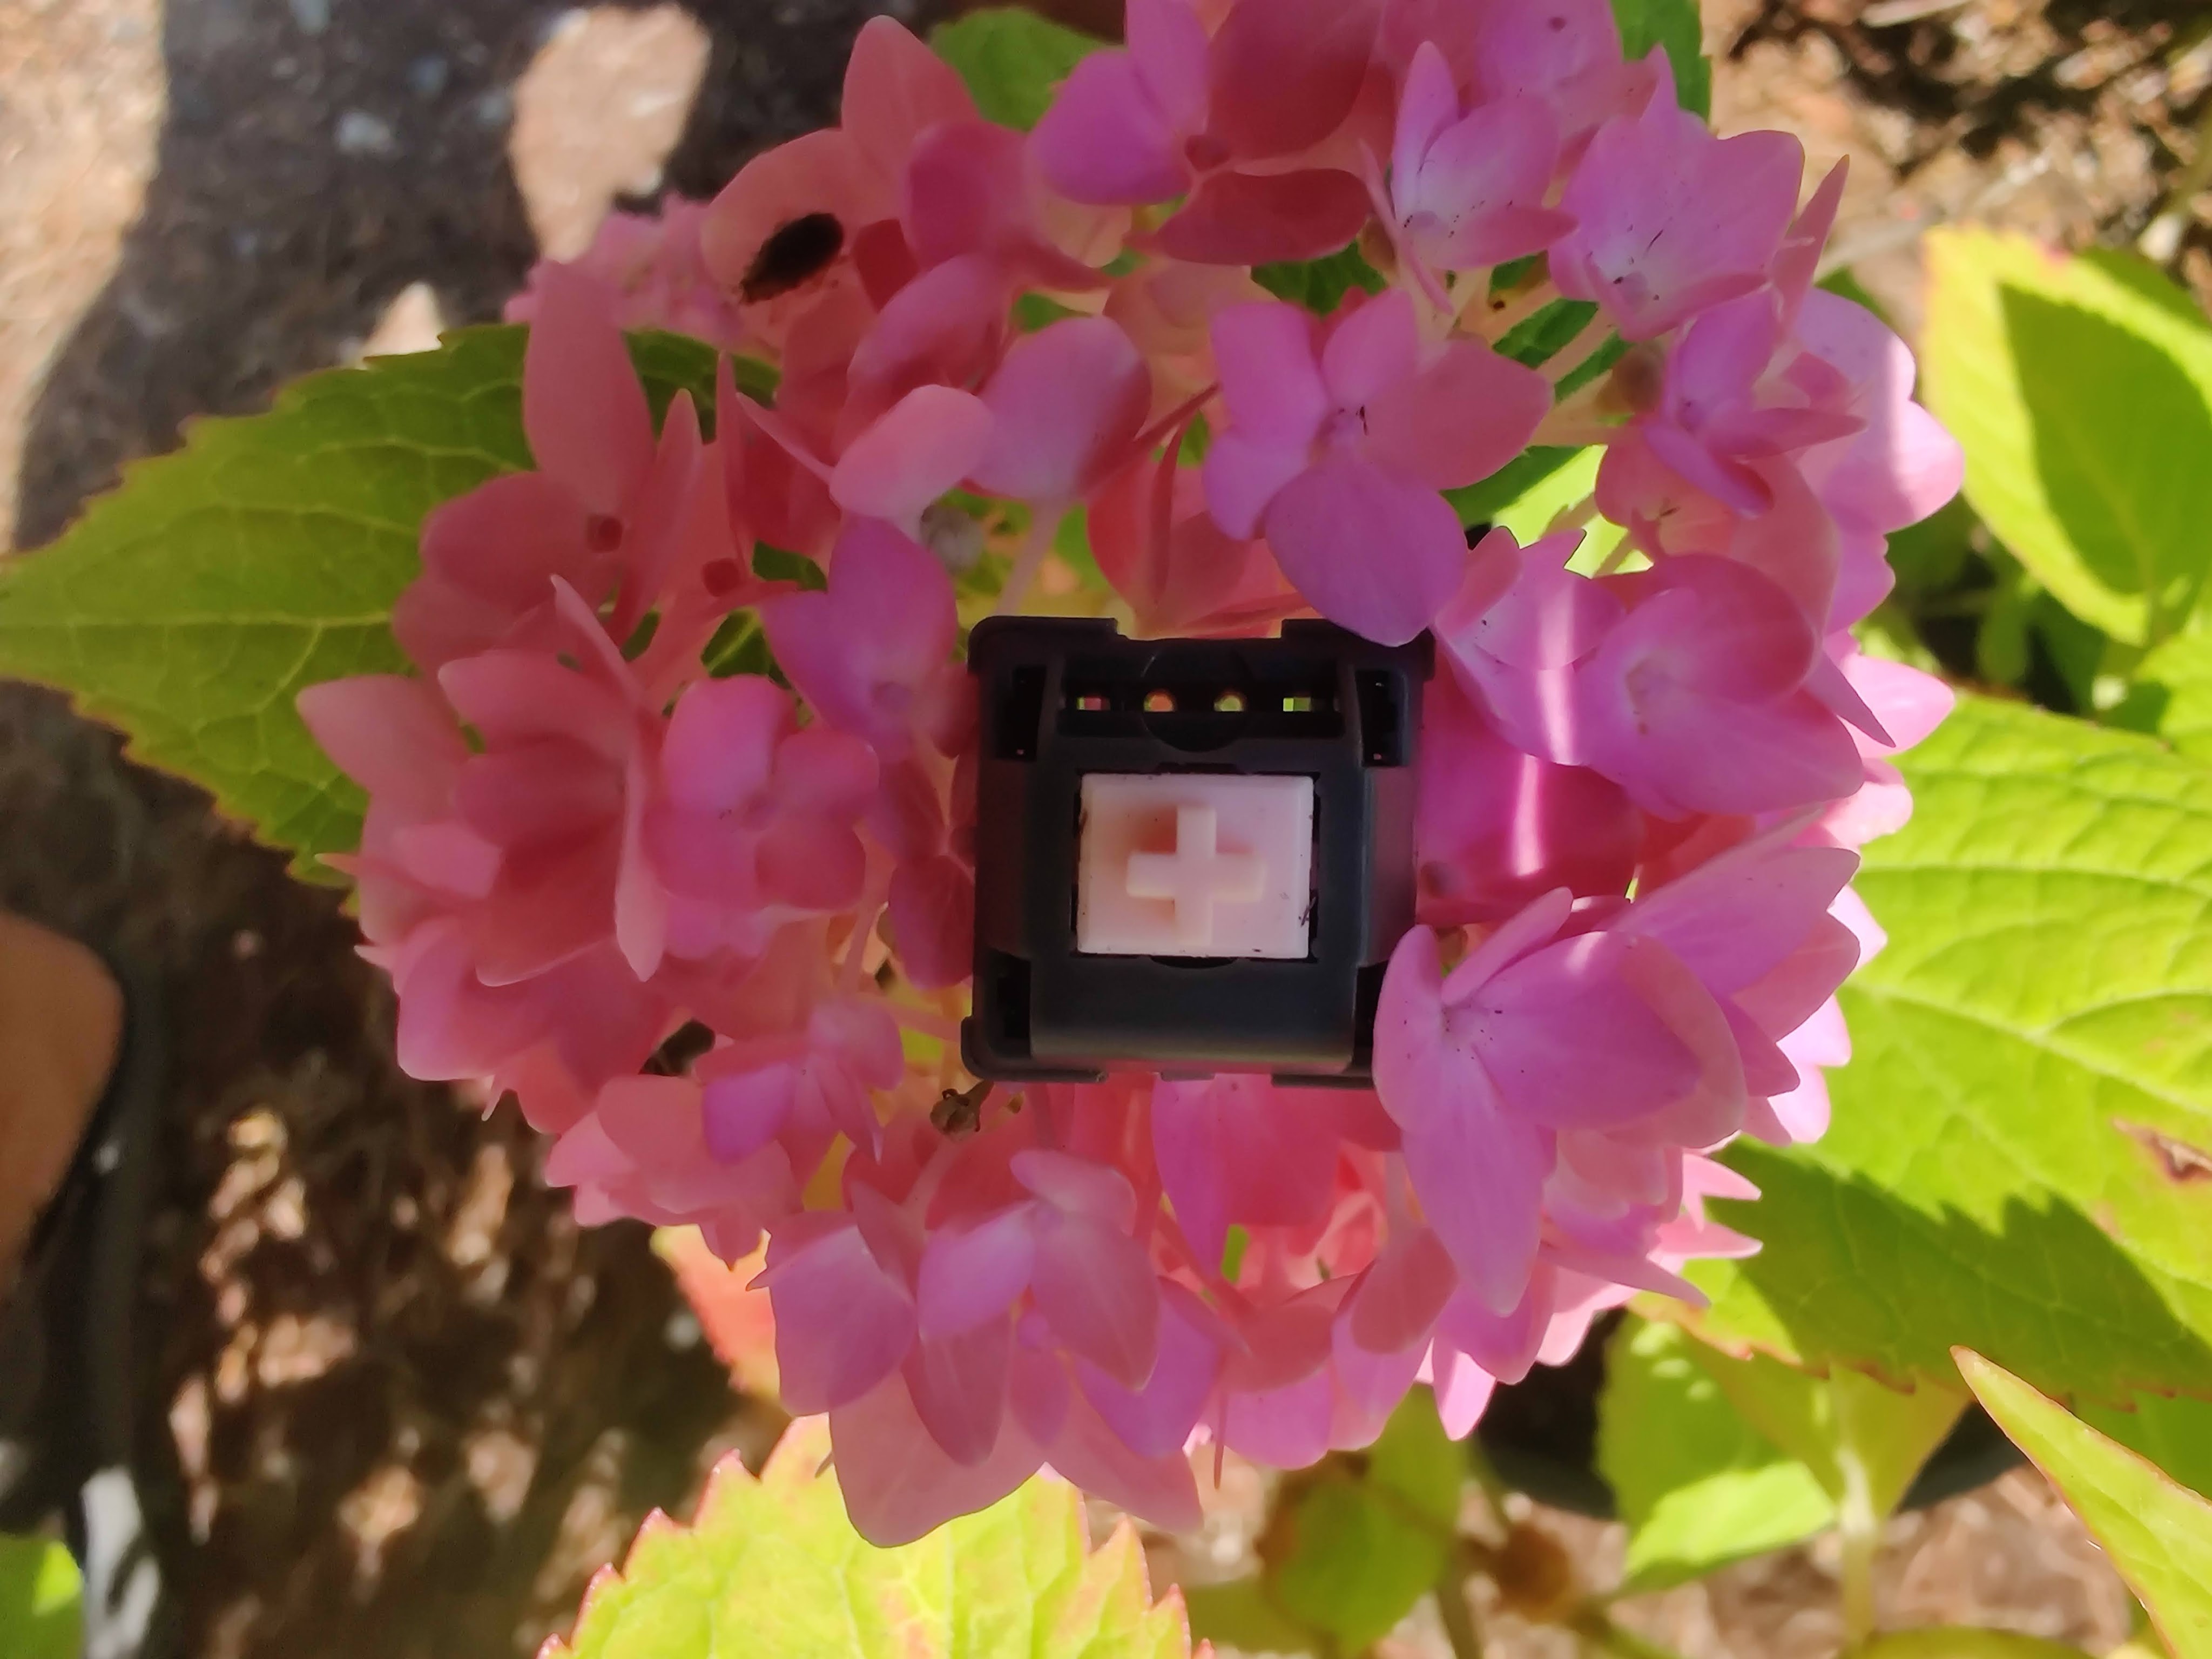
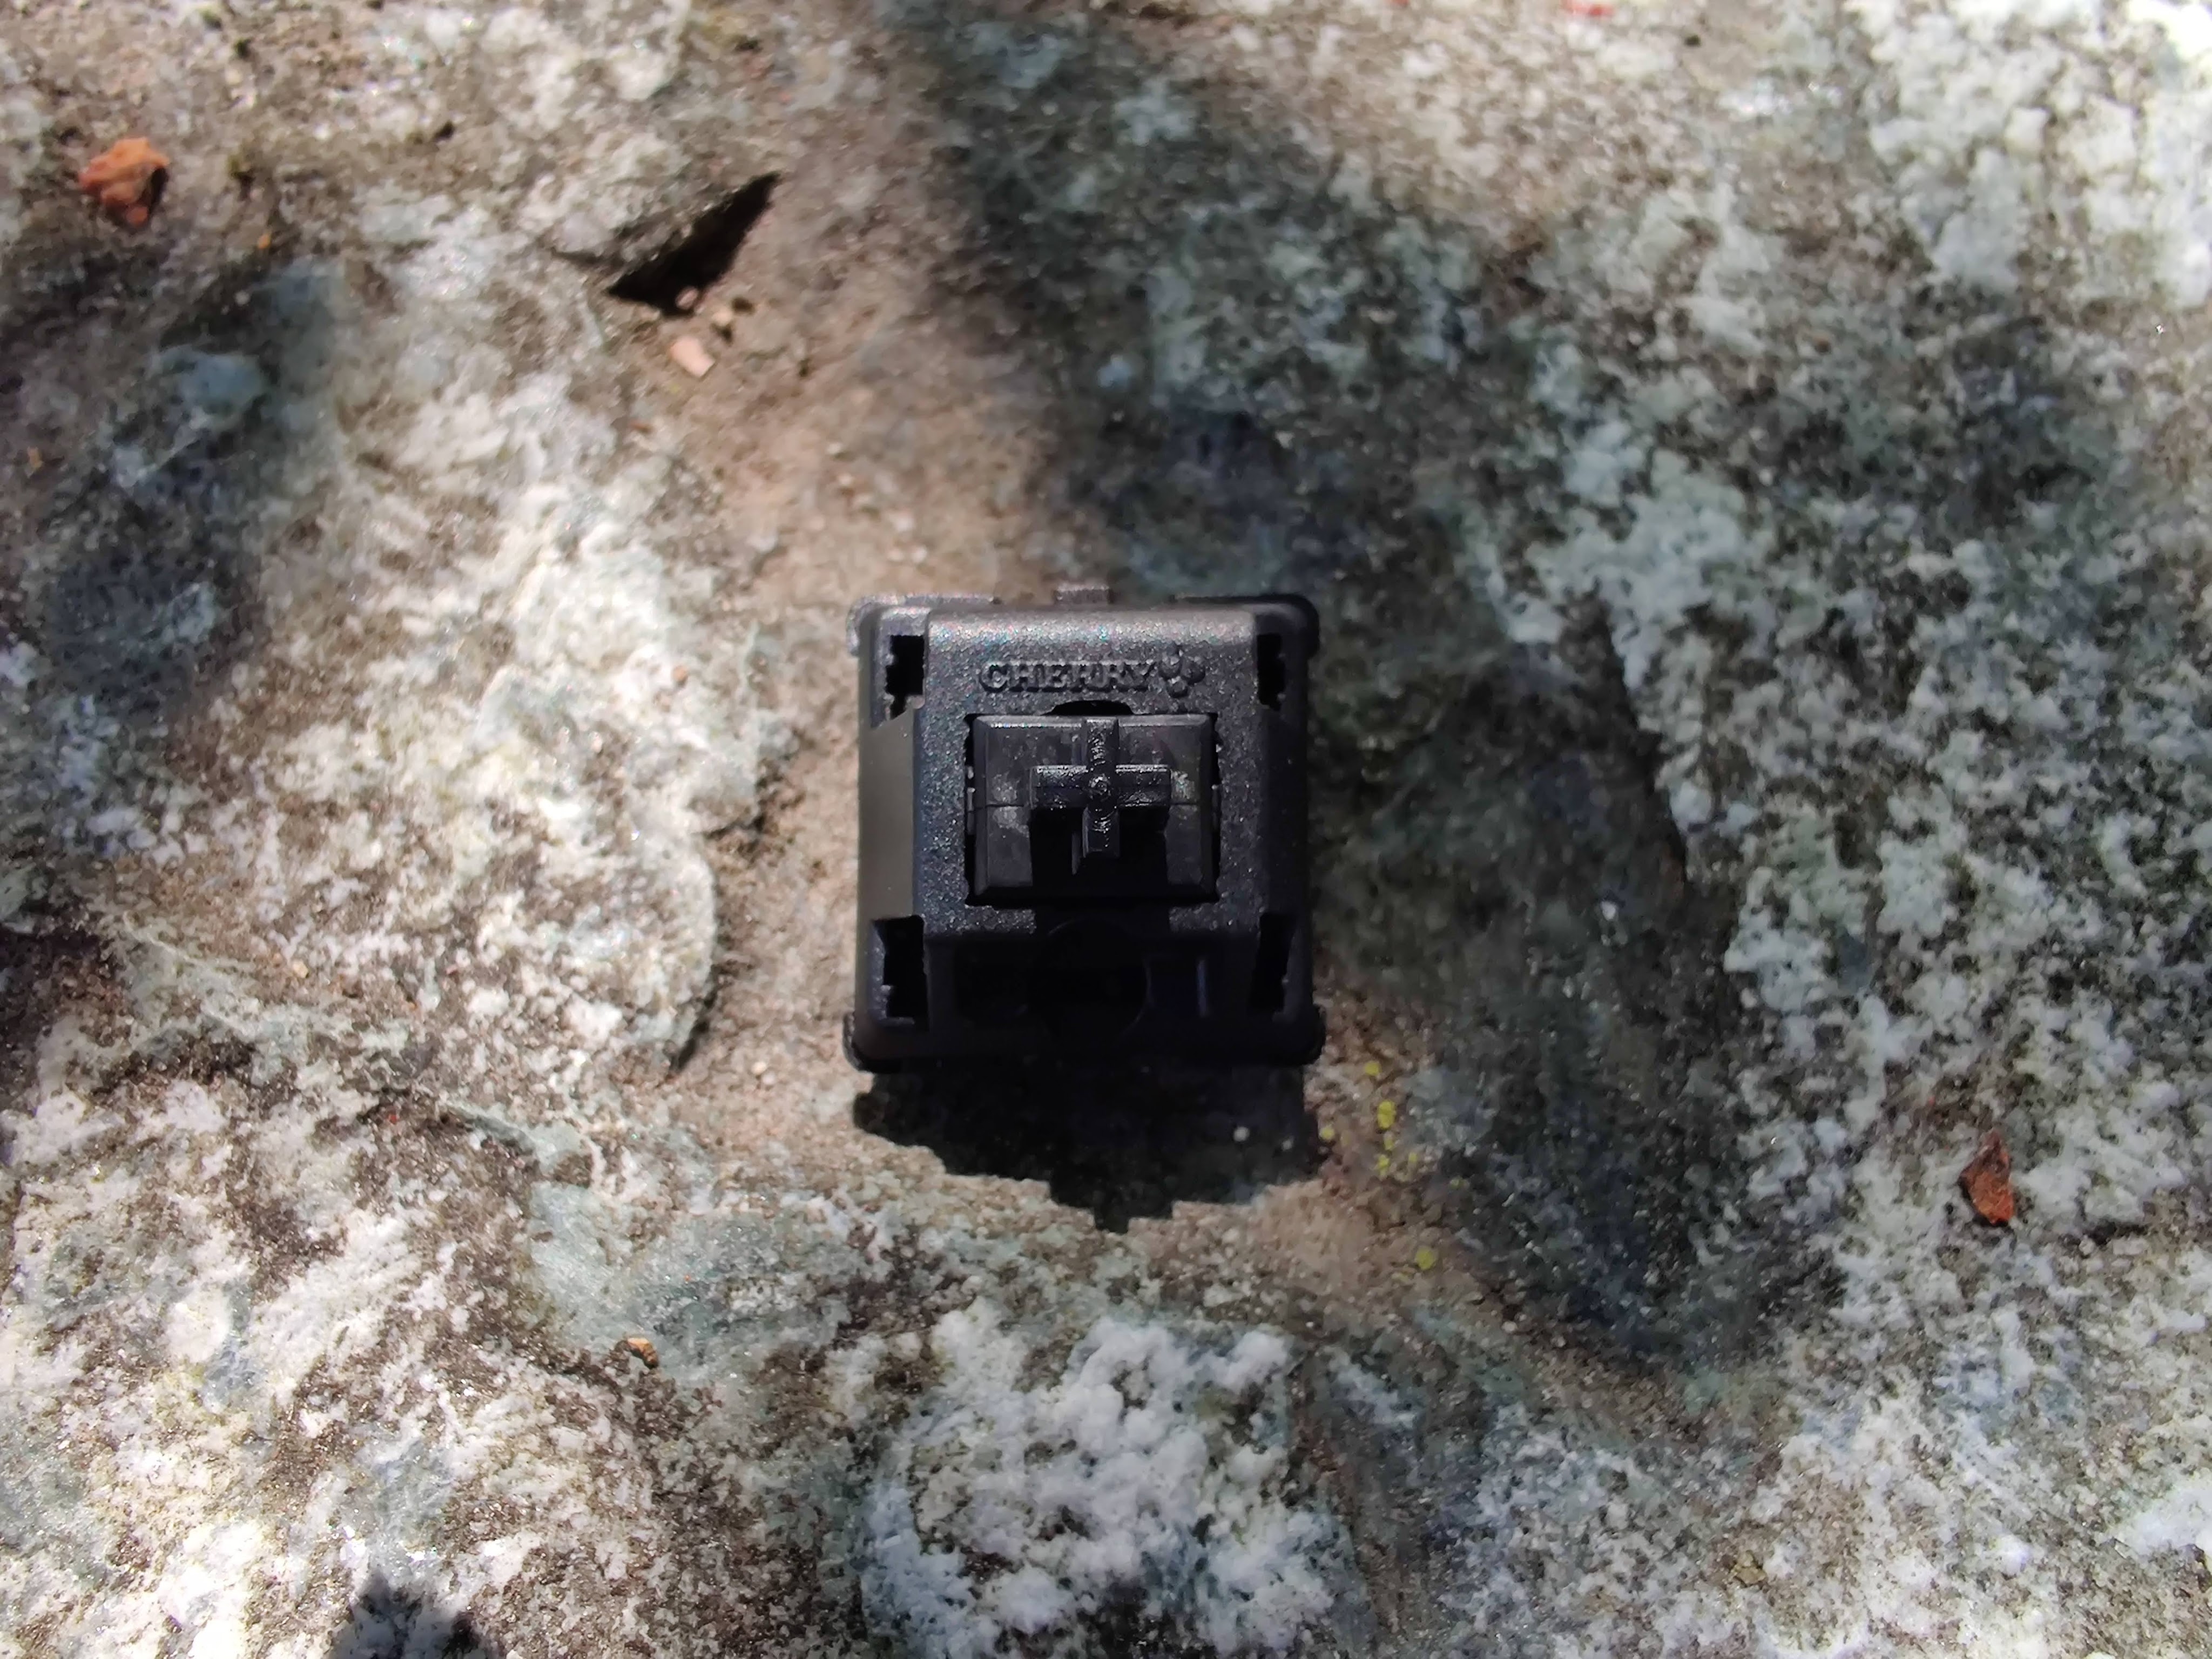
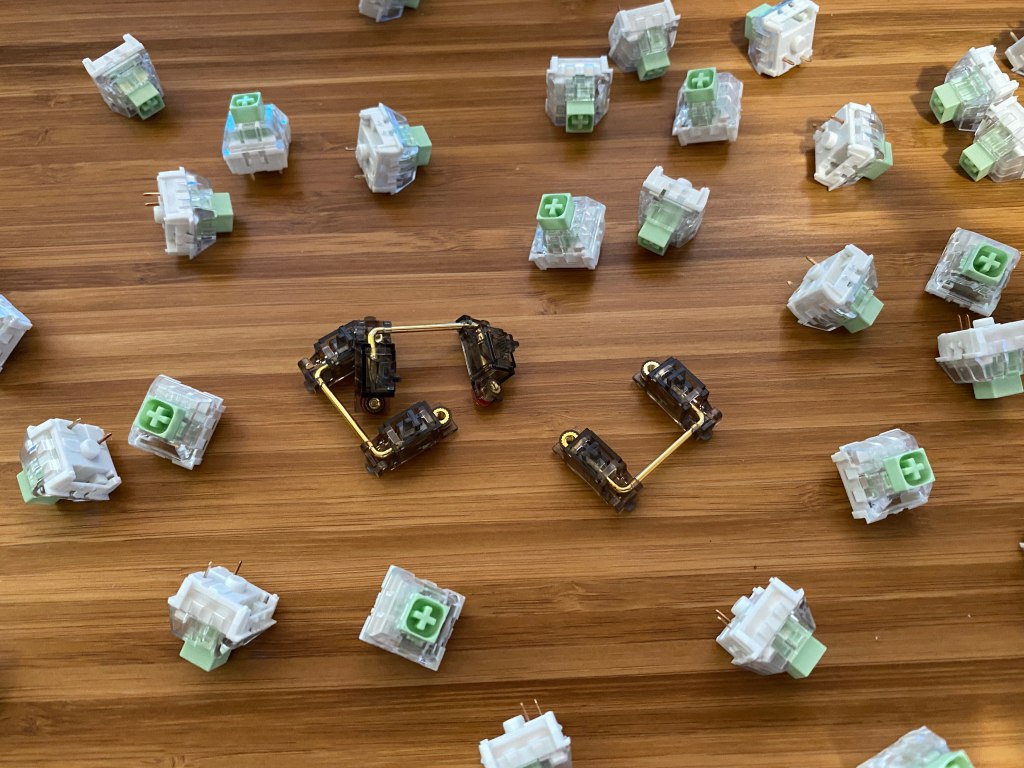
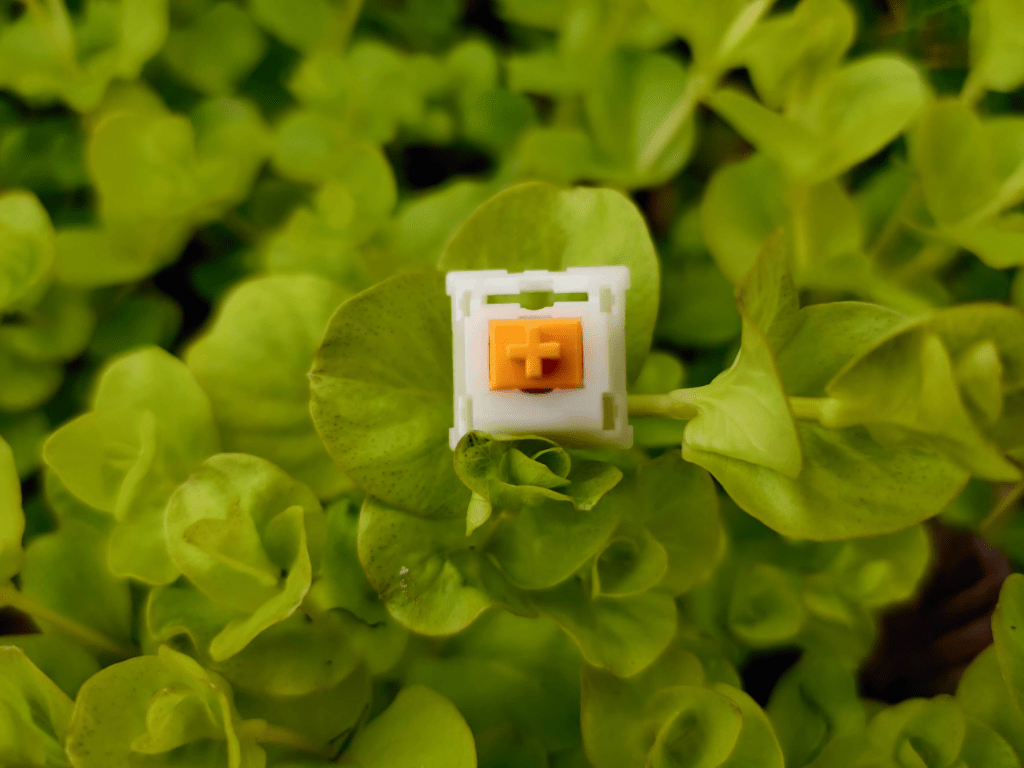
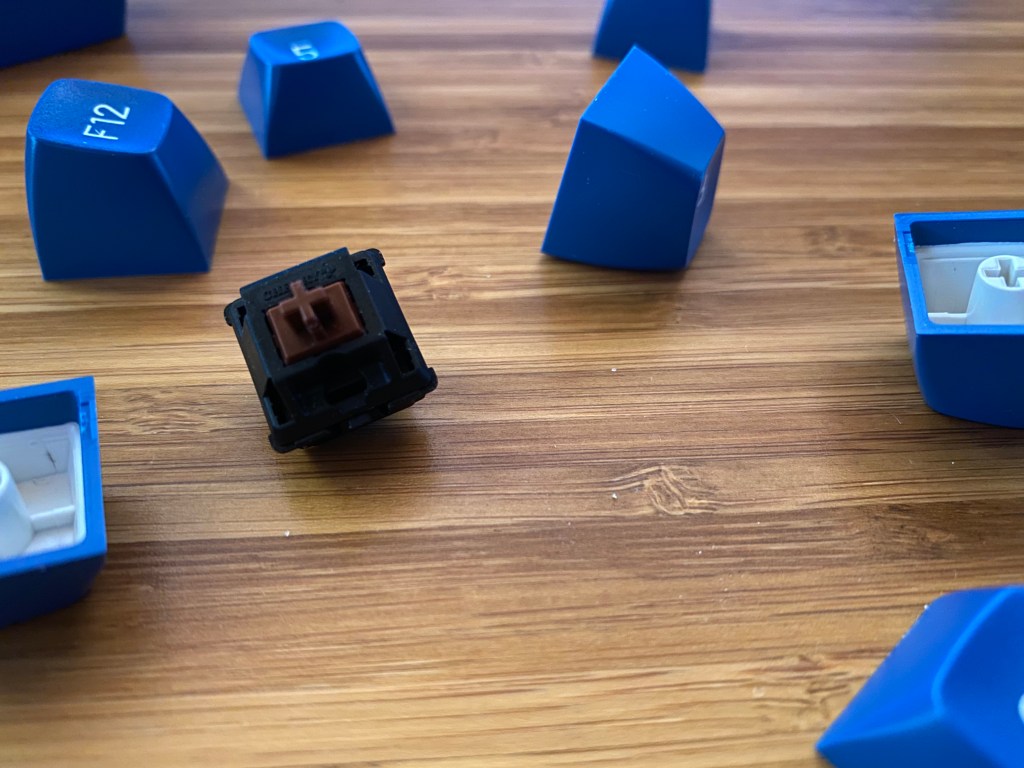
I did have the opportunity to test some of Skyloong’s Glacier Brown switches that come in some of their prebuilts. The Glacier Browns feel about as heavy as Cherry Browns but have a tactile bump that feels similar to some top tactile switches like Boba U4Ts. I am quite impressed with the Glacier Browns and lubed they feel pretty smooth too.
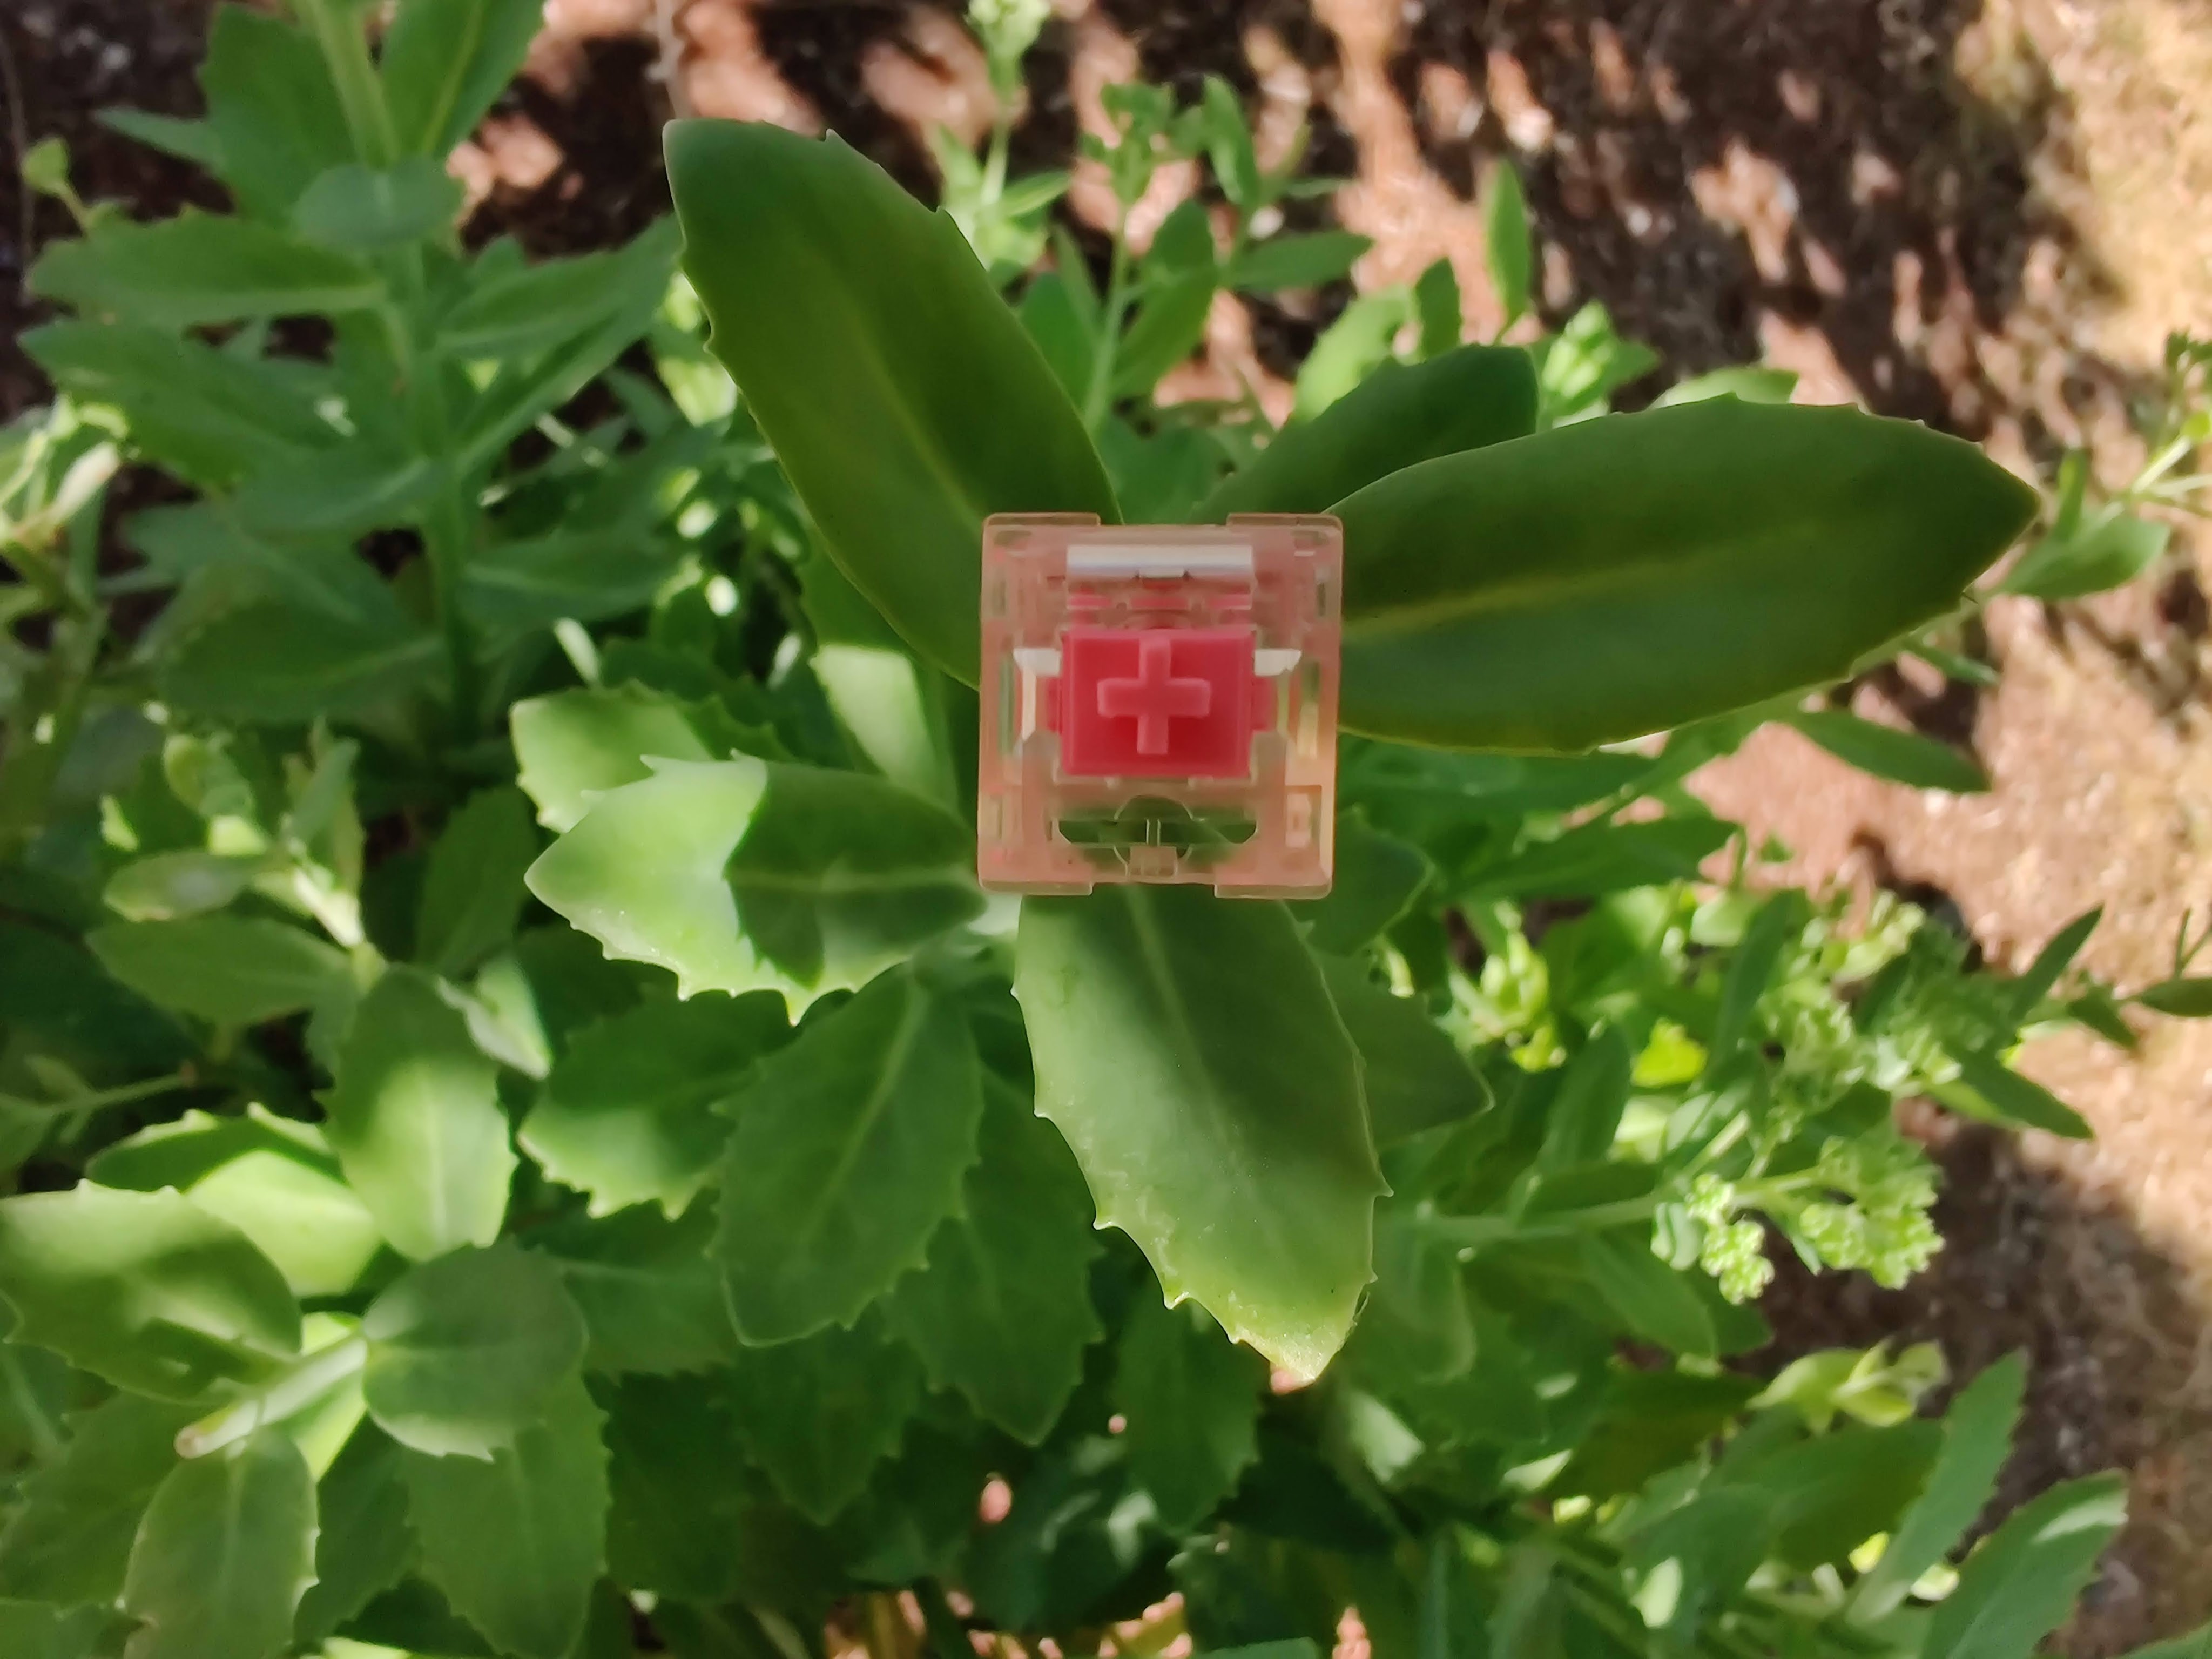
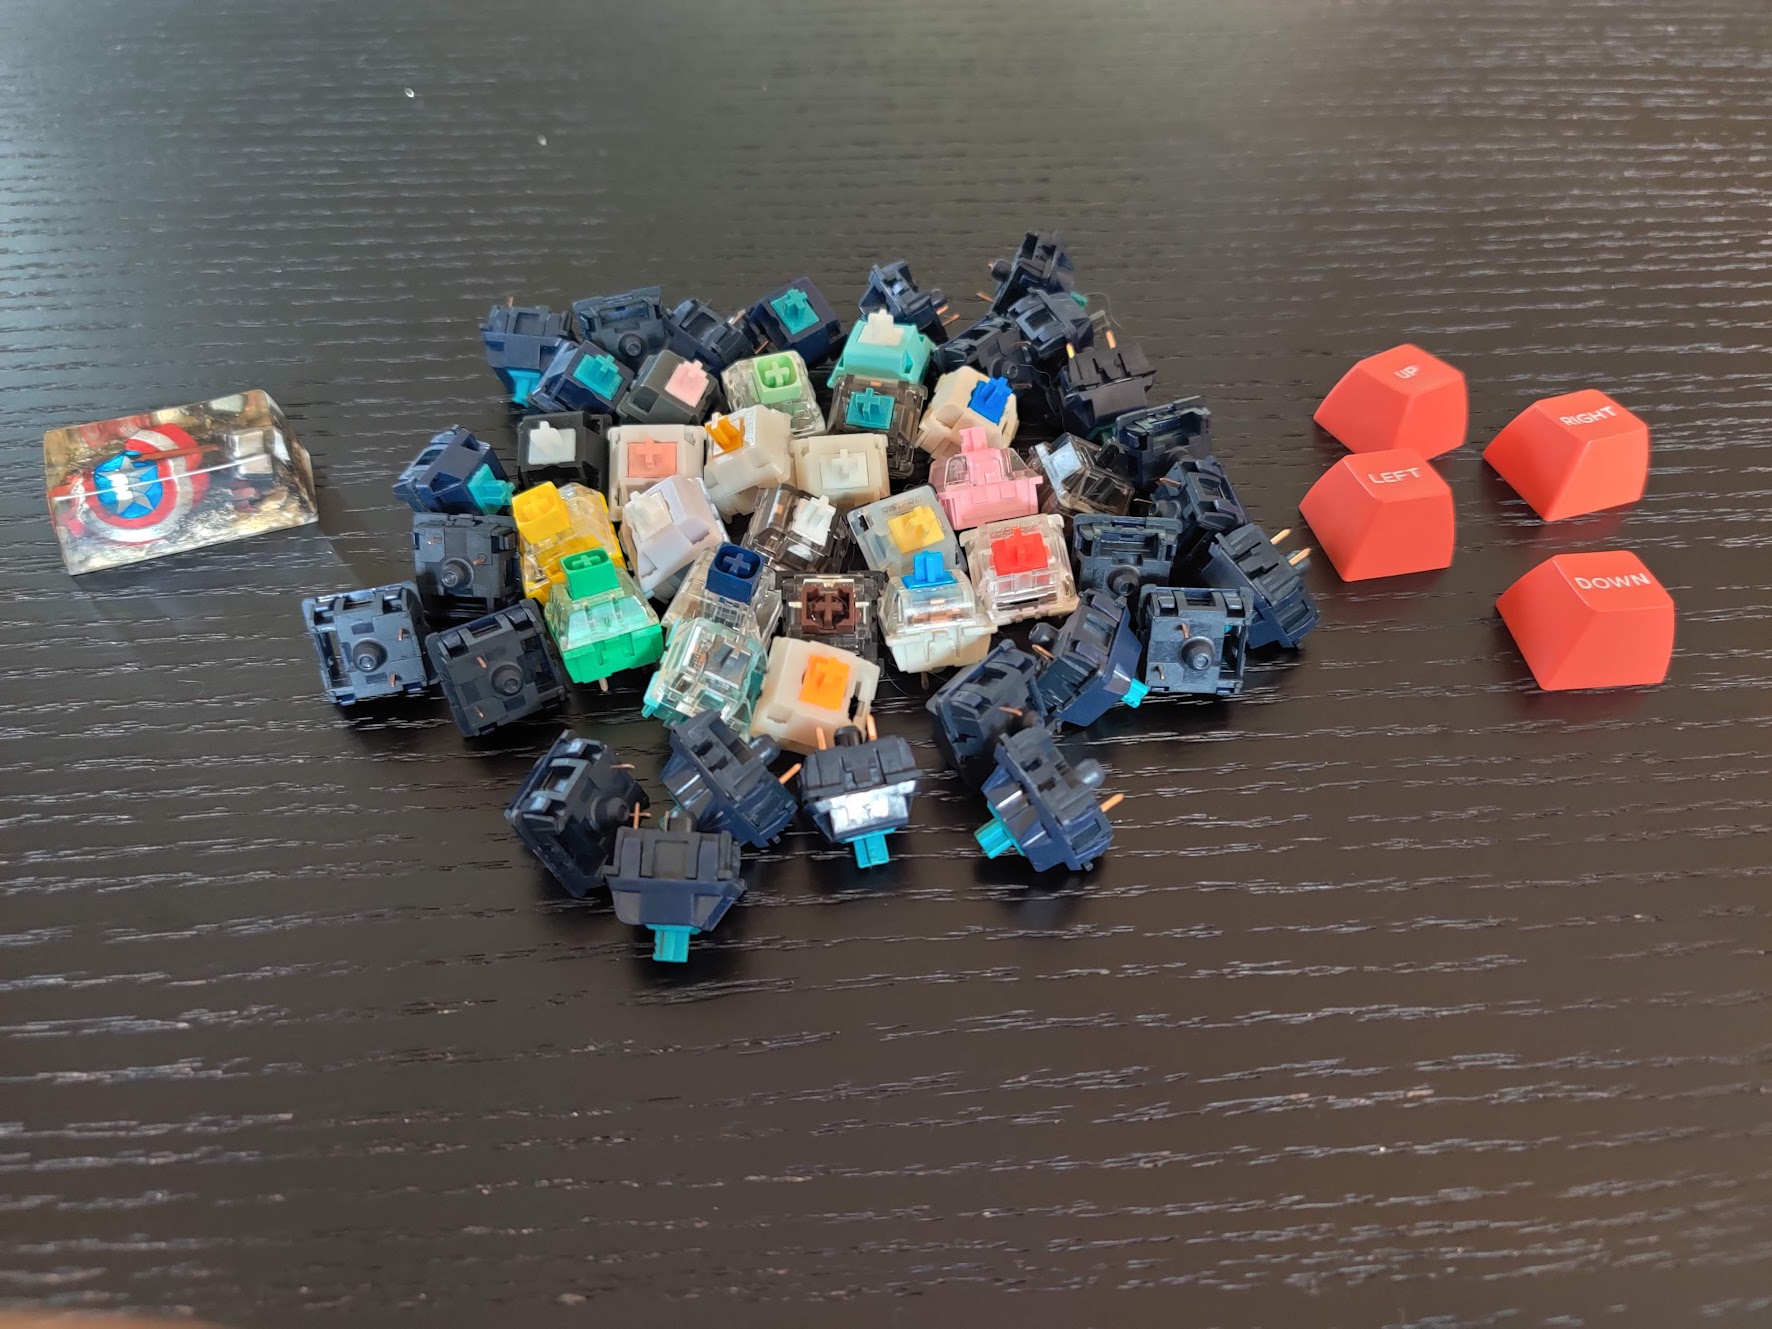
Since this is a kit, almost all mechanical switches will work in this board. If you need any help check out our best linear switch, tactile switch, or clicky switch guides.
If you do opt for a prebuilt version of the GK75 make sure to get one that is mechanical. Not only do the optical switches often feel less satisfying but you have vastly fewer options to choose from on the aftermarket compared to mechanical switches. Additionally, you only save $20 to get optical switches.
The gasket mount system and included foam allow the GK75 to sound good with the majority of switches. If you put in lubed switches then minimal if any modding will need to be done.
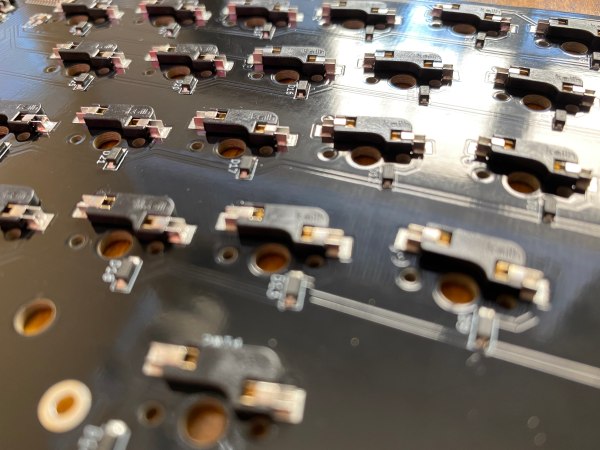
Hotswap PCB
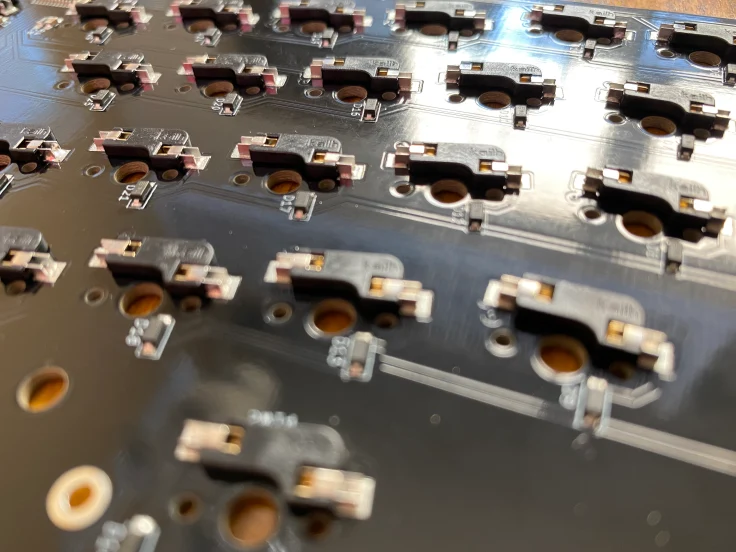
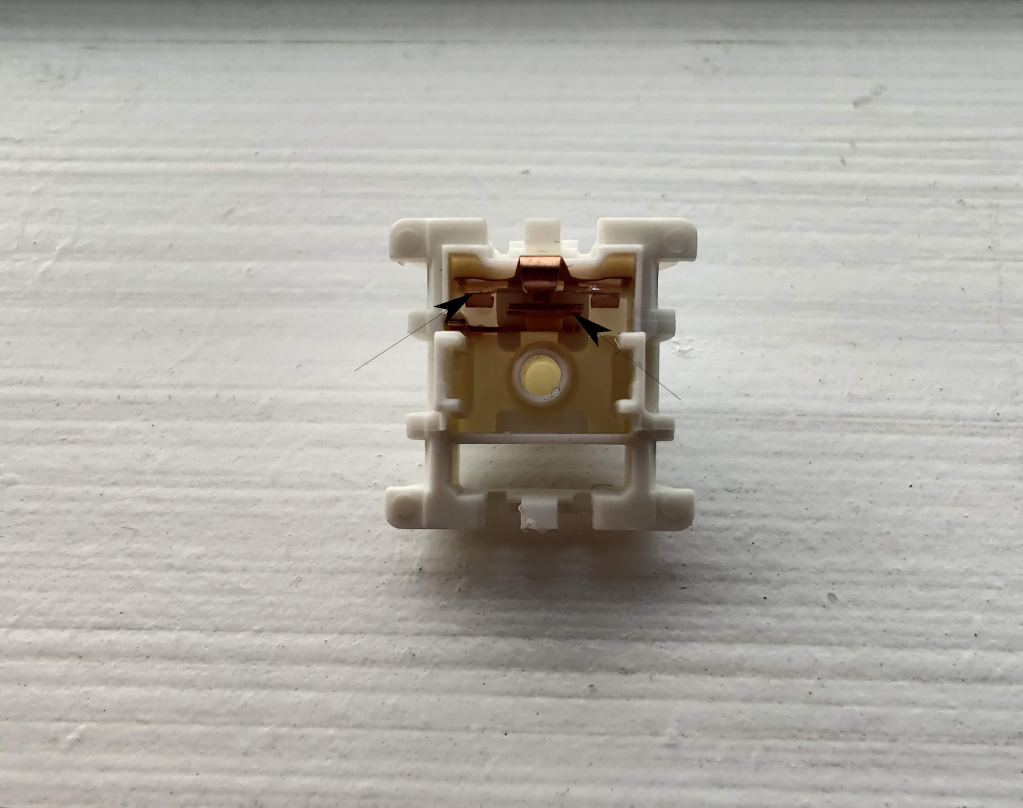
Skyloong offers a hotswap PCB with the GK75. This makes it possible to change out switches in just seconds. The sockets support 3 and 5-pin switches.
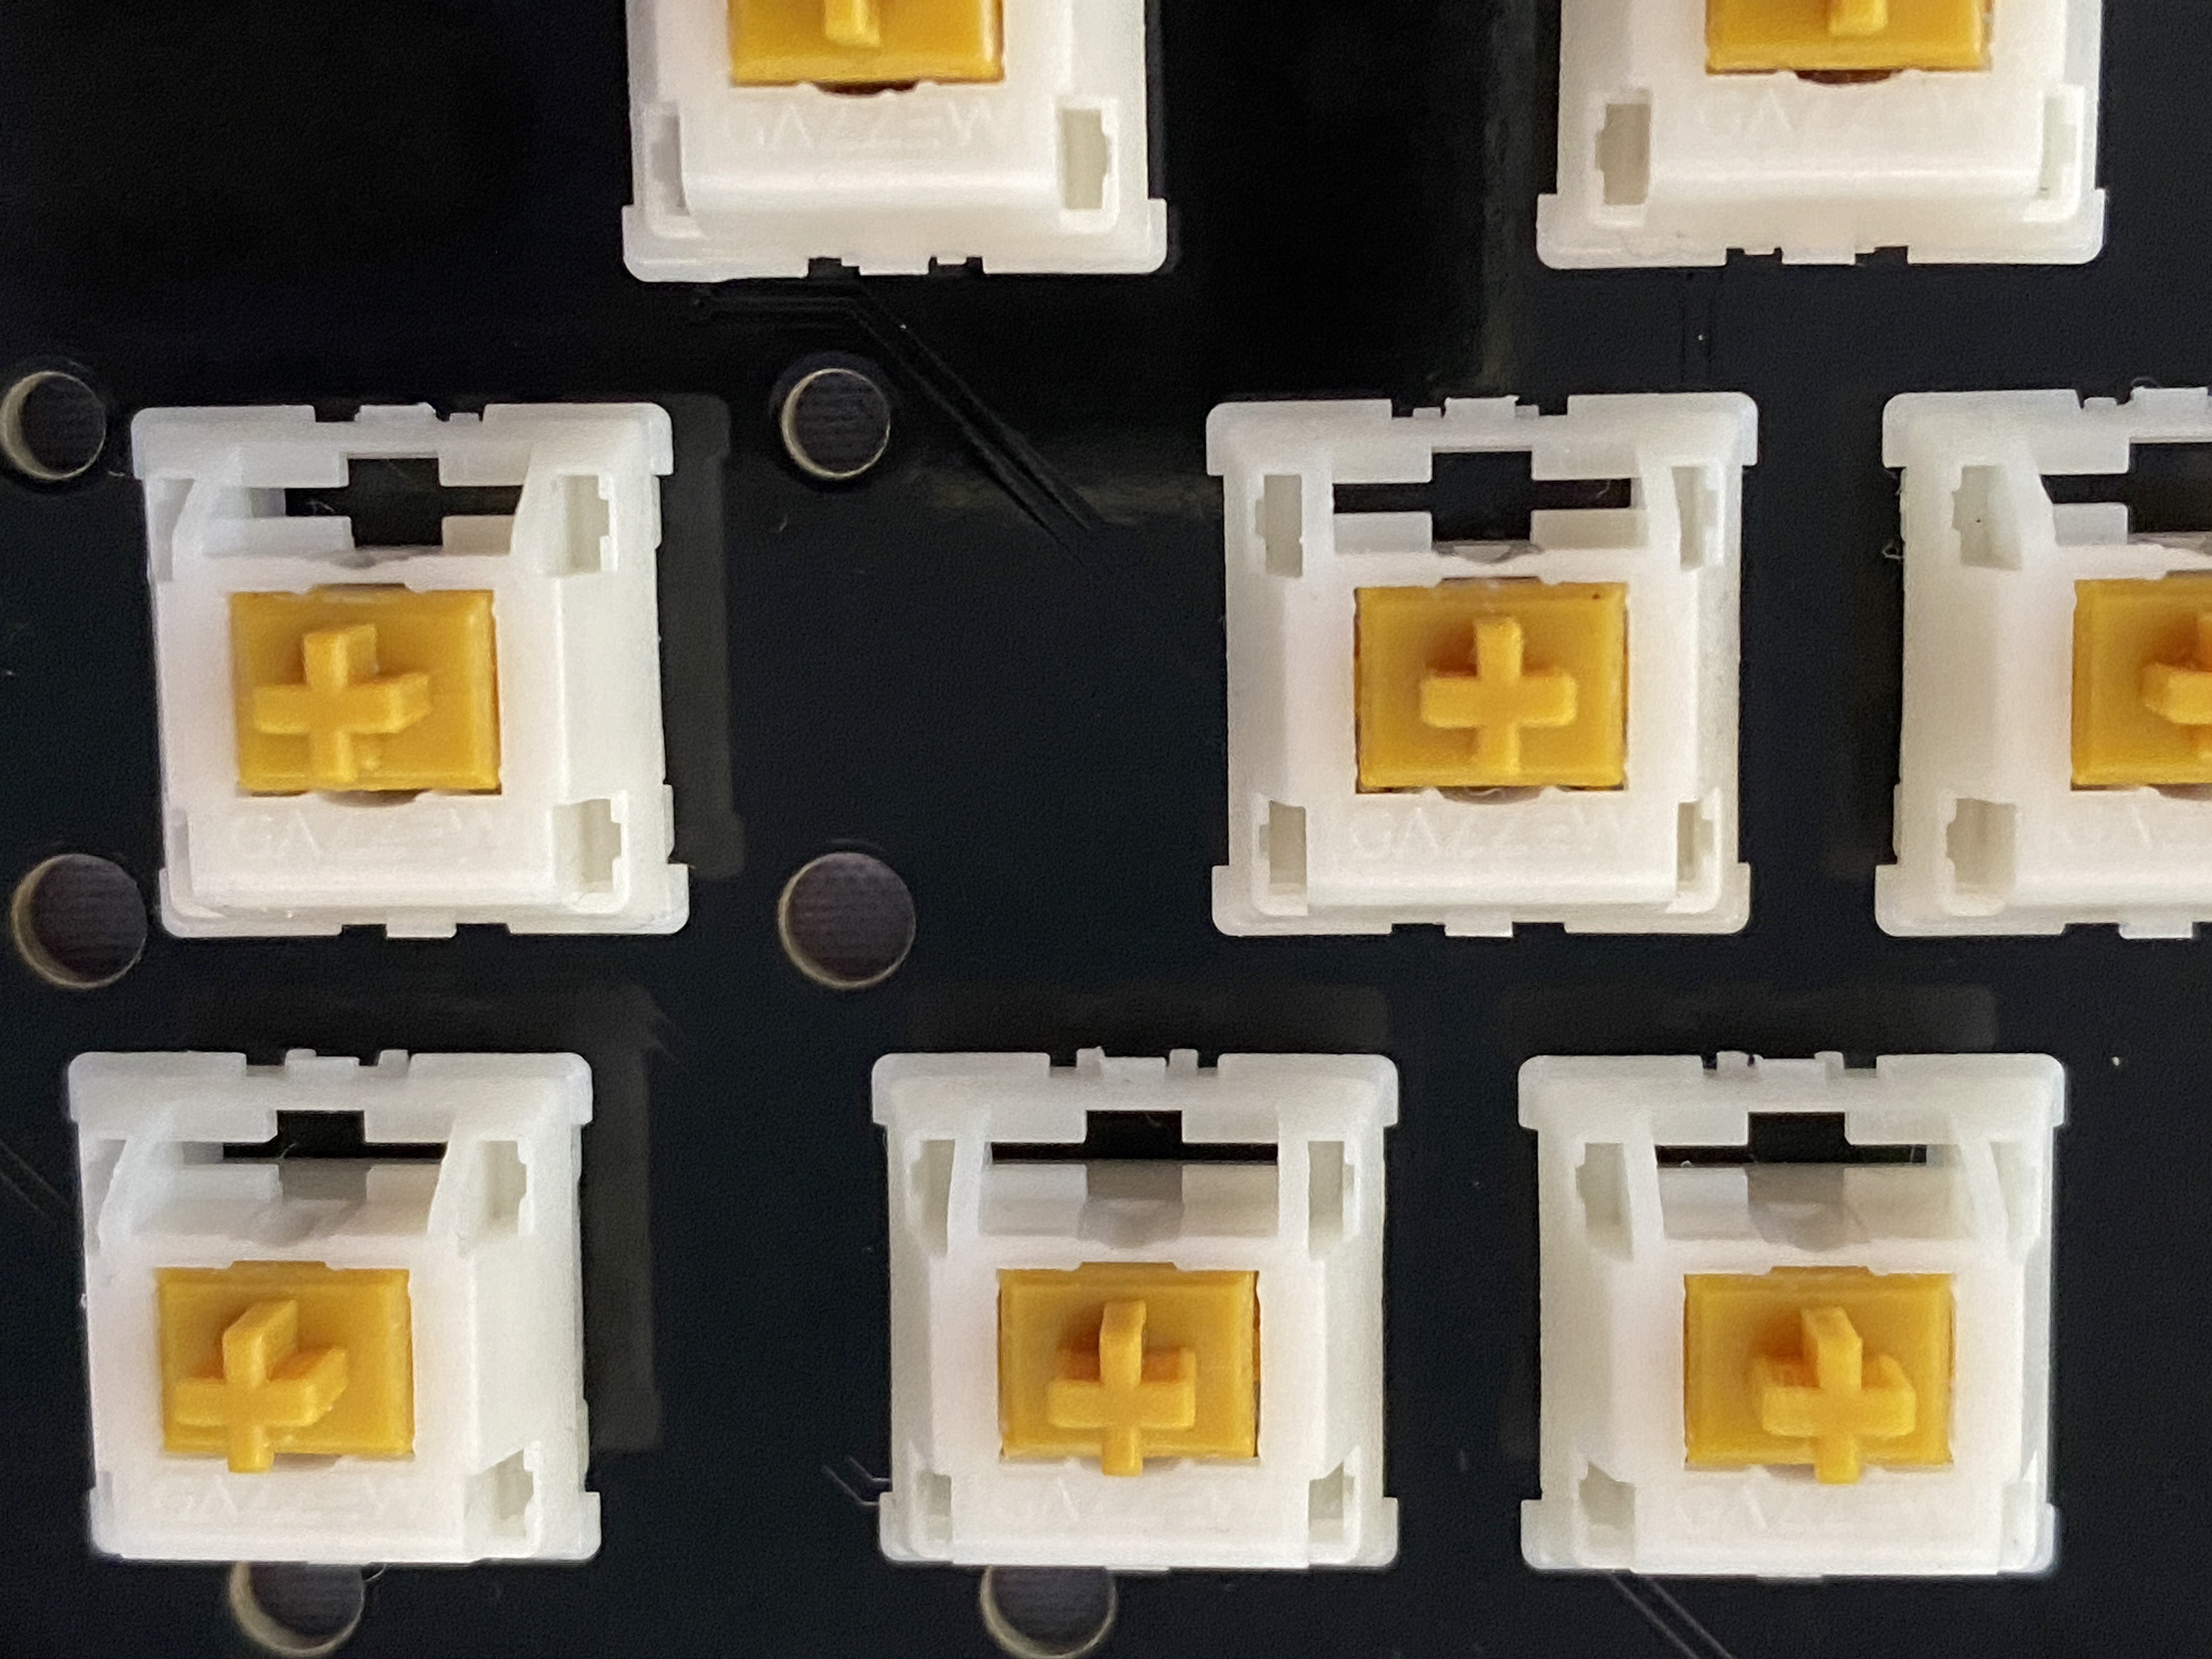
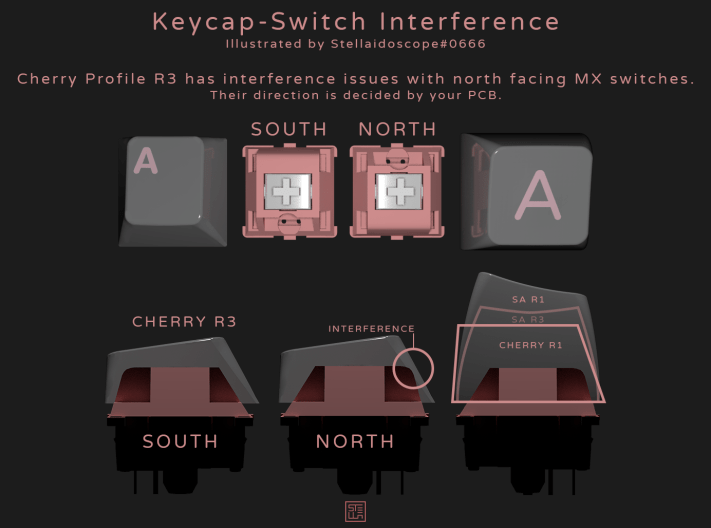
Unfortunately, the sockets come in a north-facing configuration. This means that there will be interference with cherry profile keycaps. As a result, the typing experience will be less satisfying with cherry profile keycaps.
Some of the sockets are equipped for both switches and knobs. The knobs fit along the right side of the board or can replace the escape key. Swapping the knobs won’t necessarily be as quick as changing out switches but the fact that the knobs don’t need to be soldered is nice to see.
For anyone who likes a split spacebar, Skyloong gives you the choice of both. With a few screws, you can take out the full space module and replace it with the split one. This is a simple solution where you can try both without needing to buy a totally new version of the keyboard.
The hotswappable knobs and spacebar module are unique features to see in a keyboard. However, the north-facing switches are potentially the biggest downside of this board.
Knobs and Media Keys
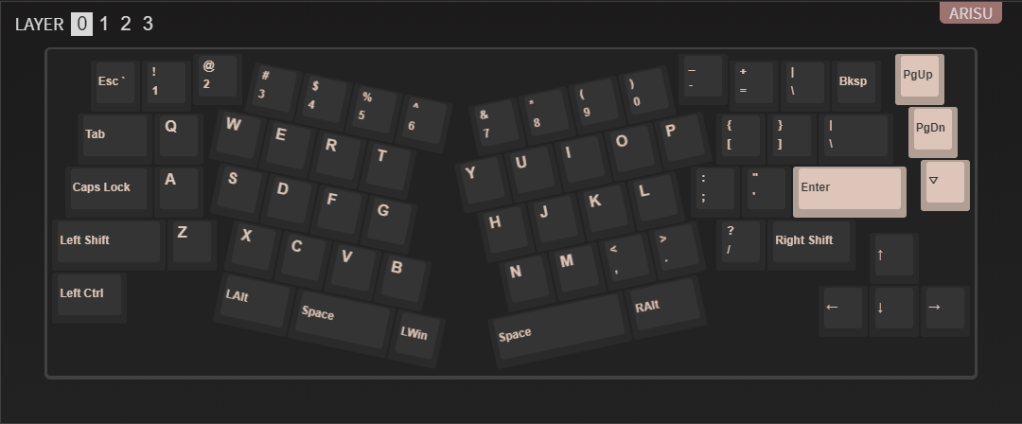
The GK75 offers media key functions both through onboard commands and with the knobs. You can swap out the knobs in six different positions. This means you can use four different knobs or just one.
The knobs have the ability to do anything from changing the volume in the middle of a game to moving through a timeline while editing a video. Whatever it is, Skyloong offers you more than enough knobs to control whatever you may need to do.
Wireless Connectivity
The GK75 offers wireless connectivity both via 2.4 Ghz and Bluetooth 5.1 with a $10 upgrade. Via Bluetooth, you can connect to up to 3 different devices.
Note with Bluetooth you will also only get 6-key rollover compared to N-key rollover. That being said, I would recommend using the 2.4 Ghz over Bluetooth as it is faster and in my testing had similar performance to a wired connection.
The GK75 comes with a 4000 mAh rechargeable lithium-ion battery. This should get you about three weeks of normal usage. If you don’t plan to use the RGB for a cleaner look you could get more than a month of use and only need to occasionally charge the board.
The GK75 offers the standard 1000 Hz polling rate. This paired with the GK75’s power saving mode helps it keep its solid battery life with good performance. If you start typing, the GK75 will immediately wake from sleep.
Mac Support
Skyloong and Epomaker are typically good about Mac support and the GK75 is no different. On the bottom of the board is a switch to change between Mac or Windows.
You can even use the board with an iPhone or Android although you may not have some functionality in the modifier keys.
If you plan to use the GK75 with a Mac we would recommend getting a set with Mac-specific keycaps. Most of the sets from Skyloong come with support for Mac and Windows keys. If you opt for the GK75 prebuilts then you should find extra Mac-supporting keycaps.
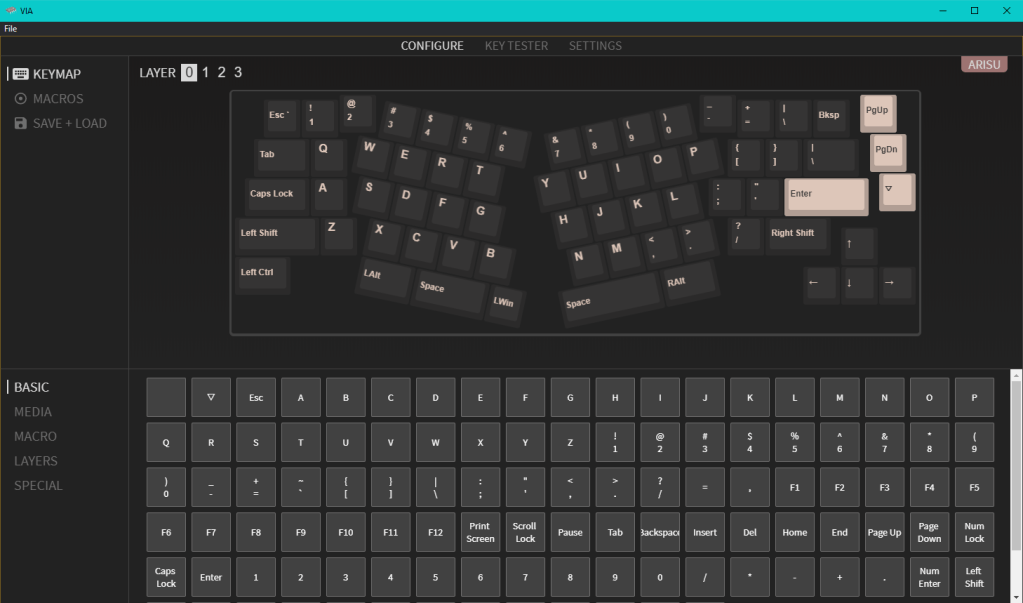
Backlighting and Software Support
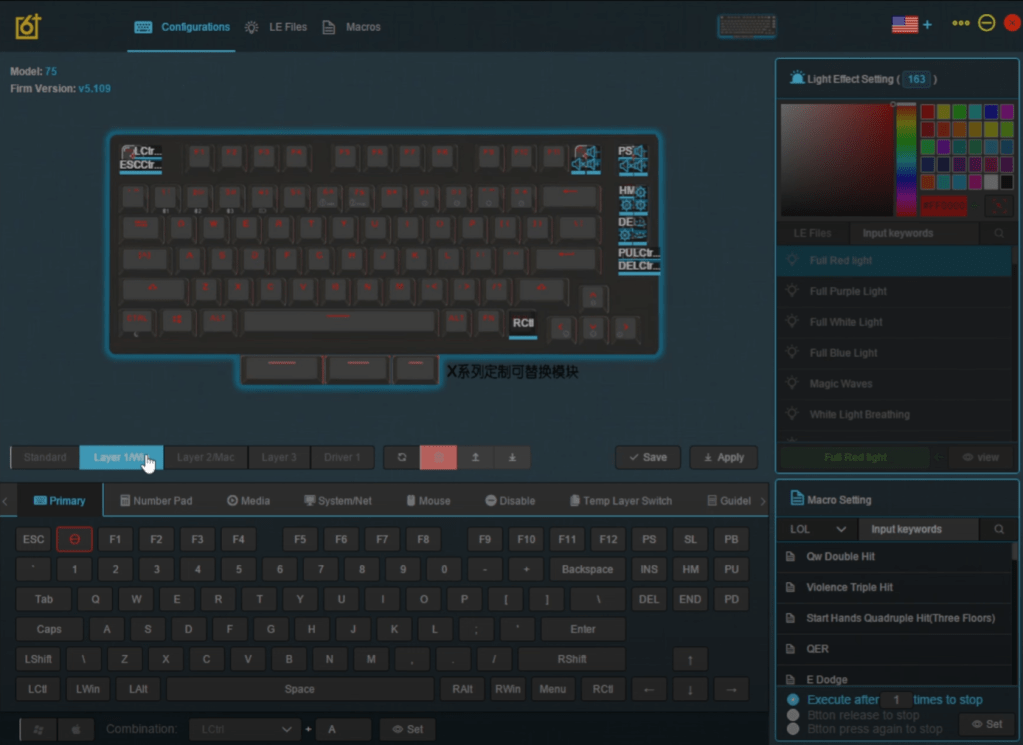
Skyloong’s GK75 offers vibrant RGB lighting that is addressable both with the software and onboard controls. Personally, I like the lighting off with regular keycaps but if you choose to get some shine through keycaps then they will look quite good with this board.
Software is another weakness in the GK75. The Epomaker and Skyloong software looks quite dated and is pretty confusing in 2023. The 6+ software is better than offerings from Redragon but at this price point, most custom boards support QMK or VIA.
Changing the lighting requires you to scroll through a list of vague names. Editing the key functions is not very difficult but it also has a potentially confusing labeling scheme. The software does take good use of the knobs and it is worth mentioning that you can enjoy this board without the software.
That being said, I would like to see either a big overhaul of the 6+ software or a switch to VIA. Not only is VIA open source but it is very easy to use, looks good, and runs easily on any system.
Conclusion
Skyloong’s GK75 is a feature-packed keyboard that comes in a practical but efficient 75% form factor. Wireless connectivity, a collection of knobs, a hotswap PCB, and a generally easy-to-build experience make the GK75 Aluminum Kit a great option. The GK75 offers a build that will sound good with minimal work.
If you find that the aluminum build is not important to you, you can save your money and take a look at the plastic GK75 that comes in at about $100 cheaper. In fact, the plastic version of the GK75 is one of Skyloong’s best lines.
Skyloong makes fantastic boards and the GK75 Aluminum Kit is no different. Before you go out and buy the GK75 though, you should consider other options like the Keychron Q1 or Glorious GMKK Pro if you want south-facing switches.
If you are looking for a kit that just needs some switches and keycaps then I would still recommend the GK75 in many cases. The GK75 offers wireless connectivity, multiple knobs, and a split spacebar which are features that you don’t see in many other boards at this price.
If Skyloong upgraded its software and supported a PCB with south-facing switches then the GK75 Aluminum Kit would be an easy favorite over the other competition but for right now it’s just one of the options in the mix.


You must be logged in to post a comment.