
The Razer Viper competes in a heavily saturated market of low-weight gaming mice with competitive prices. Razer delivers excellent performance alongside a shape that has allowed the Viper to become a very popular option.
Let’s take a closer look at the Razer Viper and see if it could be the right mouse for you.
The Verdict

The Razer Viper is a gaming mouse featuring a lightweight, accurate sensor, and popular shape among many gamers.
Its shape and weight make it very popular for those who game often, especially those who play FPS titles. The light weight makes flicks easy with the shape with an ergonomic design that is friendly for claw and fingertip grips, grips often used for gaming.
The mouse features RGB, friendly software, and onboard memory to store presets. This makes the software customization pretty easy.
There are no major downsides with this mouse but the price is occasionally overpriced for a wired mouse. Paying $80 or over may not be worth it if you do care about wireless connectivity. Also, it is worth mentioning that due to the side buttons being on both sides you may find that distracting and have to adjust to it.
Overall Razer delivers a fantastic option for gamers if you think this mouse suits you then check out the Razer Viper on amazon.
In The Box
- Manual: This tells you everything that you need to know to use the mouse and in case you run into any issues.
- Razer Stickers: The stickers have the razer chroma lighting and look like something you would get with a CPU.
- The Mouse: The mouse is packaged nicely with the cable tied to keep it all neat in the box.
Build Quality
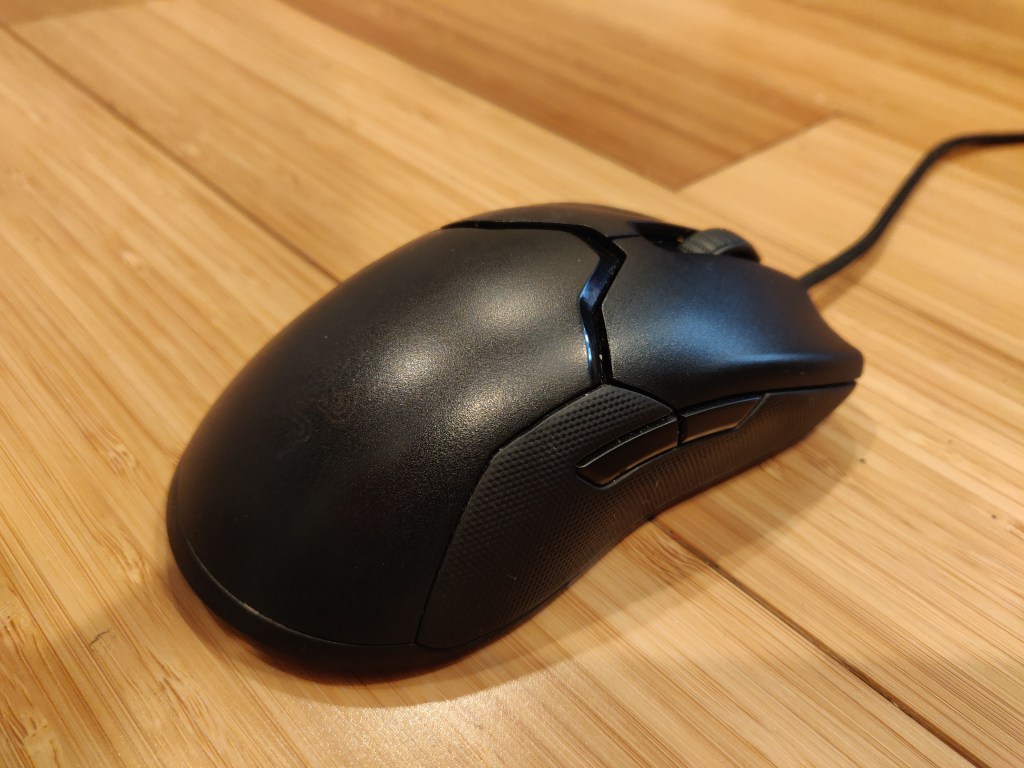
The Razer Viper has an exceptional, lightweight build, coming in at 69 grams. This is very light for a gaming mouse and it does so even without having holes. There are some slightly lighter options but those do have holes in their frame. So, if that bothers you, this is one of the best choices.
Mice with honeycomb shells often have issues in the long term with cleanliness as dust and dirt can get in and although no super common, can cause issues. It is nice to see that Razer didn’t opt for the honeycomb design.
The shell is made of high-quality black plastic with rubber for the sides providing additional grip. Mine has a little rattle when shook, however, I’ve owned mine for a long time. Although I have this issue it is common with many mice. This is because scroll wheels will often move around a bit.
The Viper has an amazing flexible cable that doesn’t slow the mouse down. It also has great feet with a smooth glide.
Overall the build is quite nice and delivers a standard experience among many high quality gaming mice.
Shape and Comfort
The Viper is a medium-sized mouse with an ambidextrous shape. It is ideal for a fingertip grip as well as a claw grip. Palm grip works as well if you have smaller hands however, ambidextrous designs are better suited for the other grip styles.
The great compatibility with claw and palm grips makes this mouse a great option for gamers.
The sides have a rubber texture and are indented quite a bit making them easy to grip and it has a fairly large hump that does not get in the way when claw or figure gripping it but is comfortable when palm gripping. The shape works well for FPS games which require very precise aim.
Switches and Scroll Wheel
The Razer Viper has optical switches that have a nice and satisfying click. Razer claims that these switches have lower actuation times and longer life spans. Also, they are meant to eliminate double clicking issues. In my experience, these are amazing switches but there has not been a perceivable difference compared to ordinary switches so I would not recommend buying this mouse based solely on that.
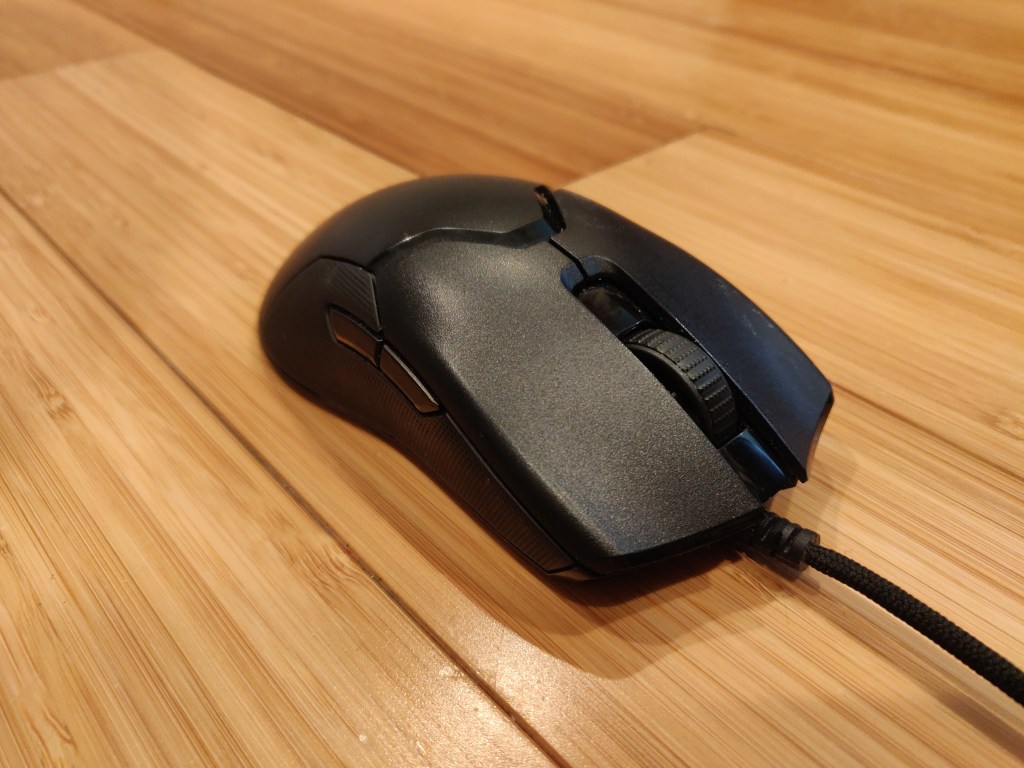
It also possesses side buttons on each side allowing you to use this mouse with either hand. These are smaller than most to avoid accidental clicks. I’ve gotten used to them however, I still prefer bigger side buttons on one side.
The scroll wheel also is top-notch with nice, tactile steps.
Additionally, to avoid accidental clicks, the DPI button is on the bottom. There is a light on the bottom of the mouse which changes color based on the sensitivity.
Sensor and Polling Rate
The Razer Viper utilizes the Razer 5G optical sensor with a DPI range of 16,000. You can change the DPI in increments of 50. Most people use a DPI of 1200 or lower, but the high range shows the great accuracy of this mouse.
The sensor is one of the most accurate ones in any gaming mouse at the moment. During my use, I have encountered no issues. It is very light too and helps the mouse achieve such a low weight.
As for the polling rate, the Viper supports the standard 1000Hz and you can change it for whatever reason in the software.
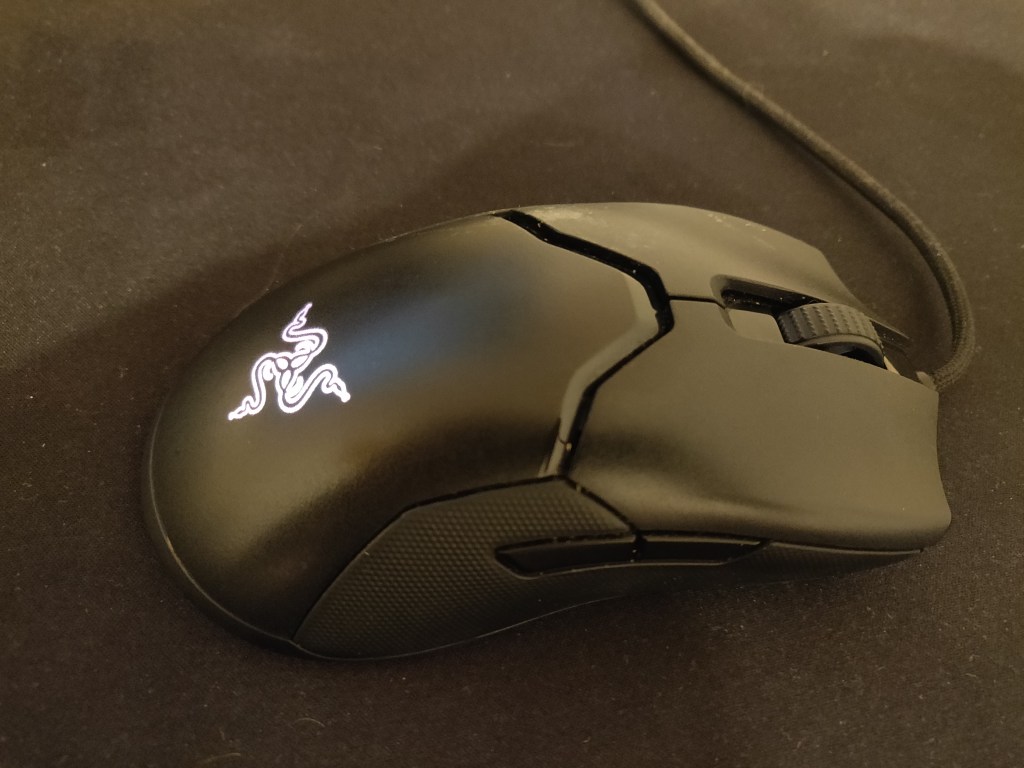
Chroma RGB Lighting
One feature that the Razer Viper supports is their Chroma RGB lighting. The Razer logo lights up with decently bright RGB lighting. It also features a lot of customization.
It is quite bright, and you can choose the color and effect. The effects include breathing, spectrum cycling, reactive, audiometer, and static. Additionally, there are more advanced effects in Chroma Studio which allows you to customize the RGB more in-depth.
Useful Razer Synapse
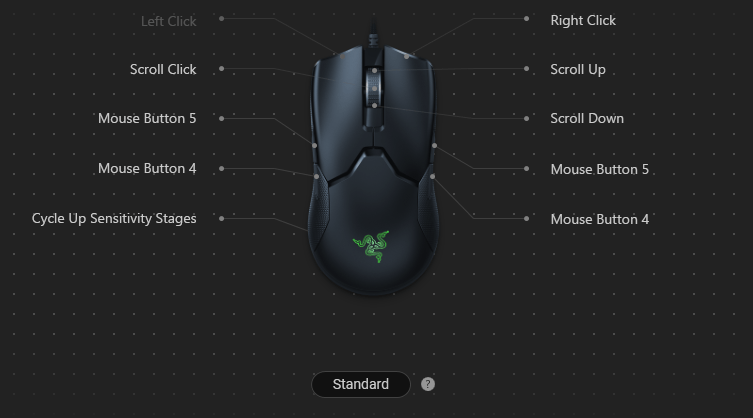
The Razer Viper utilizes Razer synapse which provides a deep level of customization. You can change the lighting of the Razer logo on the back, edit button mappings, change the sensitivity, and more.
The DPI can be changed be in increments of 50. Things like polling rate can be changed too.
Buttons can be remapped to do various functions. If you want to remap the side buttons to have different functions you have the option to do so. There are a total of 8 buttons and all remapabble.
You can set all your settings to various profiles. These changes will save to your system as well as the onboard memory of the mouse. If you make a synapse account, your profiles get saved to it so if you log in on another computer they will transfer. This is very useful if you use your mouse on multiple devices.
Onboard Memory
The Razer Viper has onboard profiles that will allow you to save specific settings like lighting, sensitivity, and button mappings to the mouse.
The onboard memory is helpful if you use your device with multiple devices or take your mouse to different places. It also enables you to keep all of your settings without Synapse running.
If you don’t like to use software this is nice because you can quickly save your profiles and then uninstall or not run it in the background.
Conclusion: Is It Good For Gaming?
The Razer Viper is one of the mice for gaming, especially if you are interested in FPS games, requiring high precision. Its accurate sensor and responsive switches paired with its low weight and comfortable shape make this mouse solid in all kinds of gaming.
Even though the mouse may not be wireless, the cable is very light and flexible making it not have issues. The Viper also features things like RGB lighting, onboard memory, and Razer’s powerful synapse software.
The only issue that I faced was that the buttons are a bit small and are on both sides so that takes some time to get used to. Aside from that, the original price was a bit high but it has been on sale for quite some time, anywhere from 25 to 50% off.
If you think the Razer Viper suits what you want and the games you play, check it out for a great price on Amazon.


You must be logged in to post a comment.