
Do you guys game on Windows 10? It’s a great experience that can get even better!
Windows 10 is one of the most feature-packed operating systems ever and it’s great for gamers. It has more games than any of its competition. If you want to eek a bit more performance out of your Windows system you can optimize it to give you those higher frame rates.
Below are several tips that will help you enjoy gaming on your Windows 10 device to the fullest.
1. Power Plans
Power Plans are a very easy way to get extra performance out of your laptop or PC.
Power Plans are exactly what it sounds like. They manage where the power goes when you are using your computer. There are many options and I will show which is the best option for your rig.
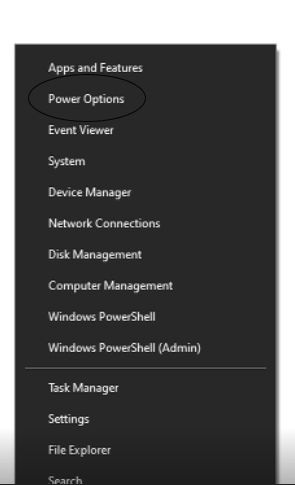
Now to reach this page you will want to open your power plan settings by going to the bottom right of your desktop, right-click on the windows icon, and click power options.
After clicking this you will have a settings tab open on your desktop that will look like this.
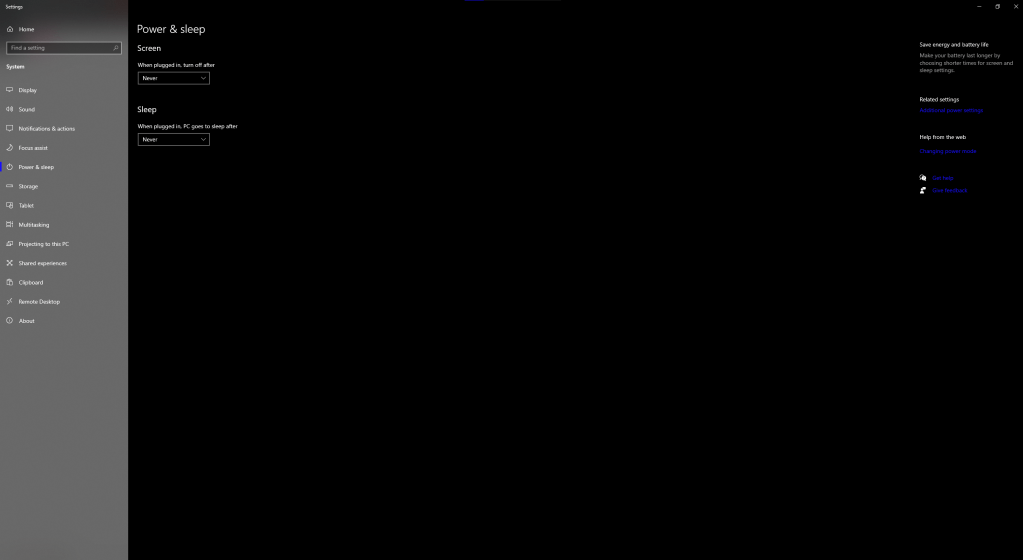
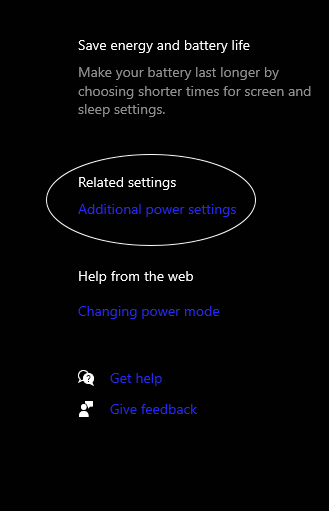
You haven’t quite reached the final destination yet as now you will have to click on “Additional Power Settings”
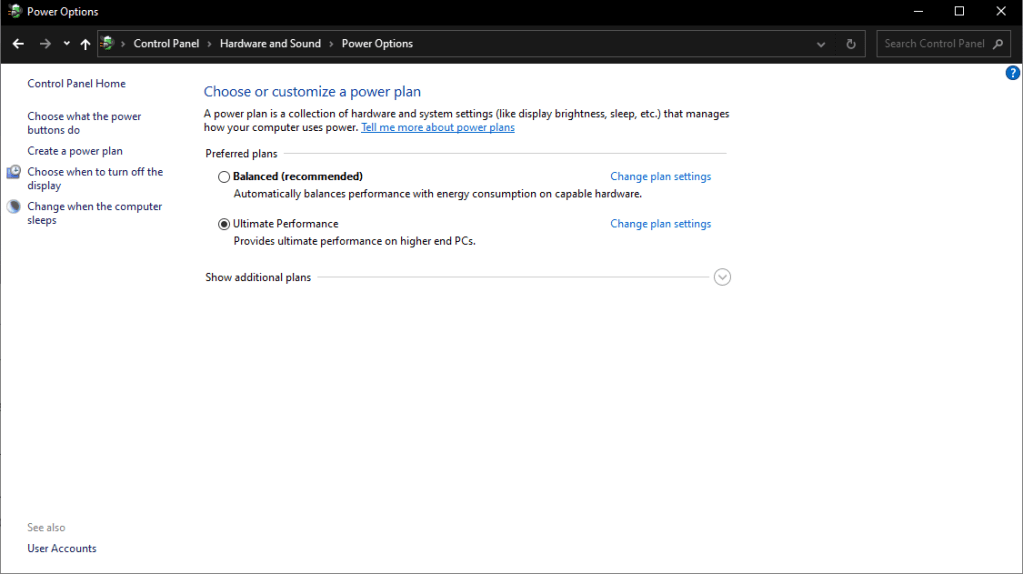
Now when you click this you will be at the final destination.
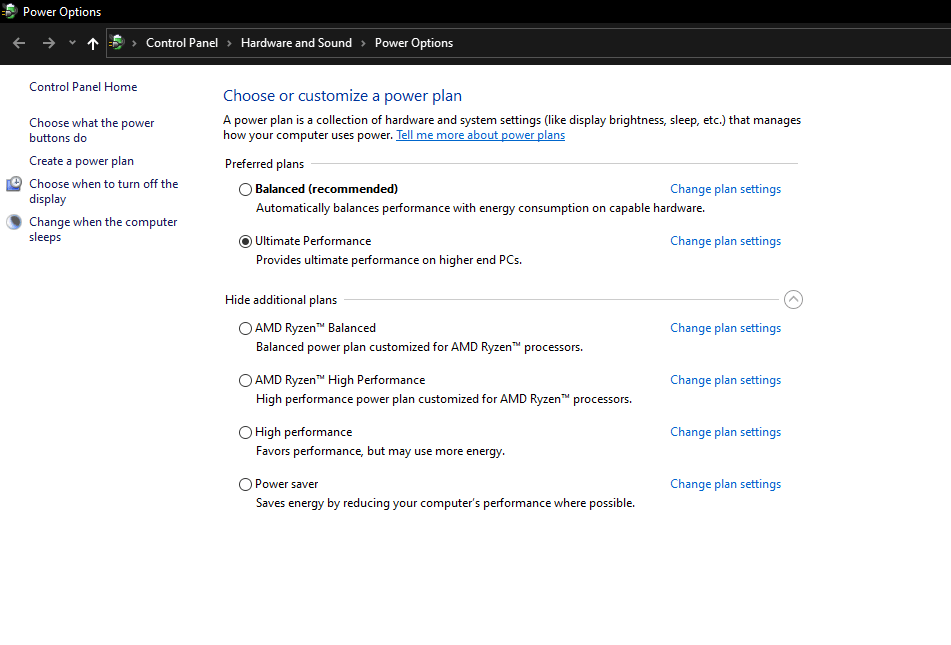
You may not see all these options as only Ryzen users the AMD options. You will see a balanced, power saver, and high performance. You will want to select “High Performance”. As the description says this will use more power but will yield more performance for your gaming and resourceful tasks.
Although this will affect your power consumption so if you are on a laptop and cant be connected to the power supply then I would recommend staying on balanced. But as a side note not having your charger in your laptop whilst gaming will give your performance a serious hit.
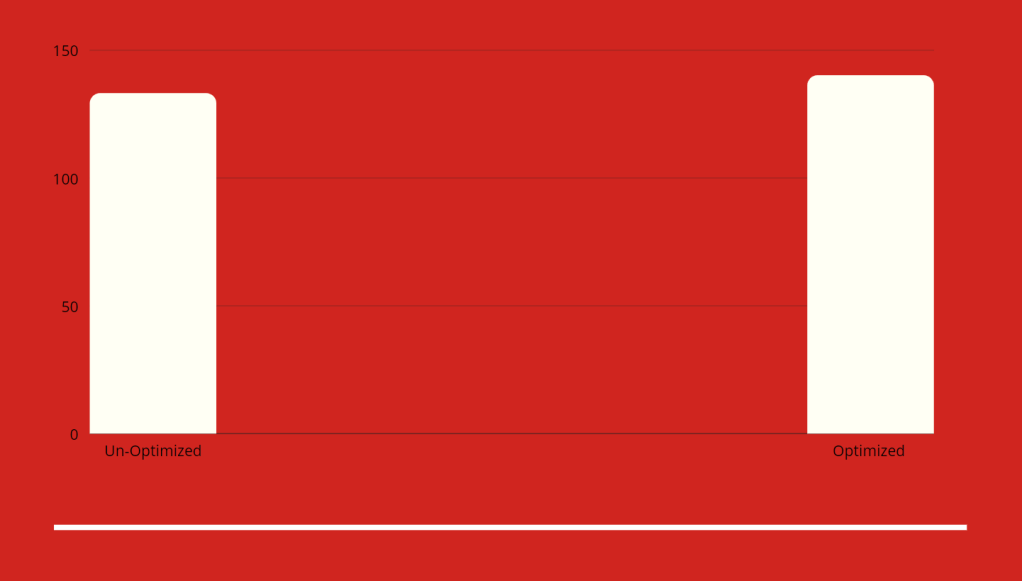
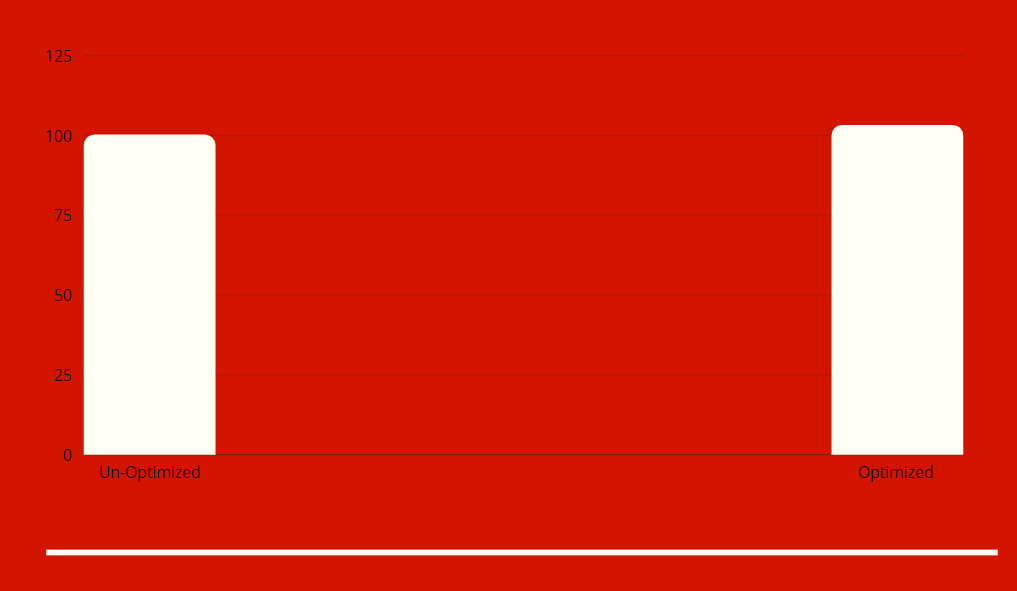
Benchmarks
I tested Rainbow 6 Siege on a Ryzen 5 3600 and a 2060 Super. Below are the before and after results.
2. Performance Settings
Windows 10 is packed with eye candy that makes the OS so pleasing to use. But these animations can cause your PC to work overtime which can take a toll on your hardware while gaming.
One thing you can do is change the performance settings of your device to disable options that make Windows look a little bit more appealing.
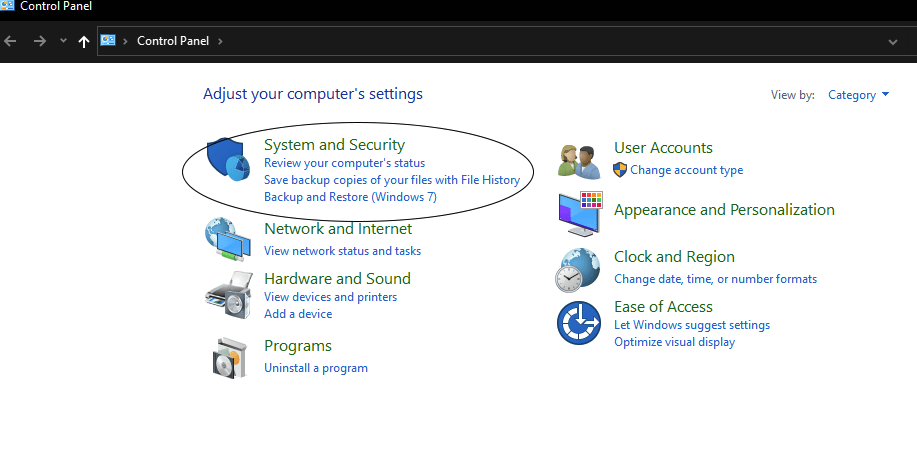
To do this you will want to open control panel. And click on system and security.
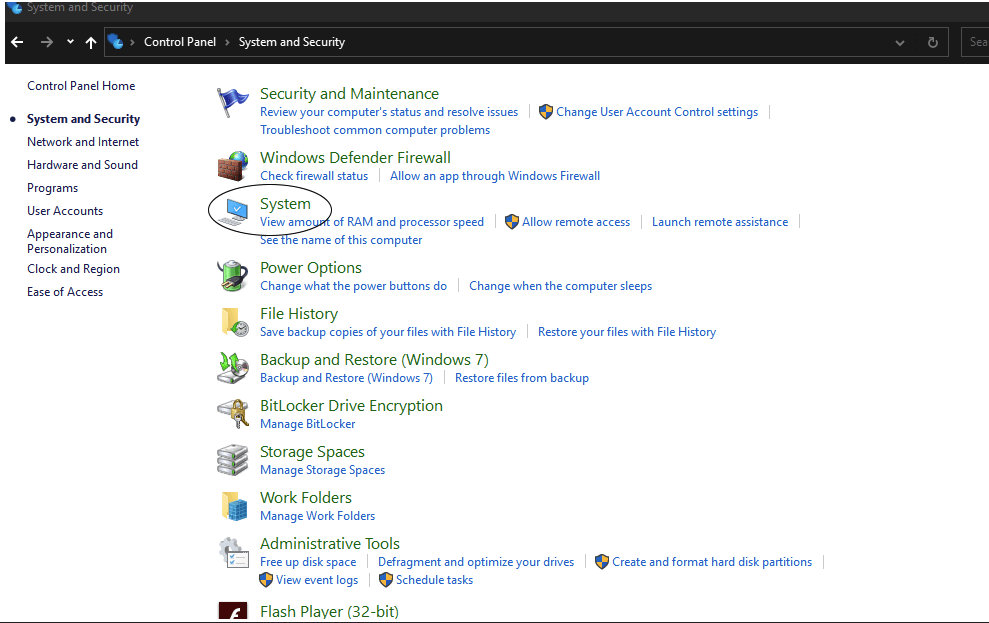
Then you will want to click on system
When you click this it will take you to a settings page.
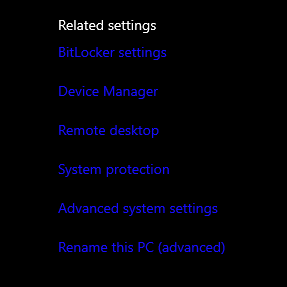
Then you will want to click Advanced System Settings. This will take you to another menu where you will click Performance settings.
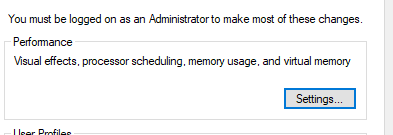
After you click settings you will reach a page with many checkboxes.
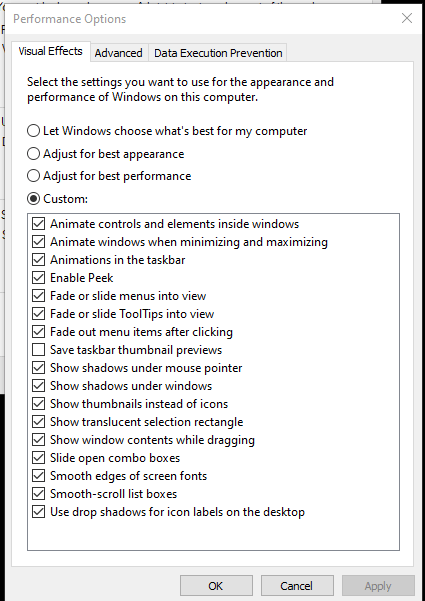
Uncheck all the checkmarks for best performance. But you are free to experiment with what you would like and tailor these settings to your preference.
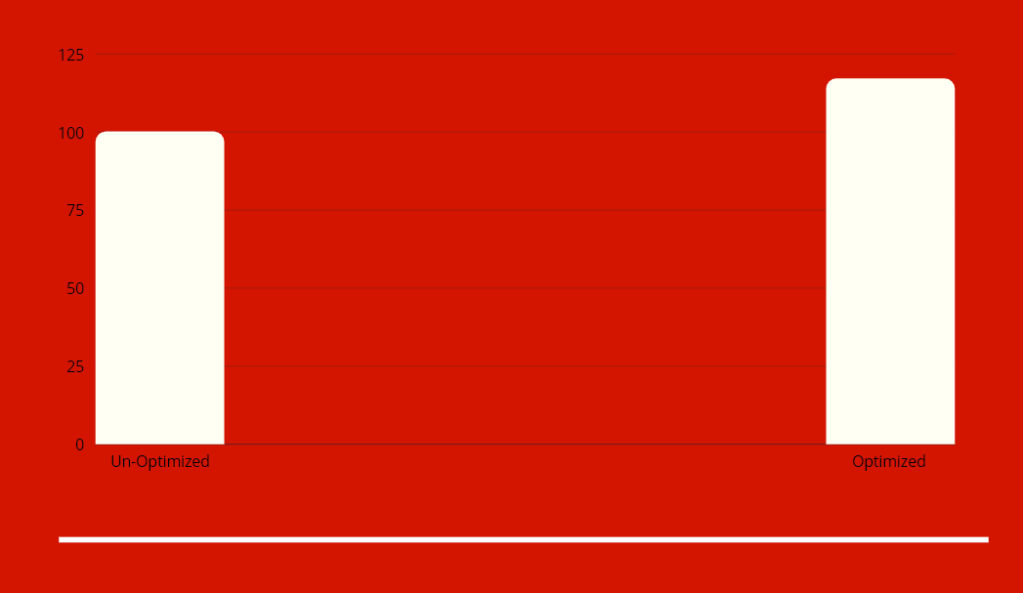
Benchmarks
I tested Rainbow 6 Siege on a Ryzen 5 3600 and an Nvidia 2060 Super FE. Below are the before and after results.
3. Windows Game Mode
Windows Game Mode is a nifty setting that can be found in the gaming setting but is it actually good?

This setting is a nice addition by windows developers. In short, it limits background tasks while gaming.
To turn it on you want to open settings.
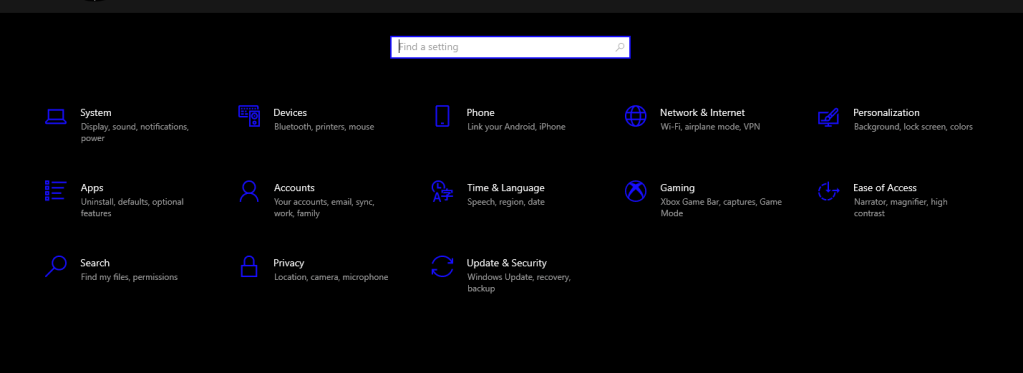
From here you need to click Gaming.
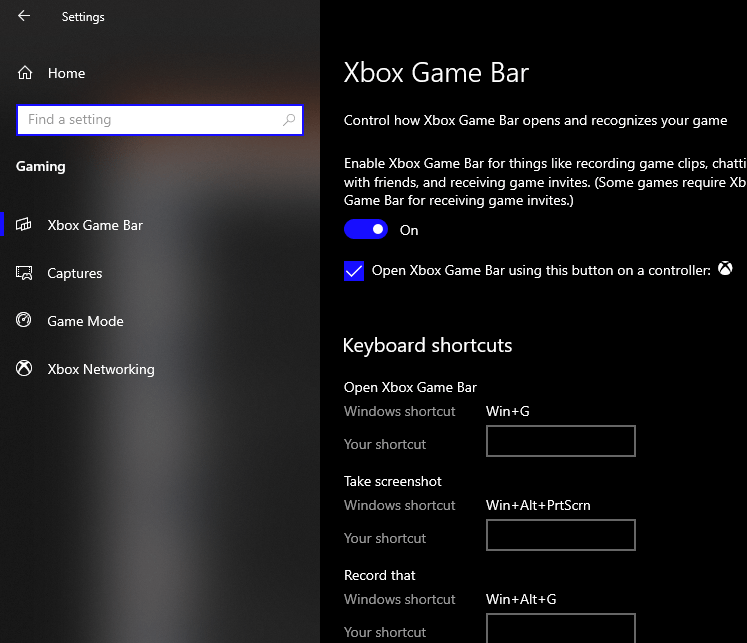
Then click Game Mode and the setting will be the only toggle on that page.
Now, lets find out if this setting actually yields a benefit.
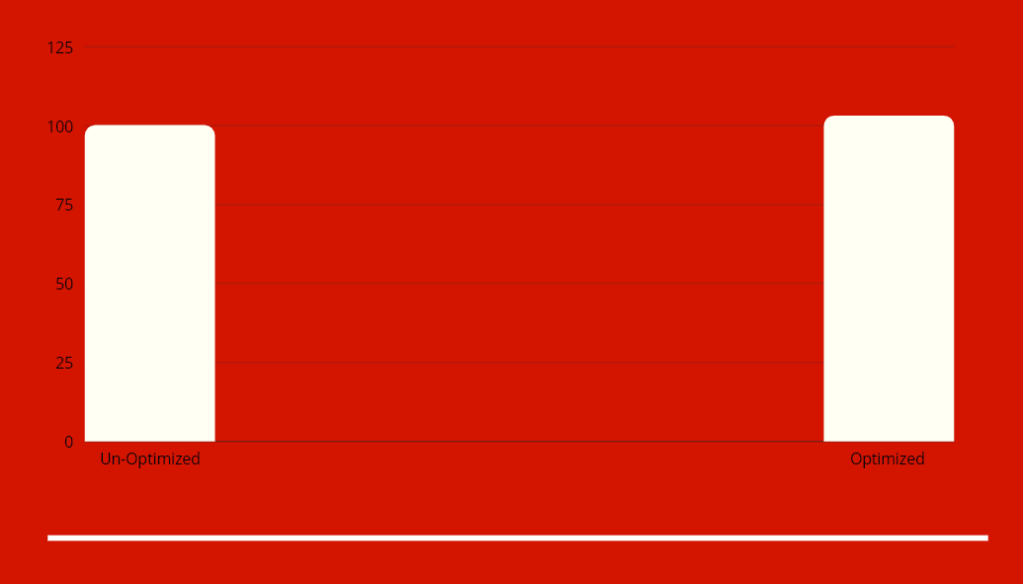
Benchmarks
Game mode yields a very slight benefit in Rainbow Six Siege. It has a 3 FPS difference. Nothing too crazy but still very easy to do.
As we can see it is a bit useful and although the improvement is not game changing, it all adds up in the long run.
4. Timer Resolution
Timer Resolution is a free application to change the resolution of the default windows timer. It is shown to lower latency and increase fps. This application changes the resolution of the timer from 15-25 seconds to 1. This can reduce latency and stuttering. Please note that this application is completely safe as it has no permissions to change system files or settings and will not be flagged by Windows Defender.
You can download it here.
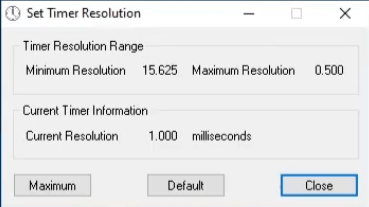
Once you open the program you can click Maximum when you start gaming which will provide the least latency and more FPS.
Benchmarks
This also yields a very small impact but the game felt more snappy and my movements where more responsive.
5. Task Manager Optimizations
Task Manager is one of the best tool that’s packed into Windows. It is great for closing windows when they aren’t responding. But can it be used for more than that?
But, did you know that you can make optimizations within task manager?
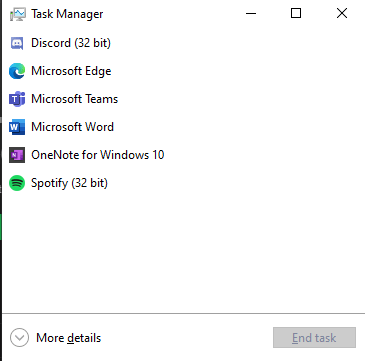
We will be disabling startup programs which can lead your computer to slow down. To do this open task manager and hit more details in the bottom left.
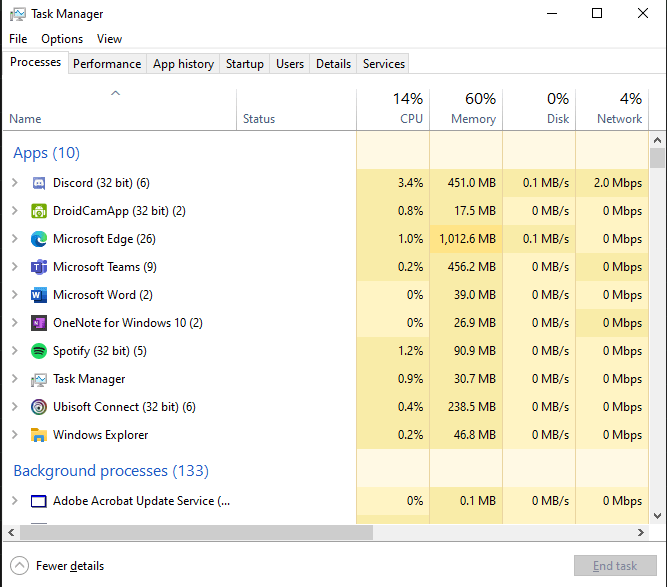
From here click startup at the top.

From here you will want to disable everyone one of the programs. This will make sure that no programs will start up when you load up into Windows so your device will be faster.
Many apps that start up are not needed at most times and hog precious system resources.
If you still want some apps to start when you load into Windows you can keep some enabled but disabling all apps or as many as possible is the best way to improve the initial start-up time and improve overall system speed as much as possible.
This will yield a slight improvement on your FPS but more so how fast your PC startups and functions in daily use.
Conclusion
These tips all provide a very nice benefit to your gaming experience. We hope this helps you to get that little extra juice out of your high or low-end gaming PC.
If you need more help please refer to the /r/lowendgaming Reddit here or our Discord here for more details or particular questions regarding your system specs or how to optimize for specific games.
That’s all for now. Stay tuned for more in depth tips, reviews , and guides.

You must be logged in to post a comment.