In the world of gaming mice, we have grown accustomed to slim, lightweight mice for FPS titles. However, the UtechSmart Venus Pro provides a package that suits those with bigger hands who want more buttons for MMO, strategy, or any other non-FPS title.
If the UtechSmart Venus Pro sounds like a potential new mouse for you, then keep reading to find out more.
The Verdict

The UtechSmart Venus Pro is a wireless gaming mouse that boasts a total of 19 buttons. This makes the Venus Pro an excellent choice for MMO, MOBA, and RPG titles. If you have a palm grip and medium- to large-sized hands then this mouse could be very comfortable for you.
However, the Venus Pro is also a mixed bag. The buttons and sensor may not be a problem for everyone but in FPS titles they would require a refresh to compete with the newest mice at this price point.
To compound on that, the Venus Pro is quite heavy making it harder to perform quick flicks, despite the high-quality feet. Additionally, while the RGB lighting is impressive for its price point, the software falls behind most of the competition today.
The niche design can make the Venus Pro either a great or terrible fit for you. Its ergonomic shape, vibrant RGB lighting, and numerous buttons make the Venus Pro a perfect option for the right audience. On the other hand, if you are an FPS gamer looking for the quickest response times and lightest possible weight, then the UtechSmart Venus Pro may not be the option for you.
Specifications
| Length | ~119mm ~4.7in |
| Width | ~79mm ~3.1in |
| Height | ~41mm ~1.6in |
| Weight | ~127g |
| Sensor Type | Optical (100 – 16K DPI) |
| Polling Rate | 125 – 1000 Hz |
| Cable Length | 1.9m (6.2ft) |
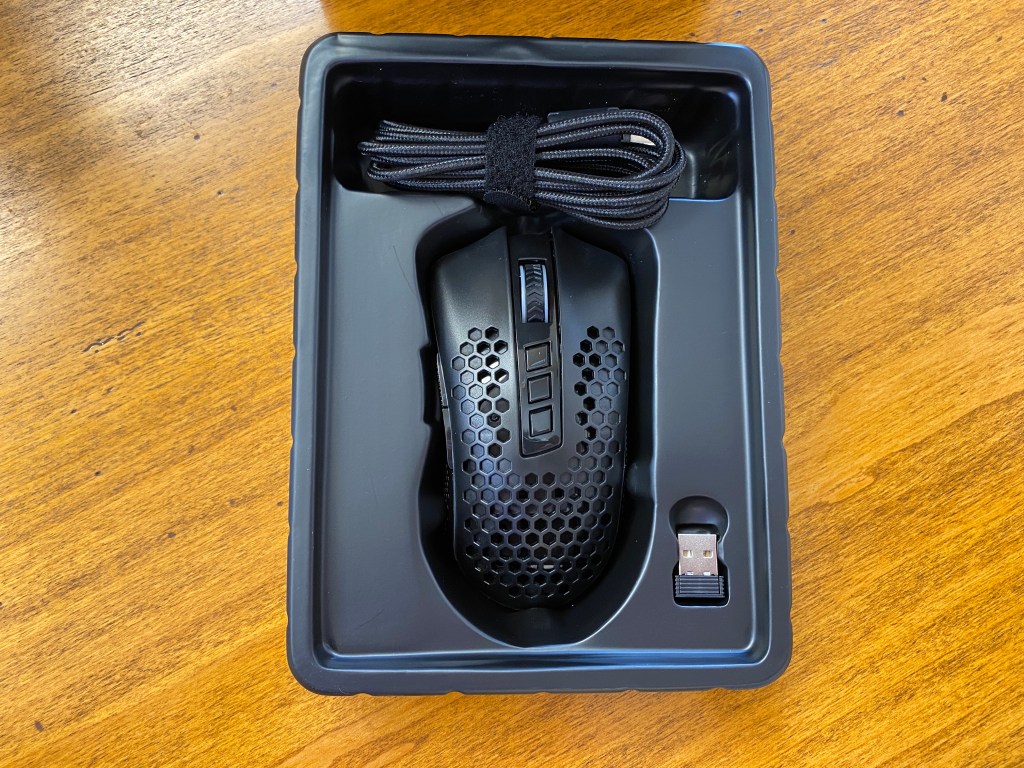
In The Box
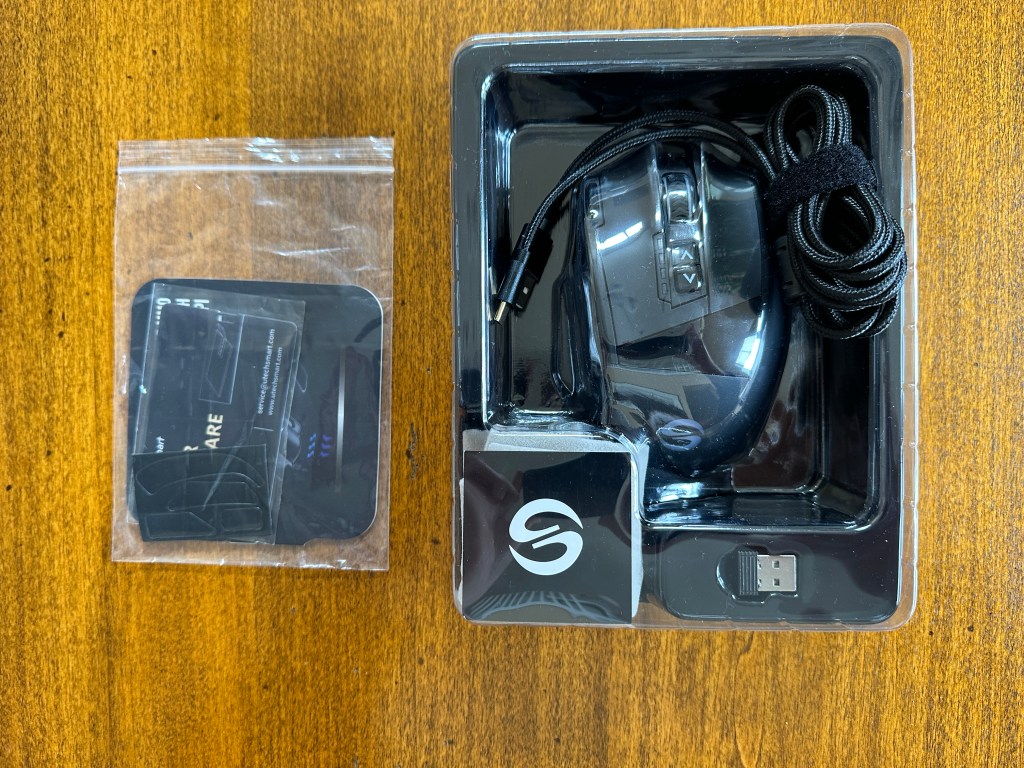
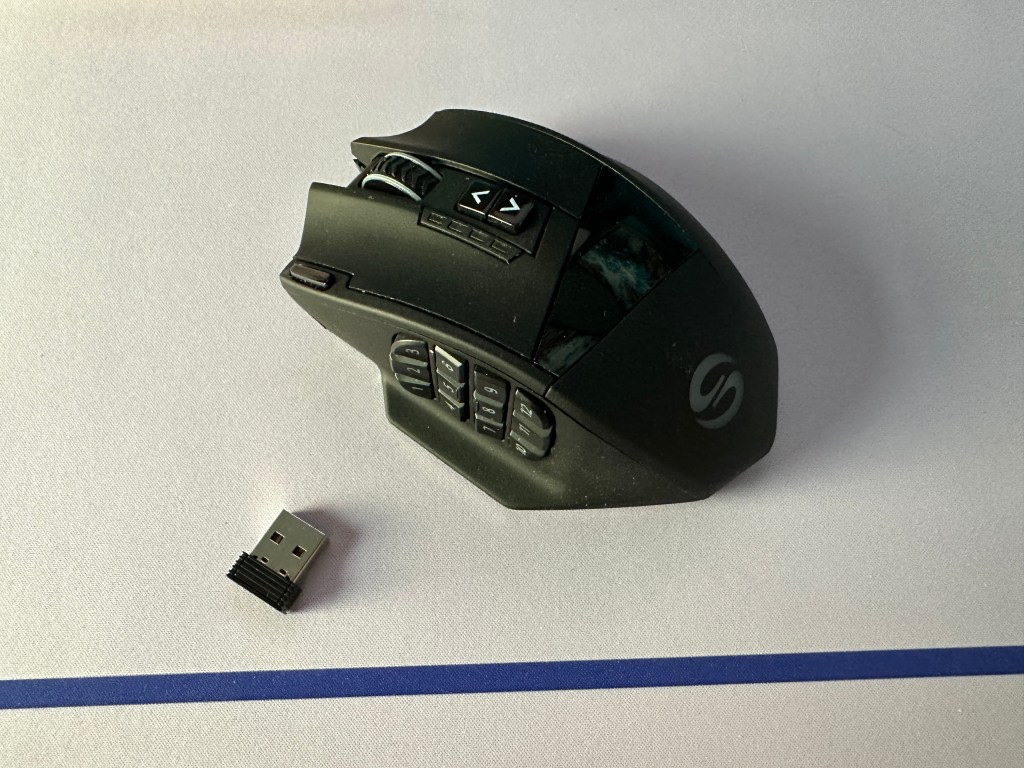
In the box, you will find the UtechSmart Venus Pro with a solid amount of accessories.
- Manual: This helps explain the basics of the mouse, the functions of the software, and basic warranty information.
- Cable: A 1.9m (6.2 ft) braided USB-A to USB-C Cable.
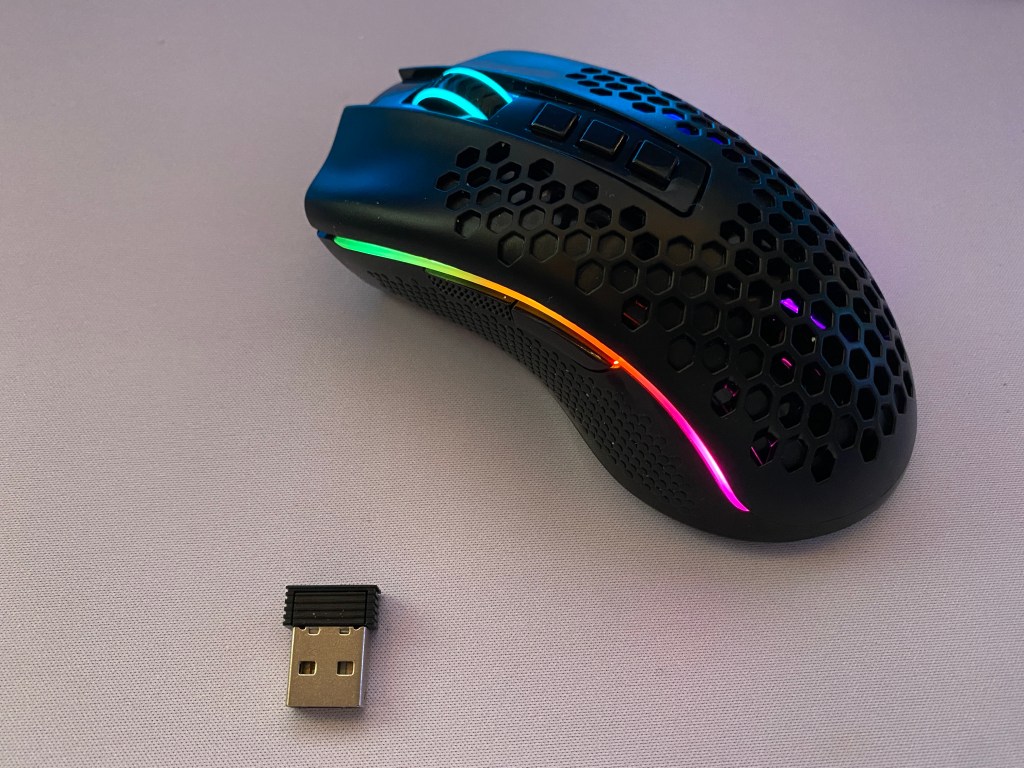
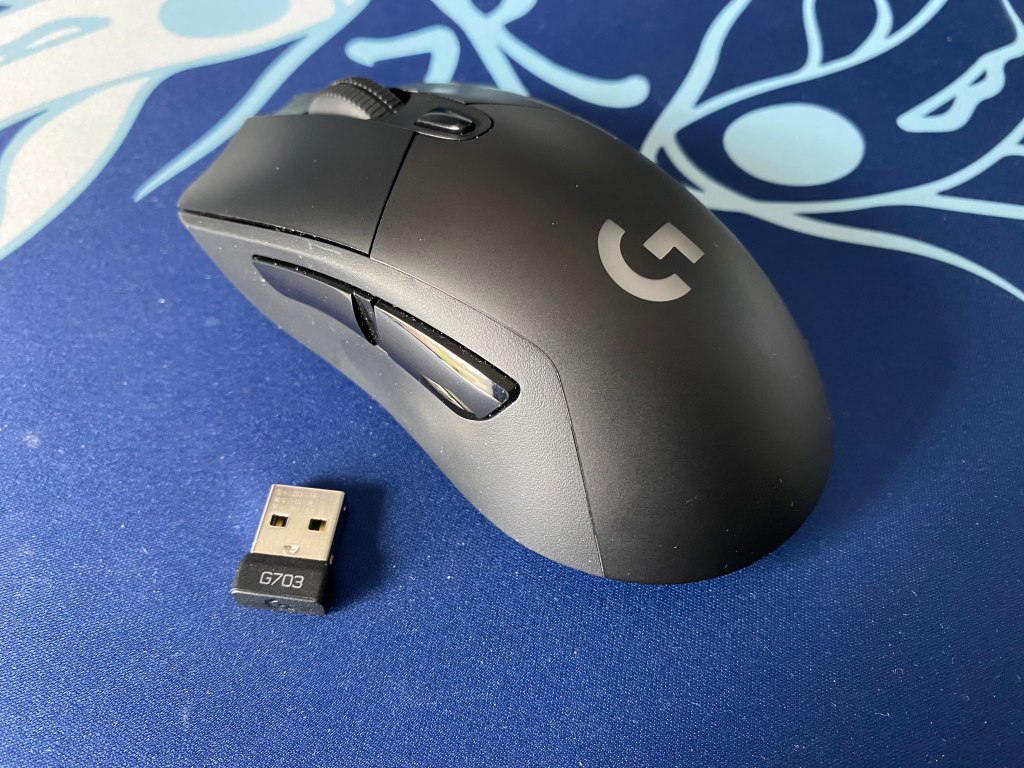
- Dongle: 2.4 Ghz dongle for the wireless connection.
- USB Stick: Attached to a small card to download the software for the mouse.
- Sticker: A square sticker with the logo.
- Bag: Grey-colored bag that holds the mouse if you are on the go.
- Extra Feet: Probably not needed but you will find some extra feet just in case.
Build Quality
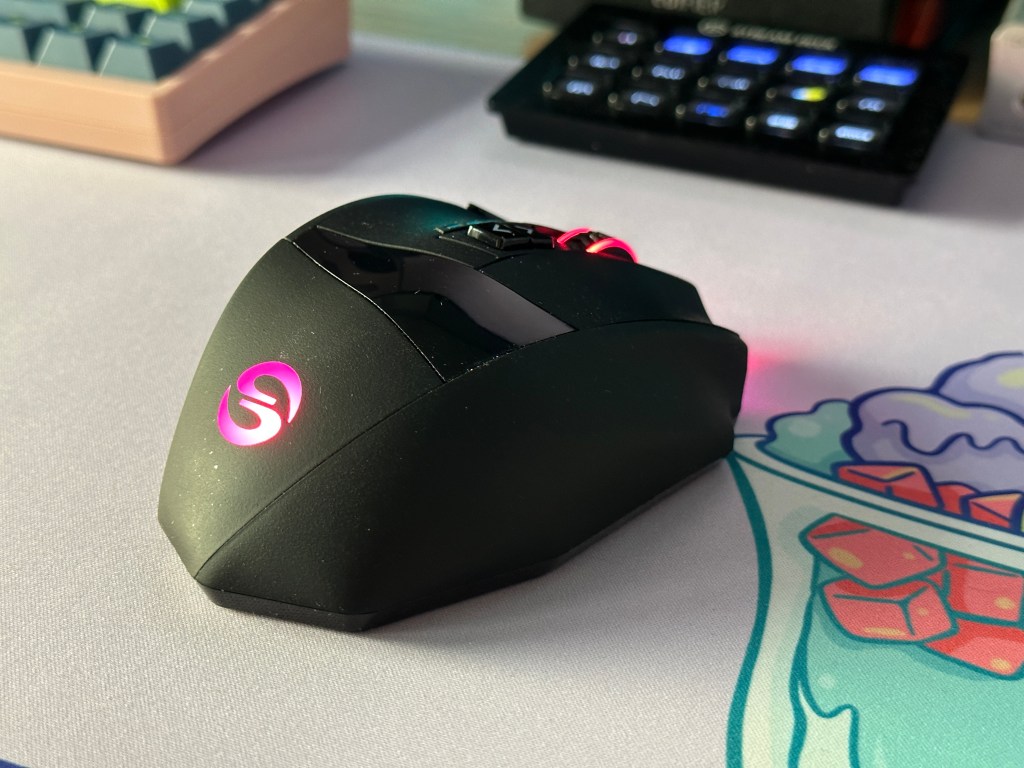
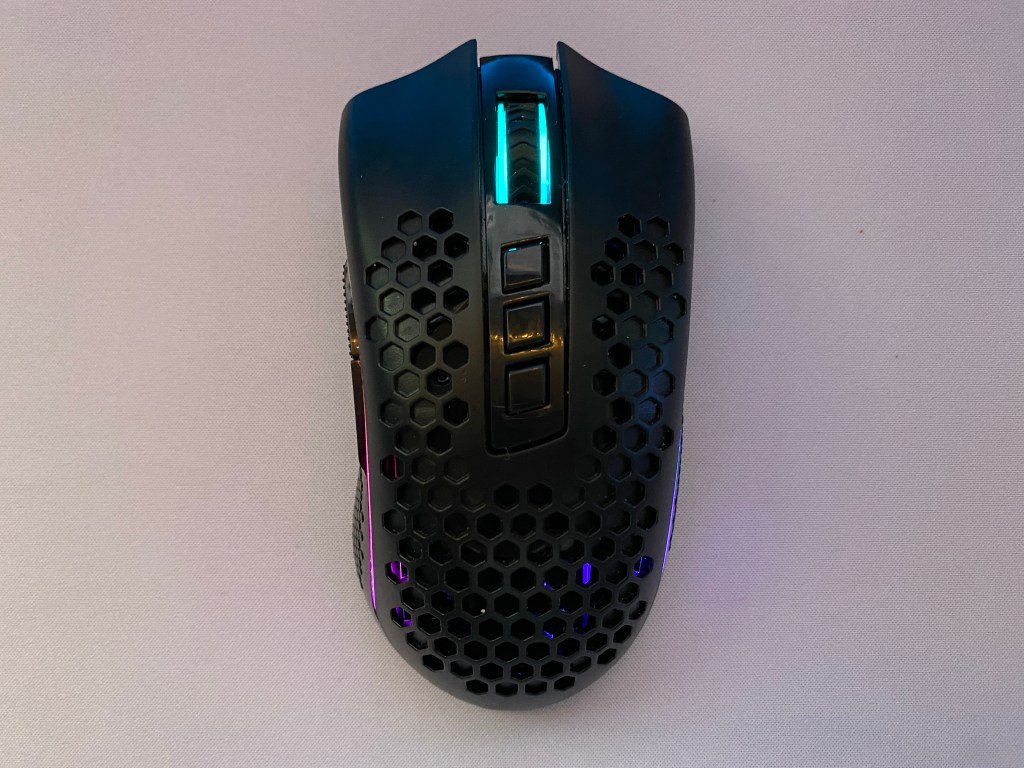
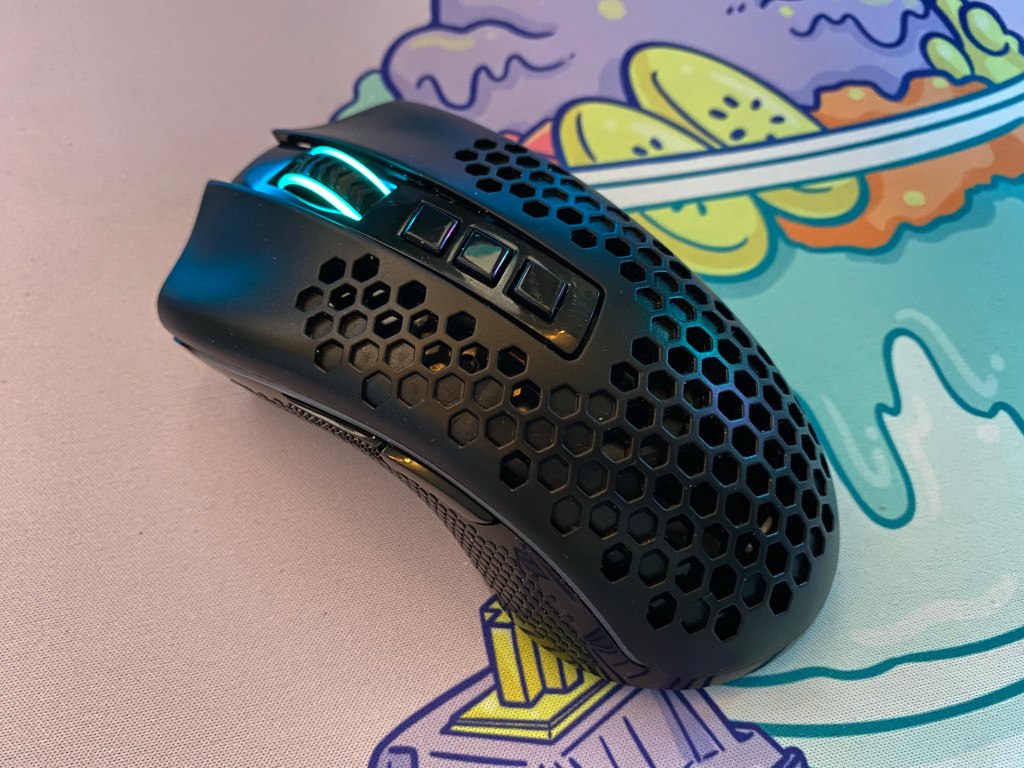
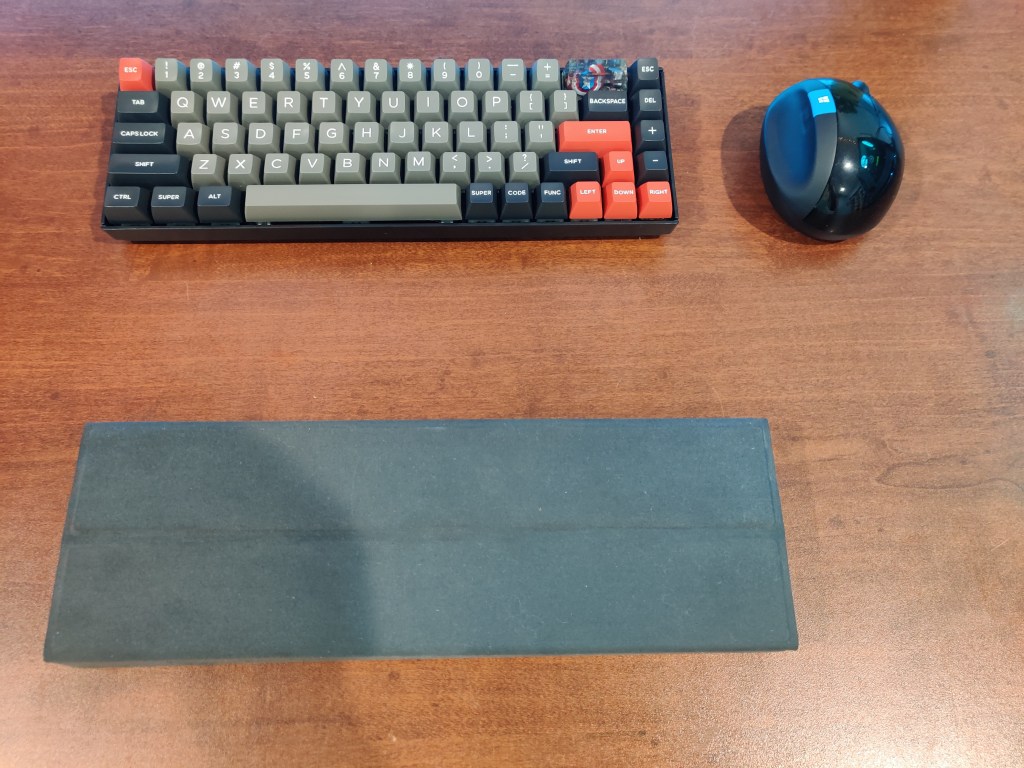
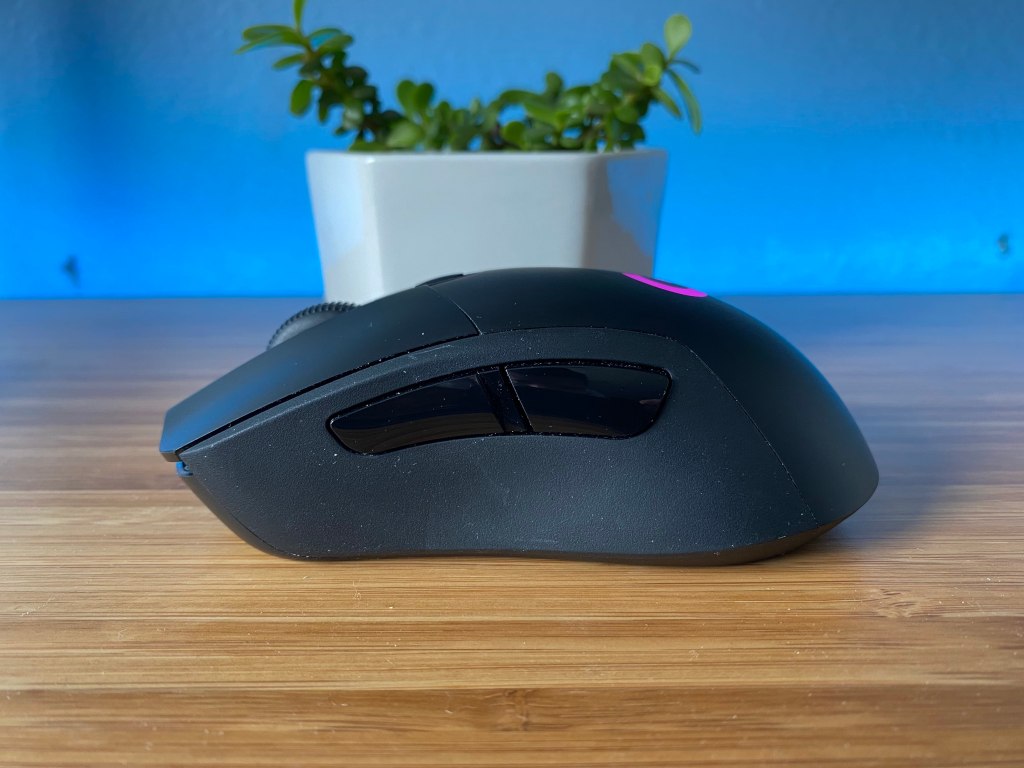
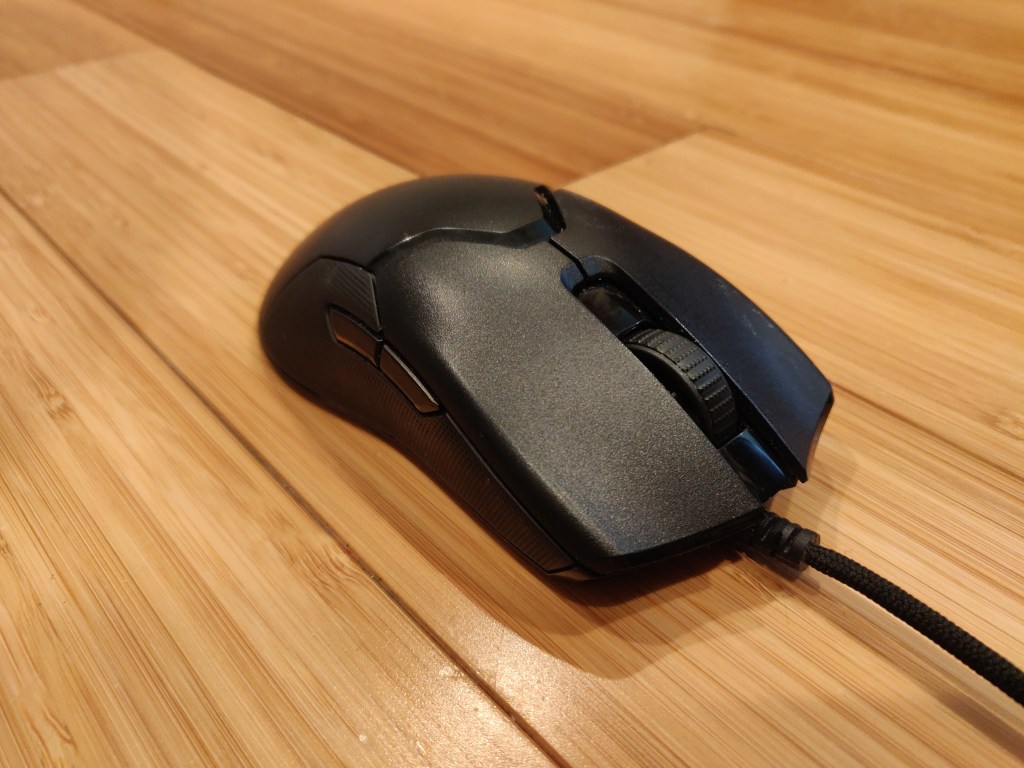
The UtechSmart Venus Pro is constructed from strong plastic with liberal use of textured material throughout. The mouse features an all-matte black look with one portion in the palm area that is gloss plastic that, honestly, looks a bit out of place.
At just under 127g, the Venus Pro feels quite hefty for a mouse in 2023. That being said, the use of materials makes the Venus Pro feel premium.
One area that makes the weight slightly less noticeable is the feet. The Venus Pro comes with decent-sized feet, made from PTFE, that provide a smooth glide. Now you won’t get quick flicks with this mouse but it does make it better.
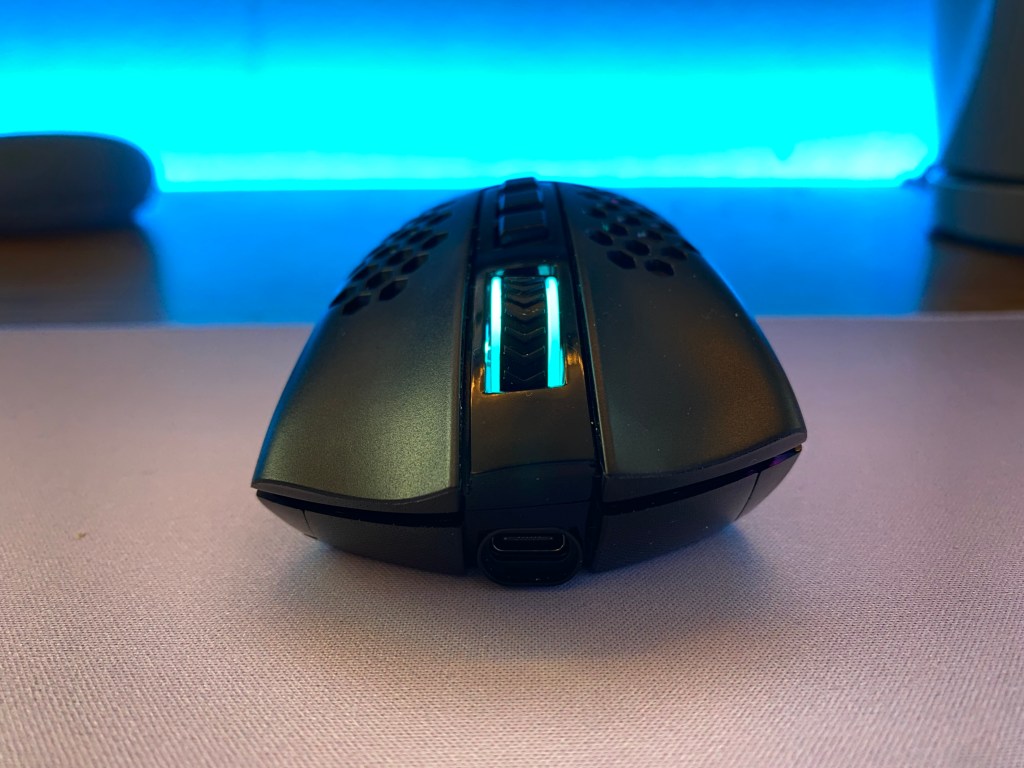
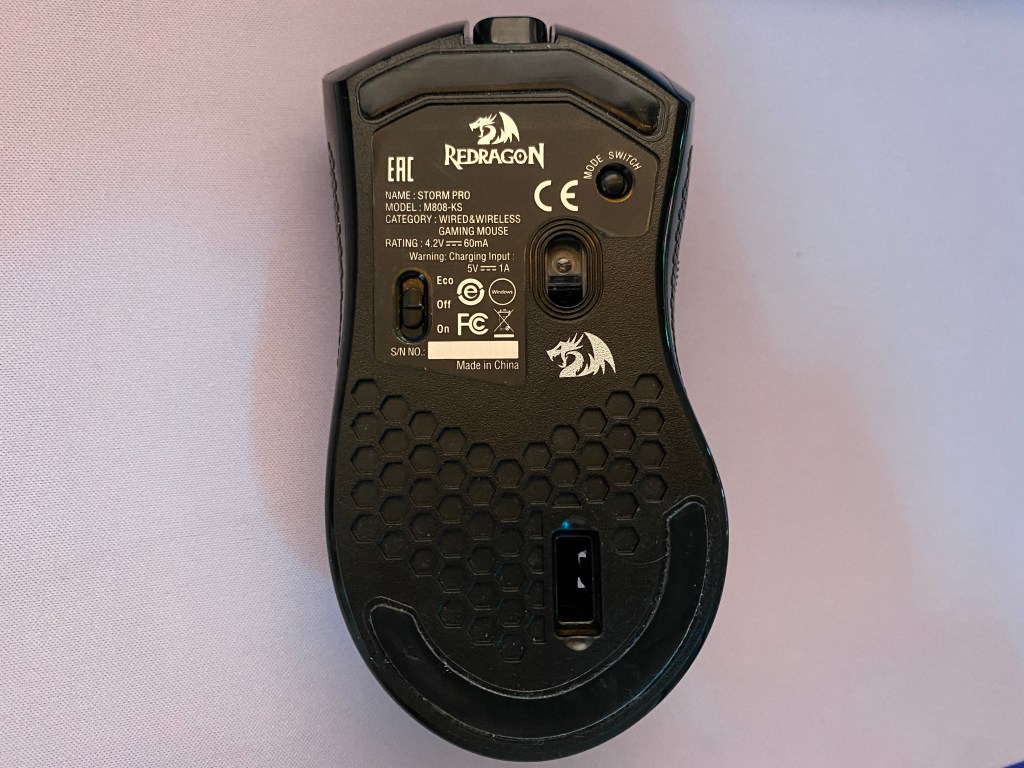
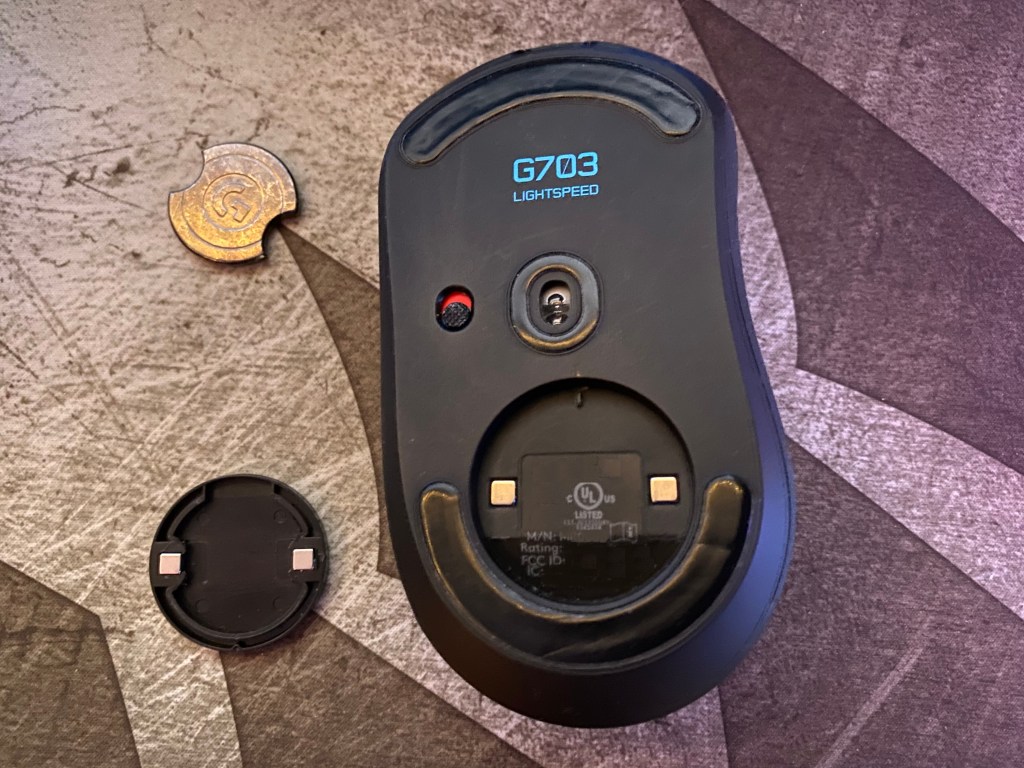
The Venus Pro has a standard USB-C port for charging and at the bottom of the mouse is a slot for the dongle. The slot is magnetic which makes it very easy to find the spot for the dongle, but unfortunately, the dongle does not fit flush in the slot.
Overall the mouse feels well made and that is supported by a one-year warranty. There is minimal rattle and no flex in any part of the mouse. It would just be nicer to see a lower weight.
Style and Comfort

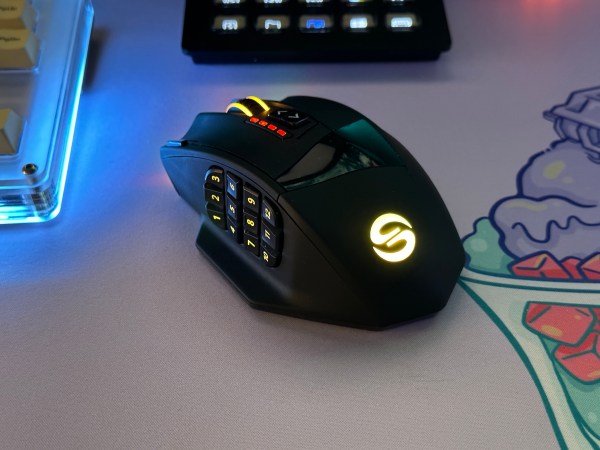
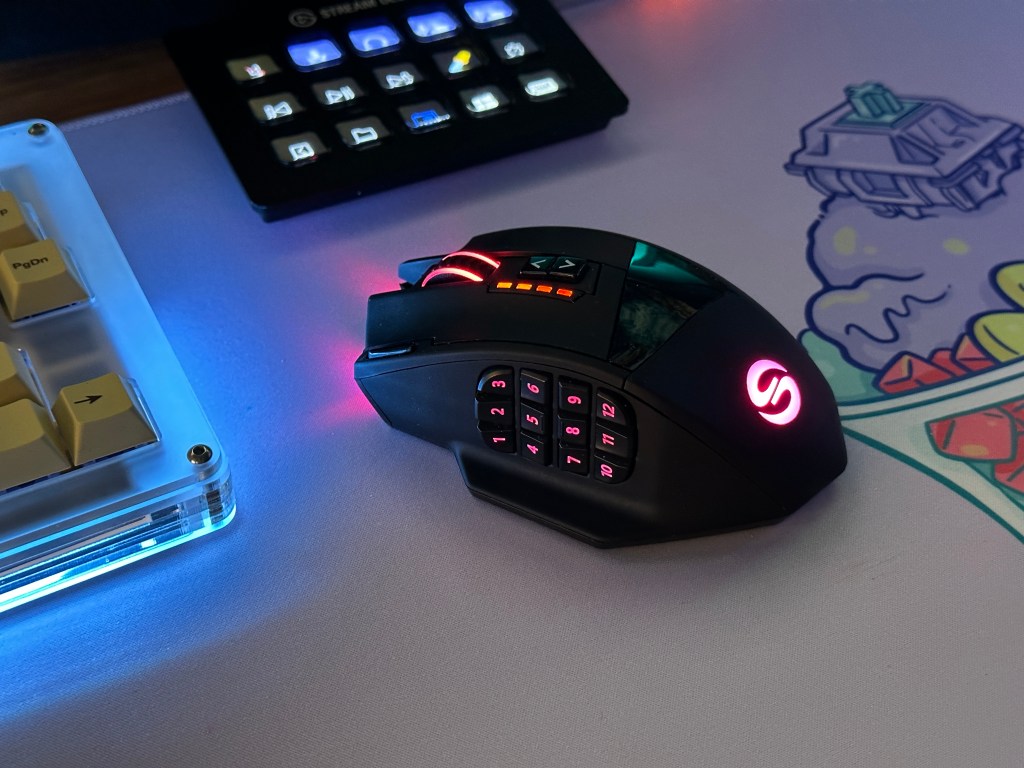
The styling of the Venus is really what makes it unique. It has an ergonomic shape that forces all your fingers into place. The Venus is on the taller side and does have a decent curve to it. The 12 side buttons are positioned perfectly for the thumb.
The styling of the Venus Pro is perfect for a palm grip but not the best fit for fingertip or claw grips. Additionally, the mouse is designed for right-handed use. For those with smaller hands, the Venus Pro might not work too well. However, those with medium to large-sized hands should find this mouse to be a comfortable fit.
The main two buttons and scroll wheel are easy to find. However, since there are 12 small side buttons, it can be hard to click the right one. This is especially the case due to the lack of texture on each button. One strong element is that each row is angled differently so you can find each one.
With muscle memory, this could definitely become earlier, but I found the buttons to be more inconvenient than normal button placement in games. They could be nice to have in some slower-paced games or for work-related tasks.
The design of the Venus Pro can be either an upside or a downside. If the Venus Pro suits your hand then it could be perfect because there are not a lot of alternatives at this price. However, if you are not used to a mouse of this style, then it may take some time to get used to.
Switches and Scroll Wheel
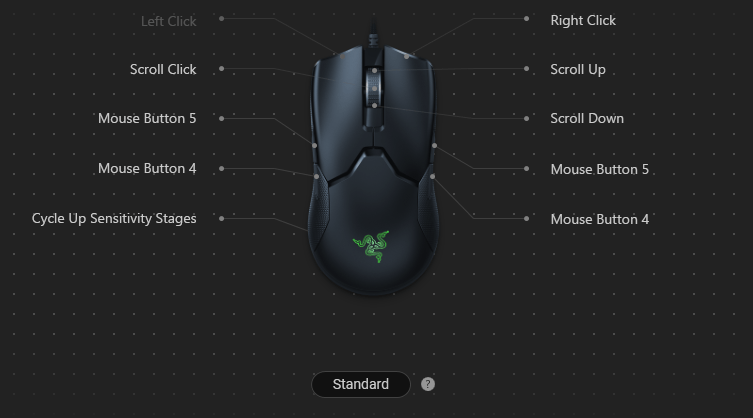
The UtechSmart Venus Pro comes with 16 programmable buttons and 19 buttons in total. The DPI buttons, and “profile switch” button on the bottom of the mouse, cannot be programmed.
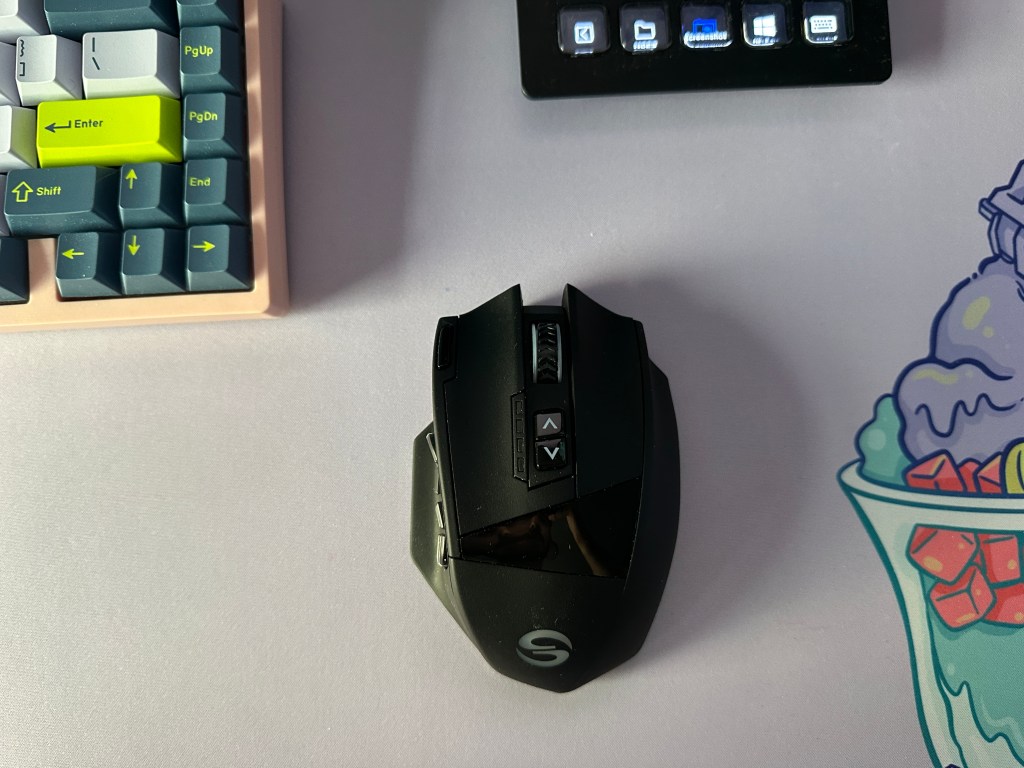
The scroll wheel is rubberized with light tactile steps. All the buttons on the top side of the mouse are clicky and feel snappy. On the other hand, the side buttons feel a bit inconsistent. Underneath the buttons are Omron switches that are rated for up to 10 million switches.
There is a button that triple clicks very quickly, but it would have been more helpful if this could be switched to a spam click button. In my experience, it is quicker to triple-click with mouse button one rather than move my finger to this dedicated button.
Additionally, the lack of forward and back buttons out of the box was frustrating, but this can be easily changed within the software.
Sensor and Polling Rate

The UtechSmart Venus Pro comes with a Pixart PAW3335 sensor. It offers a DPI range from 100 to 16000 with adjustment steps of 100. While the PAW3335 might be an outstanding option for mice at the $30 price point, it is average for the $50 price point in 2023.
The lack of adjustment of DPI in increments of 50 is pretty disappointing to me as I was not able to use my usual DPI. Additionally, if you aren’t looking for this mouse shape, there are plenty of mice from the likes of Glorious or Logitech that will give you better sensor performance for only about $10 more.
The Venus Pro features an industry-standard 1000 Hz polling rate. This can be changed both in the software and with the profile switch button at the bottom of the mouse.
RGB Lighting

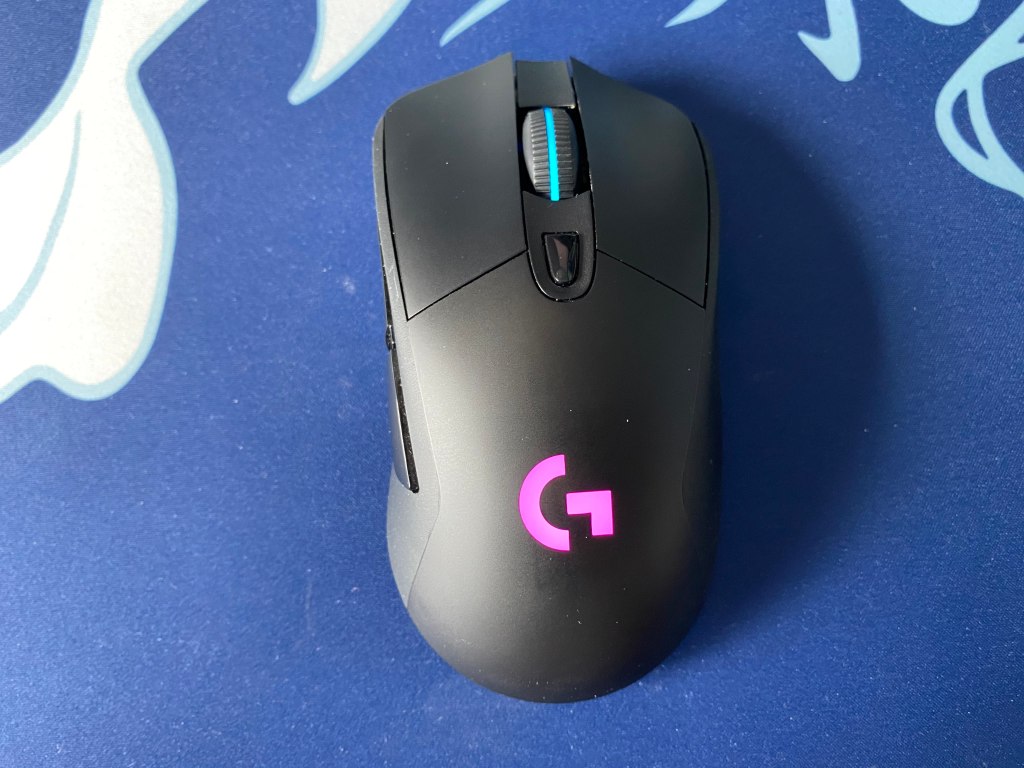
The UtechSmart Venus Pro features RGB lighting on the logo, side buttons, scroll wheel, and front of the mouse. I didn’t find the lighting to be over the top and the lighting is defused quite well. It can help add to the theme of your desk and if you don’t like it, you can easily turn it off.
The lighting also serves some functions. When plugged in, the Venus Pro glows yellow until the battery is full. When the mouse drops to 20% charge, a red breathing effect lets you know that it needs to be charged.
Additionally, four red LEDs display your selected DPI level. These will be on regardless of if the rest of the RGB is on or not.
On the bottom of the mouse, you can either turn on the Venus Pro in RGB On or RGB Off mode. RGB Off is a great way to save battery or have a more discrete look for the office. However, if you are in RGB Off mode, you won’t know that your device is low on battery until it dies.
Wireless Connectivity
The main difference between the regular UtechSmart Venus and Venus Pro is the wireless connectivity. The Venus Pro supports 2.4 GHz wireless via a USB dongle. Note this won’t be as fast and reliable as the wireless tech from top gaming brands like Razer or Logitech, but it is certainly a step up from Bluetooth.
A 2.4 Ghz connection may perform slightly worse than wired but in my experience it did not impact me in RPG, sim, or open-world titles. Only in FPS games may you benefit from a wired or better wireless mouse but that mostly comes from the high switch latency and sensor.
The Venus Pro does not feature Bluetooth but that is pretty common for gaming mice. For travel or using the Venus on multiple devices, this may be annoying but you can store the dongle in the bottom of the mouse and take it with you.
As for battery life, the UtechSmart Venus Pro is rated for 70 hours of battery life but with RGB on at a 1000Hz polling rate, you should get about half a week of regular usage.
Software Support
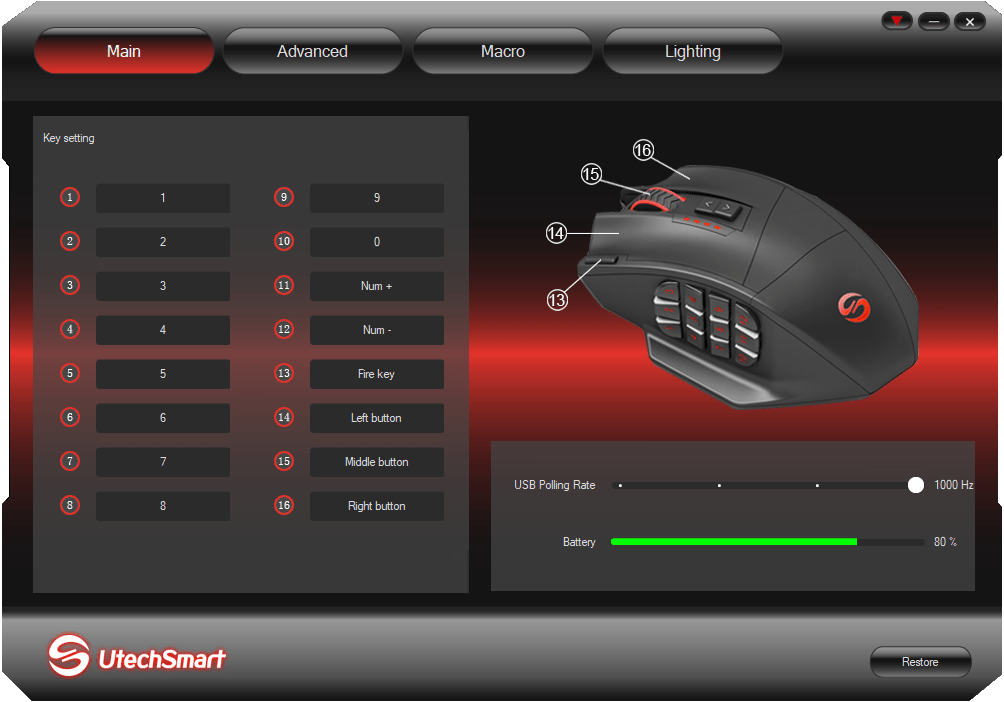
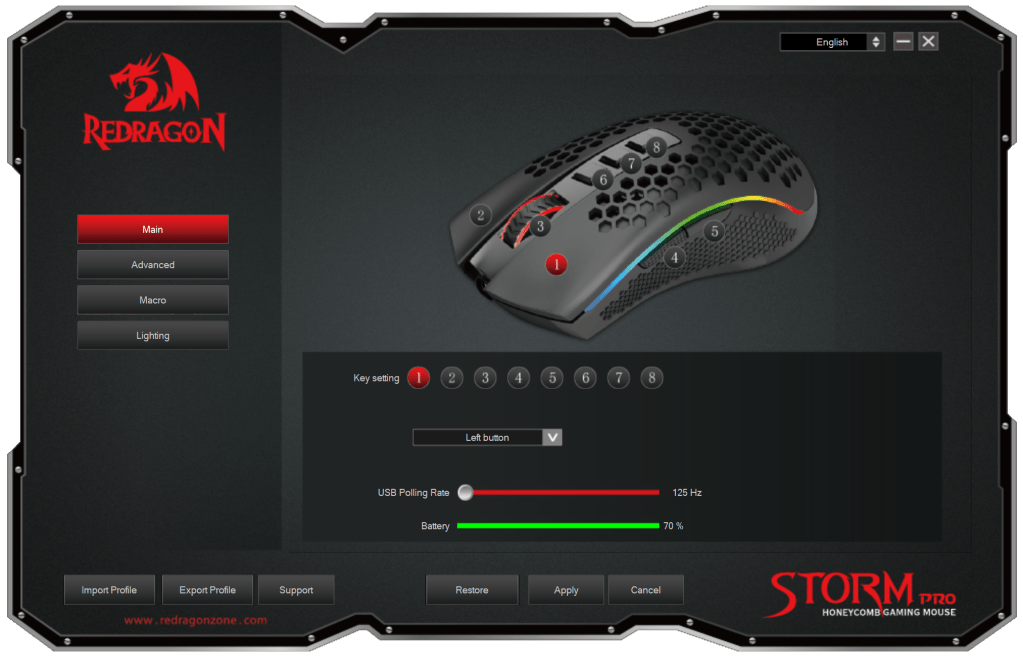
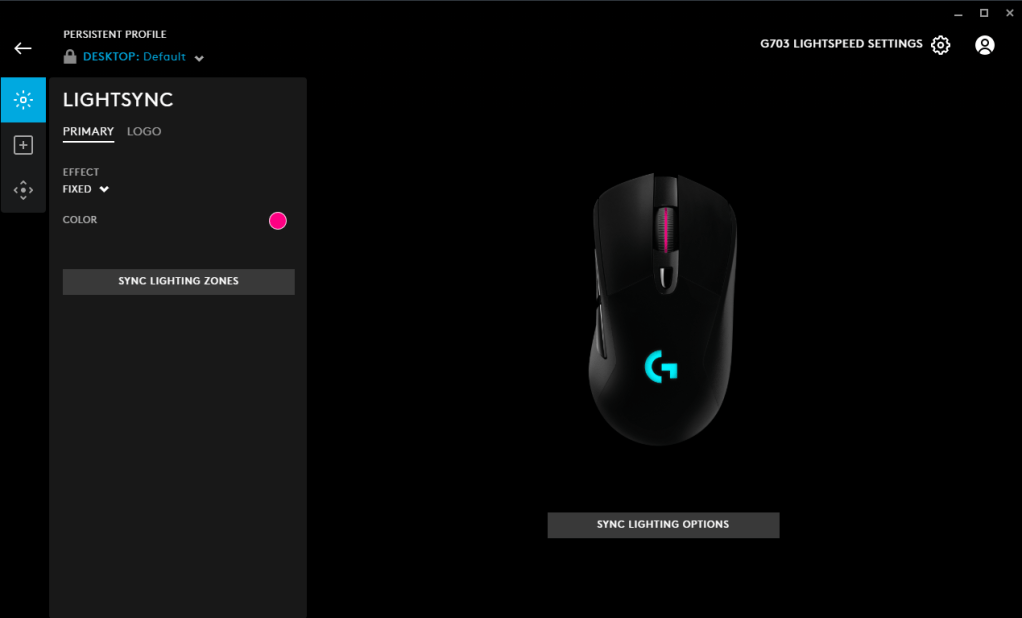
Generally, software is not the most important element of a gaming mouse, but it is a great way to unlock its potential. This is especially the case with all the programmable buttons. UtechSmart’s software allows you to change DPI, button mappings, lighting effects, and create macros. Battery life is also displayed in increments of ten here.
Honestly, the UtechSmart software is not the best. While it does not miss any major functionality, it lacks refinement. One key flaw is the gamery look with a non-rectangular window. Additionally, you can’t even maximize the window. Unfortunately, this software also only works on Windows, limiting functionality for anyone who primarily runs MacOS or Linux.
In the UtechSmart software, some features don’t feel as complete as other mice in the category. For example, only one lighting effect can be applied to all LEDs. Furthermore, there is only one user profile, which could be inconvenient for someone who potentially shares the mouse between different devices or people.
I will commend the fact that UtechSmart includes a USB with the software. This makes setting up the software easy and saves you from trying to find it on their website.
Conclusion: Is The Venus Pro Good For Gaming?
The UtechSmart Venus Pro might not offer the market’s usual hyper-lightweight, FPS-ready mouse, but it serves a distinct audience. For those who want an ergonomic mouse with tons of buttons, wireless connectivity, and quality RGB lighting, the Venus Pro is a fantastic option that won’t break the bank.
Despite the unique design, there are several flaws that come with its lower price point. You get an average sensor found in $30 mice and a click latency that makes the Venus Pro a second choice for competitive gaming.
If you like the Venus Pro but are looking for top-of-the-line performance, consider the Corsair Scimitar Elite Wireless or Razer Naga V2 Hyperspeed. They will offer more accurate sensors, lower latency, and better software if you are willing to pay double the price.
With plenty of buttons for macros, vibrant RGB, and a design that perfectly suits a palm grip, the UtechSmart Venus Pro is the ideal option under $50 for any MMO, MOBA, RPG, or simulation gamer.


You must be logged in to post a comment.