
Redragon is a keyboard manufacturer that is no stranger to making value-focused mechanical keyboards.
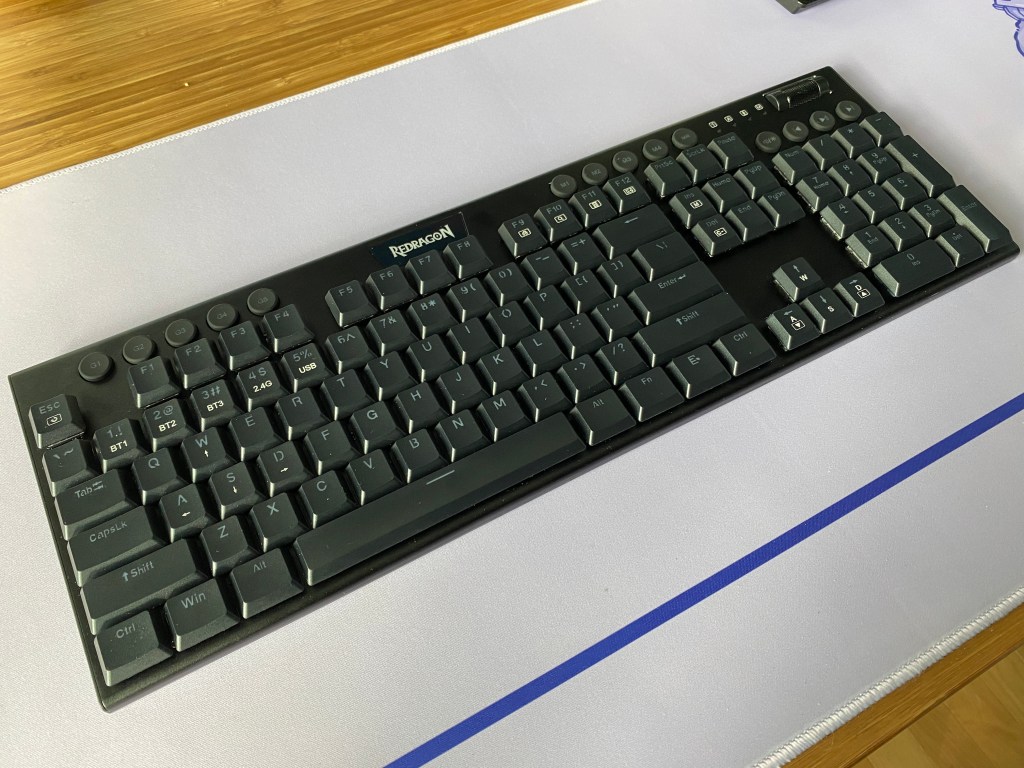
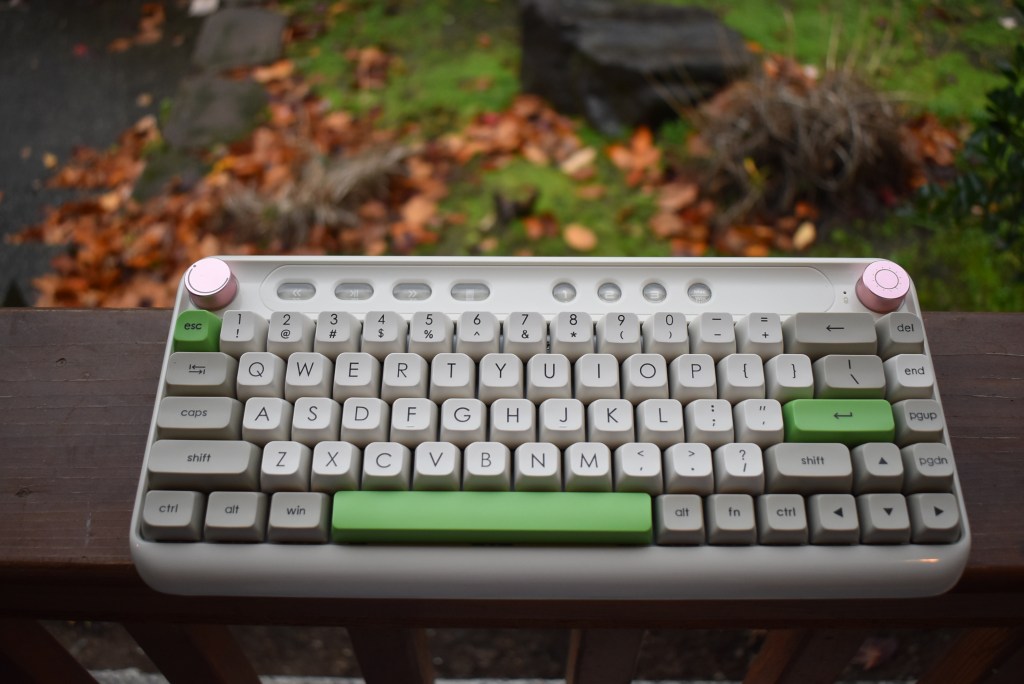
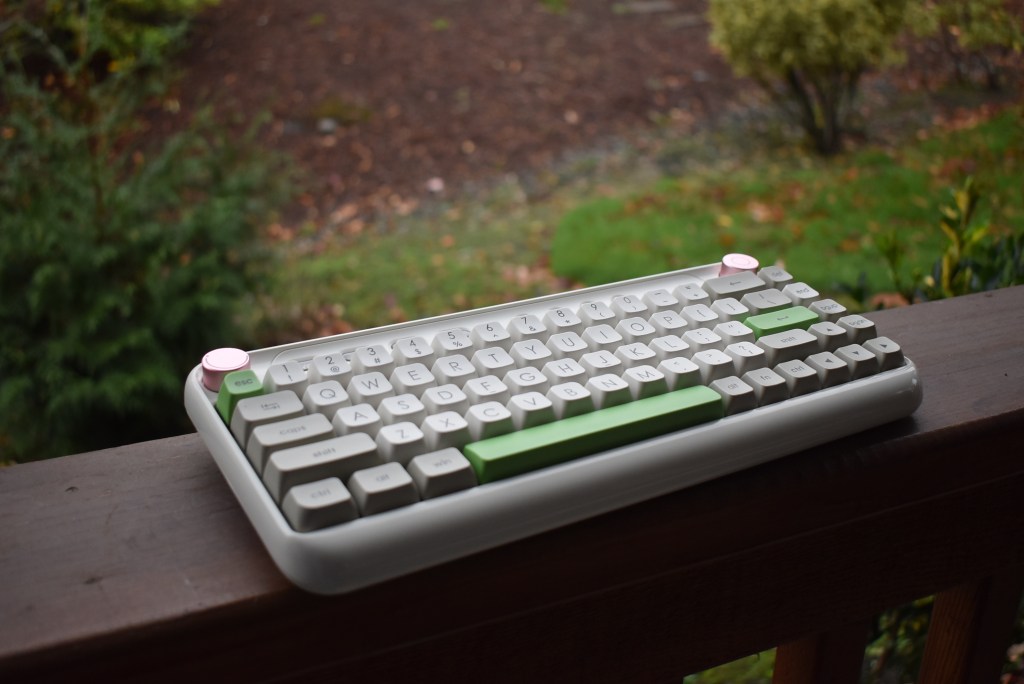
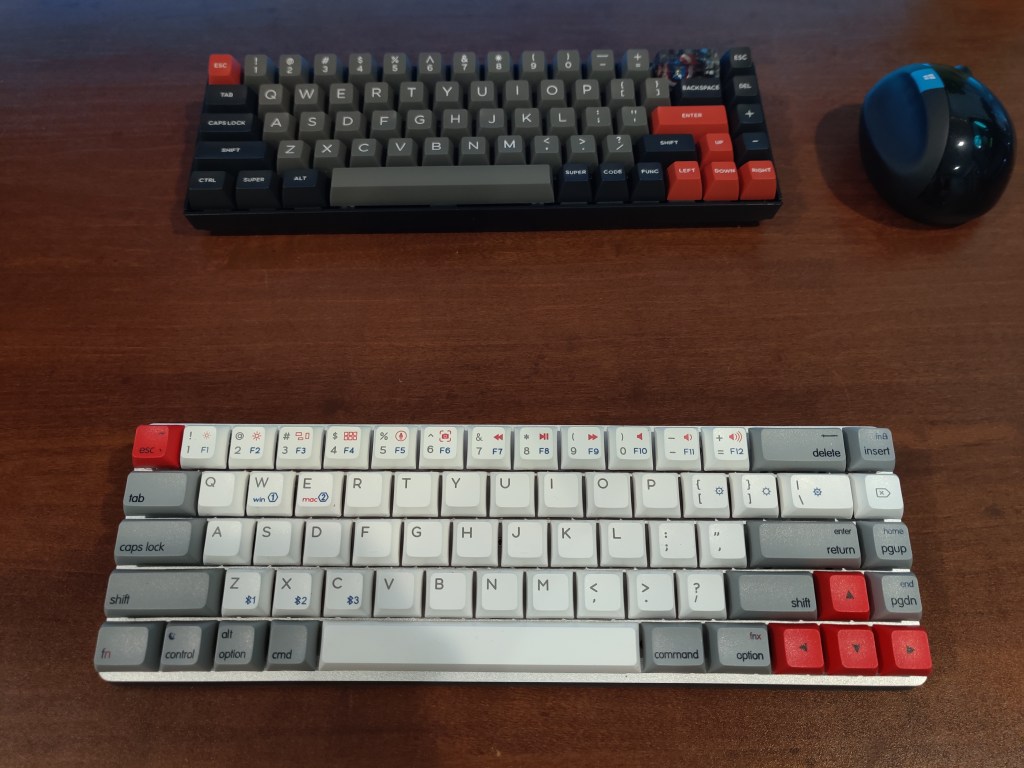
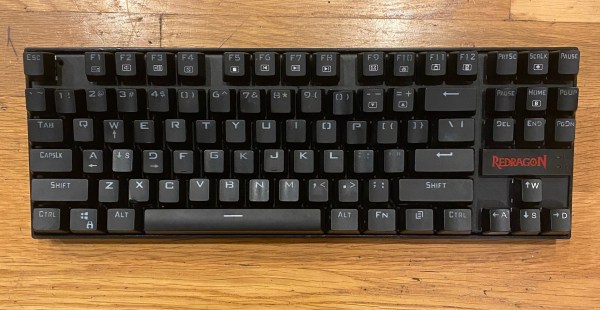
The Redragon Horus K618 is a low-profile keyboard providing a solid experience at a competitive price. The Horus K618 offers wireless connectivity, macro keys, and a variety of other features to make it a good option for anyone who is looking for a full-size mechanical keyboard.
Today we are going to take a look at Redragon’s Horus K618 and see if this low-profile board is the one for you.
The Verdict
The Redragon Horus K618 is a low-profile, wireless mechanical keyboard that is perfect for those looking for value. Redragon features Bluetooth and 2.4ghz connectivity, RGB lighting, dedicated media keys, a dial, and a hotswap PCB.
A low-profile keyboard is often found to be more comfortable. With the K618, Redragon is delivering a lot of what the competition offers at a lower price point.
For the price, Redragon gives a lot of features and a pretty solid build. For the gamer who wants a low-profile board that will give them a solid experience all while not breaking the bank, the Horus K618 has a lot of potential. Furthermore, if you want to get a screwdriver out, the K618 is not too difficult to mod if you are interested in a more satisfying sound and feel.
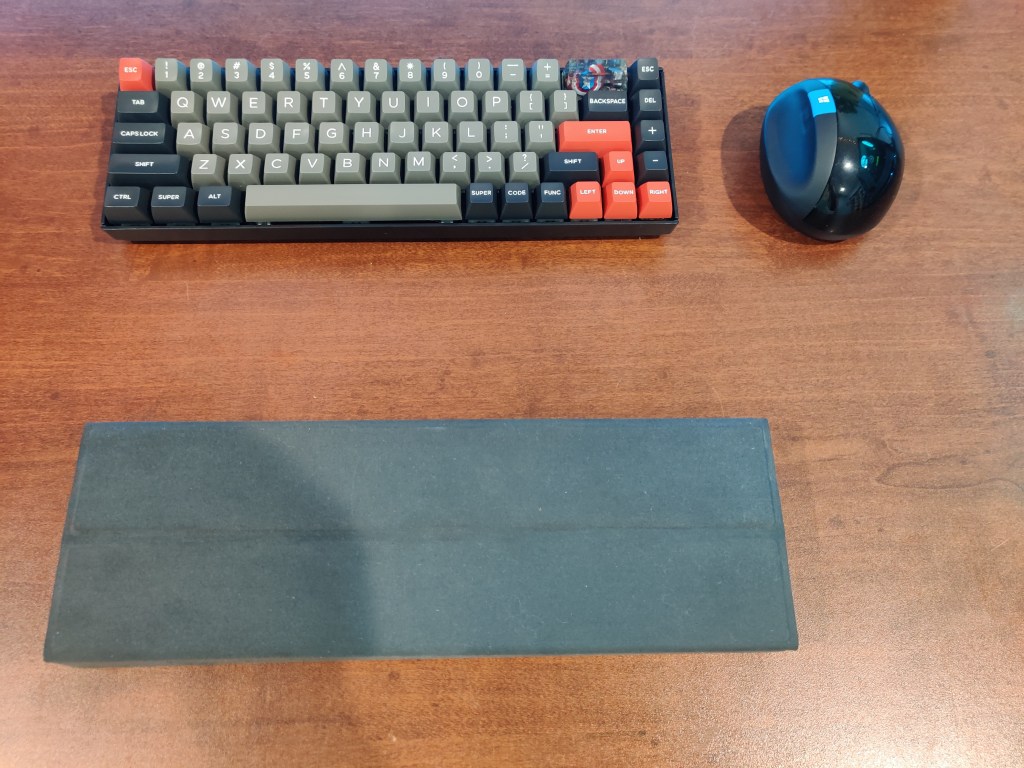
In The Box
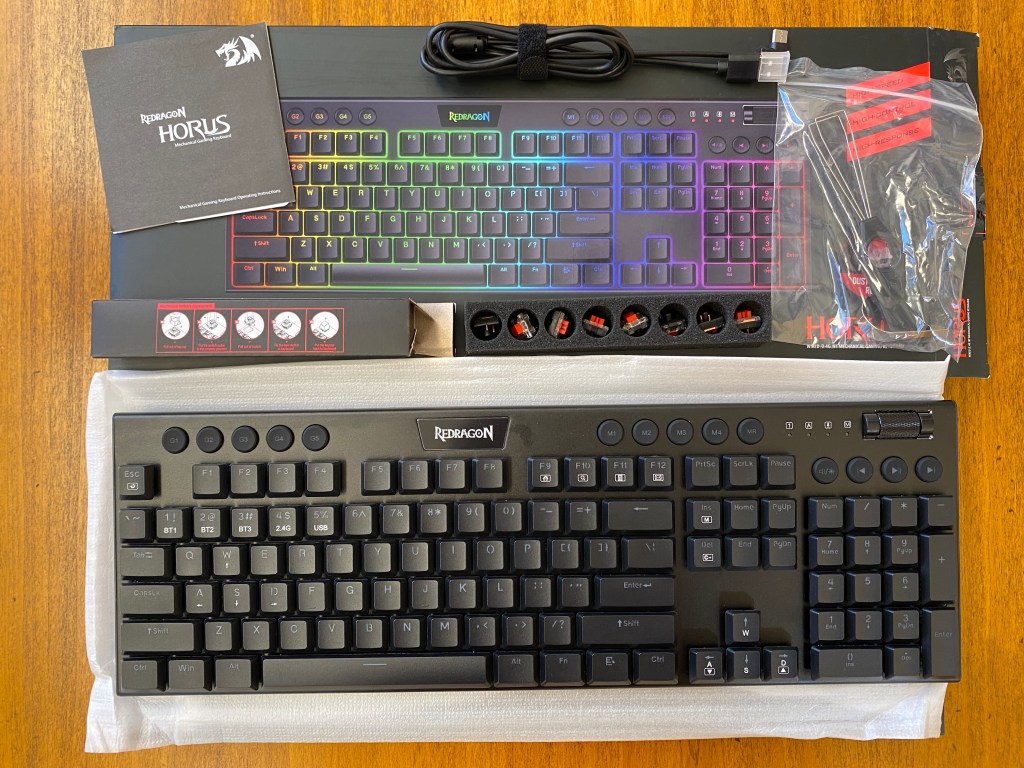
Inside the box, Redragon gives you everything you need and more.
Keyboard: The keyboard comes in a sleeve of protective foam to protect it while in transit.
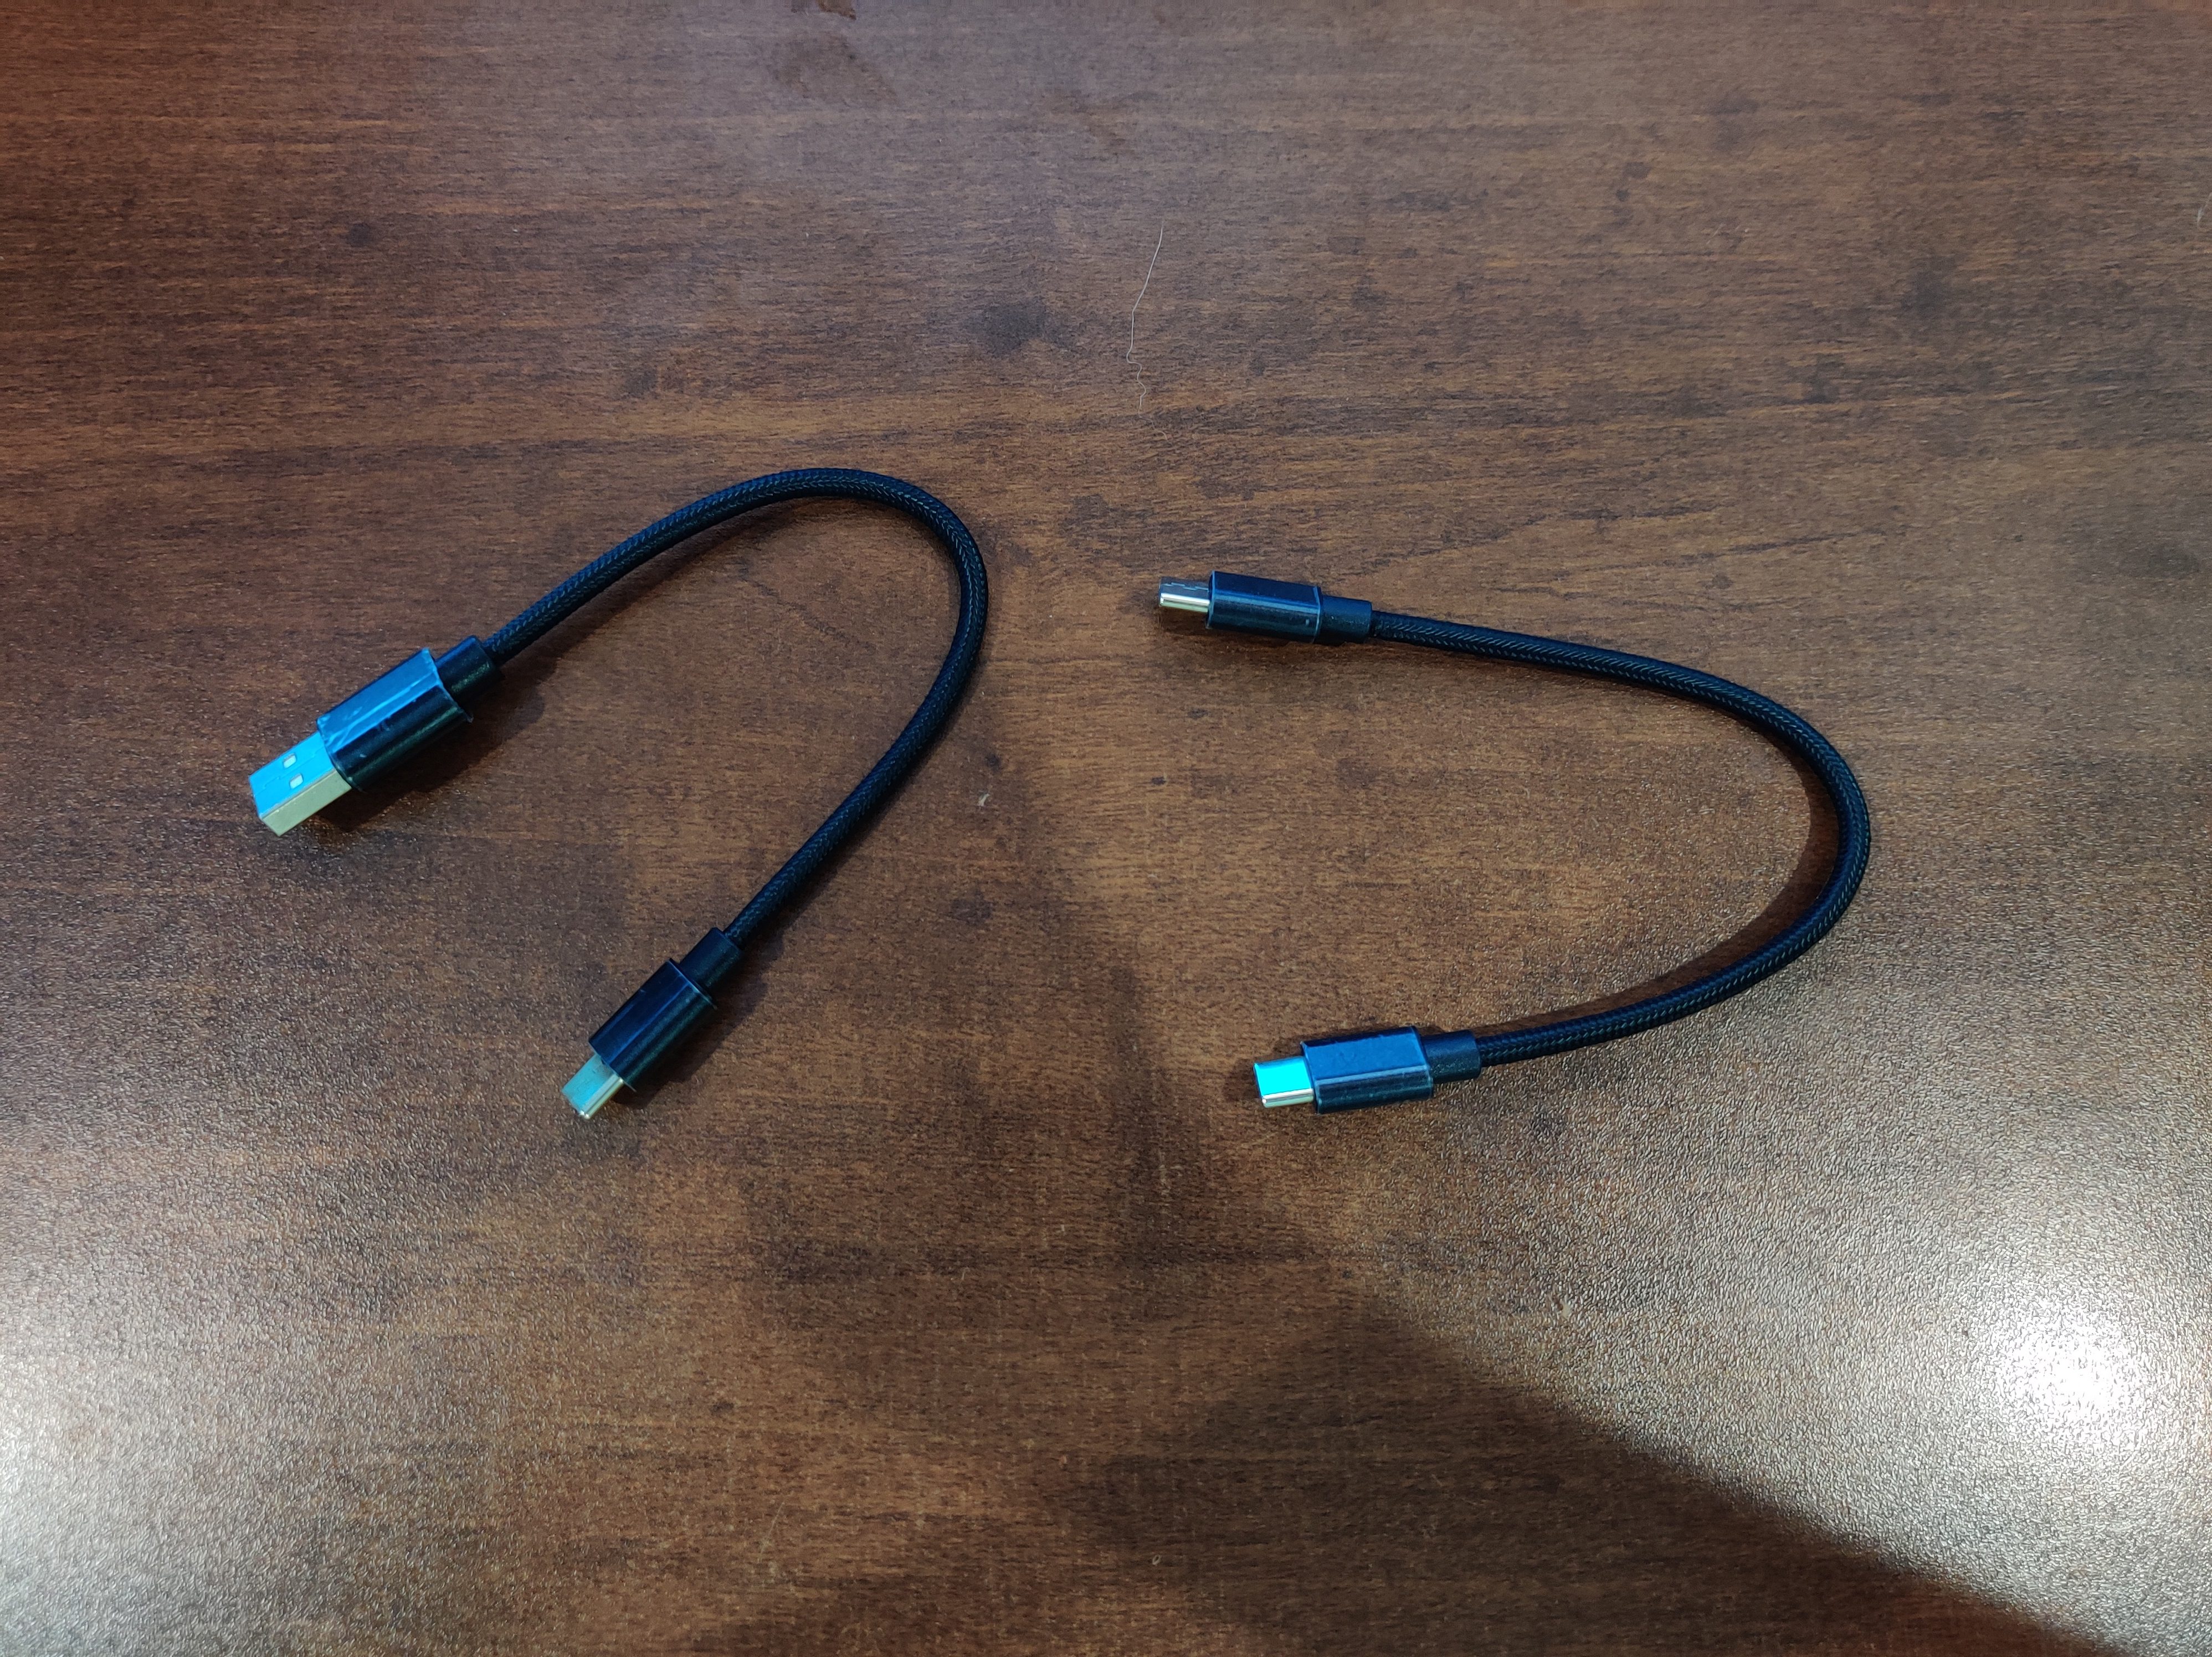
USB-C Cable: You get a braided cable with a 90-degree angle so it can be nicely plugged into the side of the keyboard.
Switch Puller: A metal switch puller is included in case you ever need to replace a switch or if you want to mod this board. The puller isn’t anything too fancy but it does the job.
Wire Keycap Puller: Along with the switch puller you get a decent quality wire keycap puller. This is a nice inclusion as taking off your keycaps is essential if you are cleaning or modding your keyboard. Often companies included a cheap plastic puller that may scratch your keycaps or don’t include one at all.
Extra Switches: If any switch ever breaks, eight extra switches are included in the box.
Sticker and Documentation: You are given a sticker with the Redragon logo along with any documentation that you may need for the board.
Overall everything is packed quite nicely and it is good to see that Redragon gives you quite decent extras to go along with the board.
Build Quality
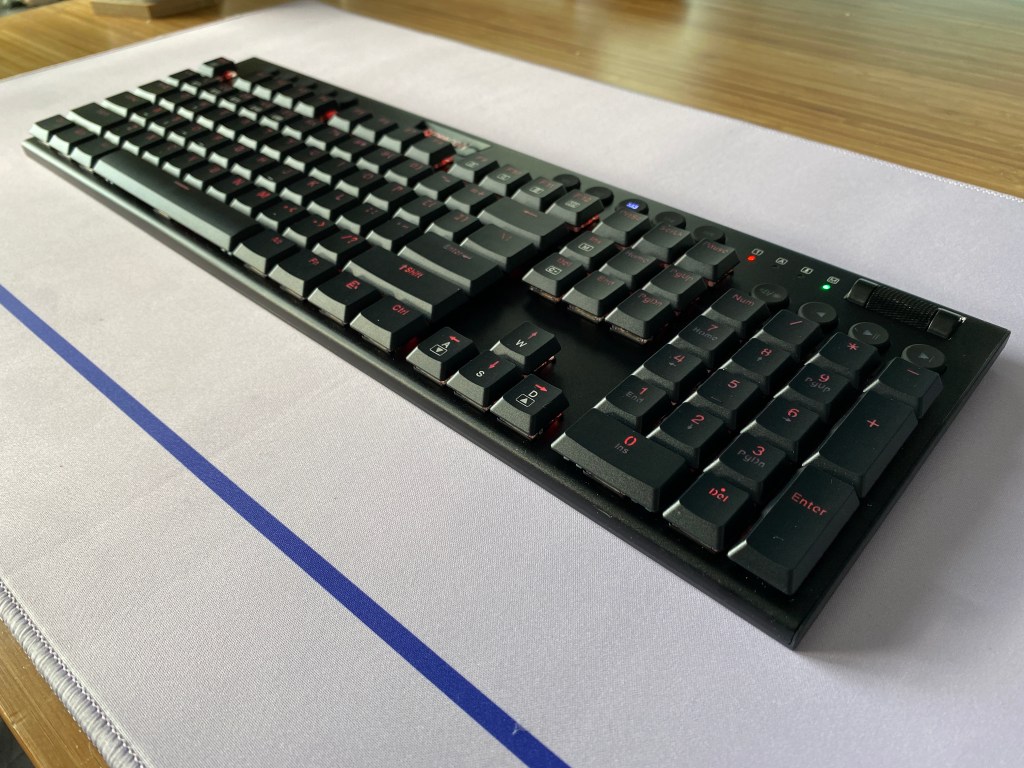
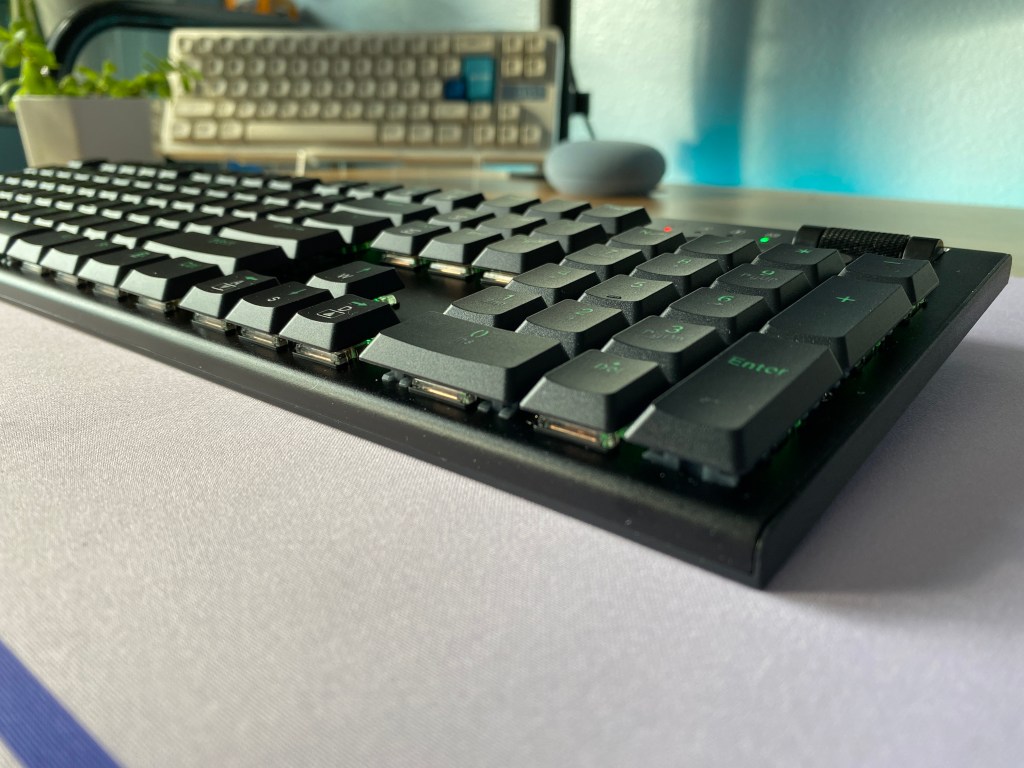
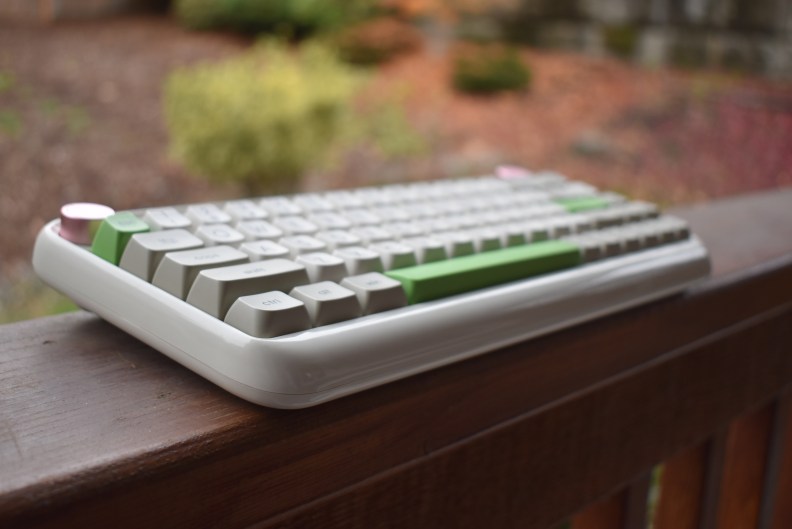
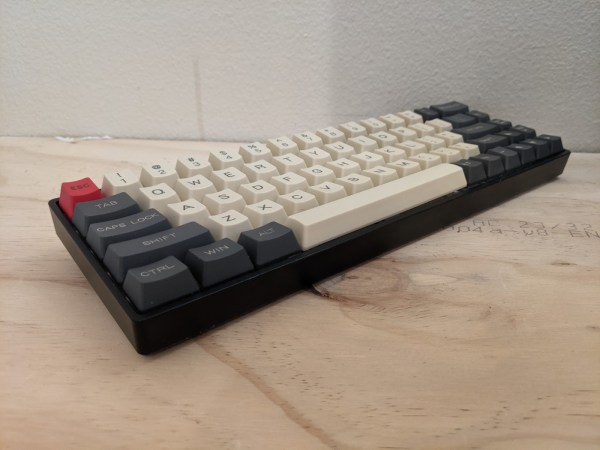
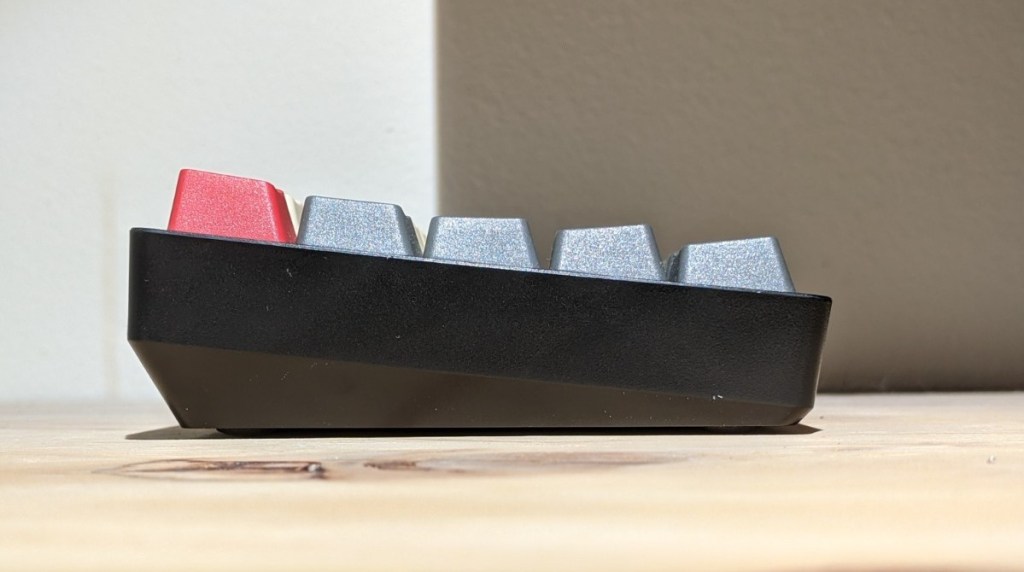
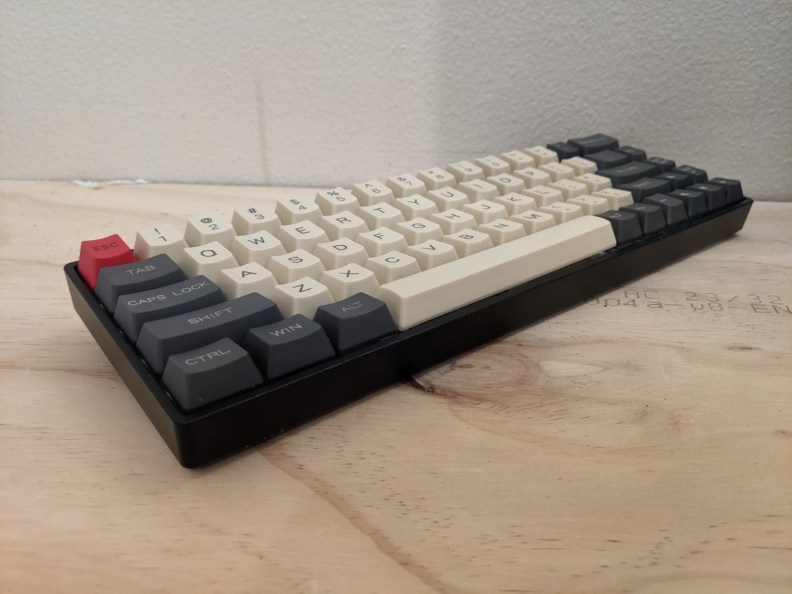
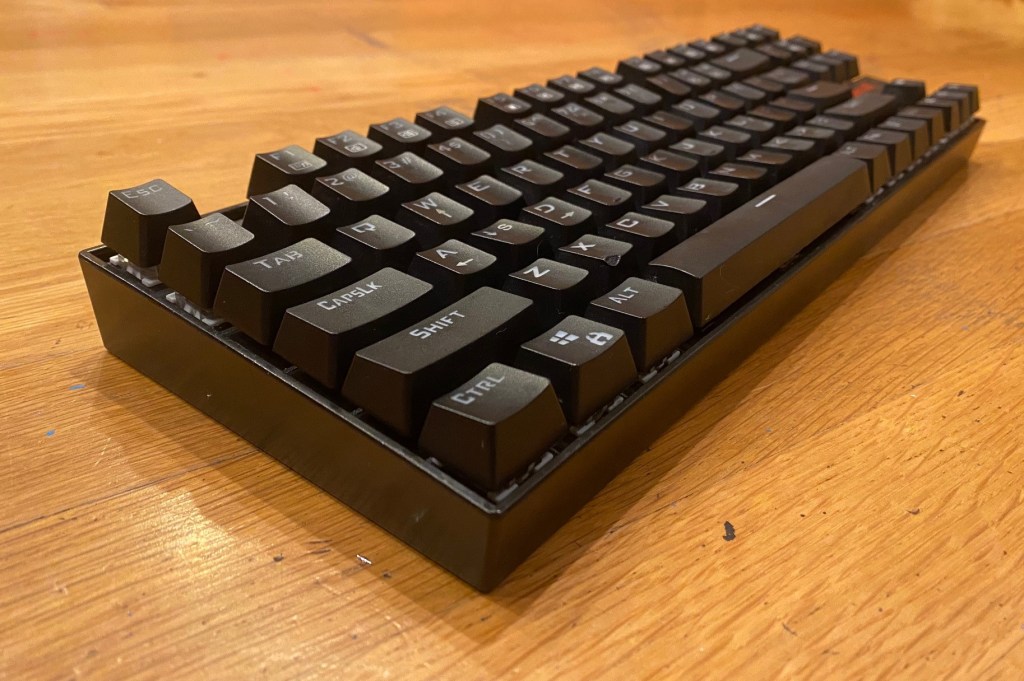
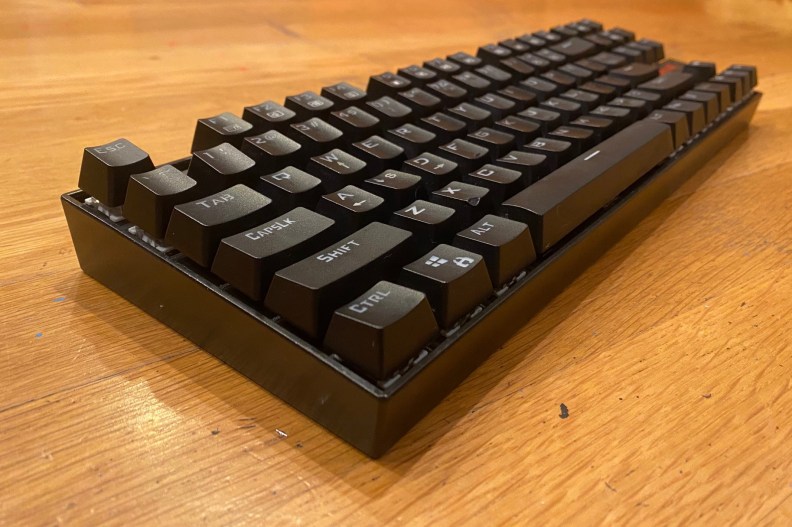
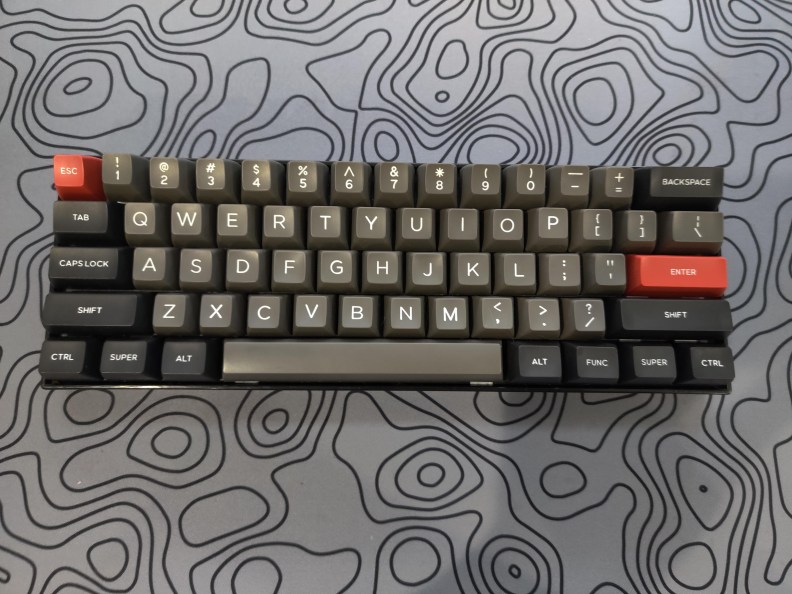
For the Horus K618, Redragon elected to go with a plastic case and thin aluminum top piece. The rubber media keys are made of rubber and the scroll wheel is also made of aluminum. The board comes in at about 700g (about 1.5 lbs) in a full-size form factor. It looks to be about the height of most modern membrane keyboards at around 2cm tall or just under an inch. If this is too big for your desk then Redragon also offers a tenkeyless variant.
The K618 feels pretty solid and this choice in material is not bad for the price. If an aluminum case is important to you then I would suggest spending a bit more for the Keychron K1 which offers an aluminum build and hotswappable PCB.
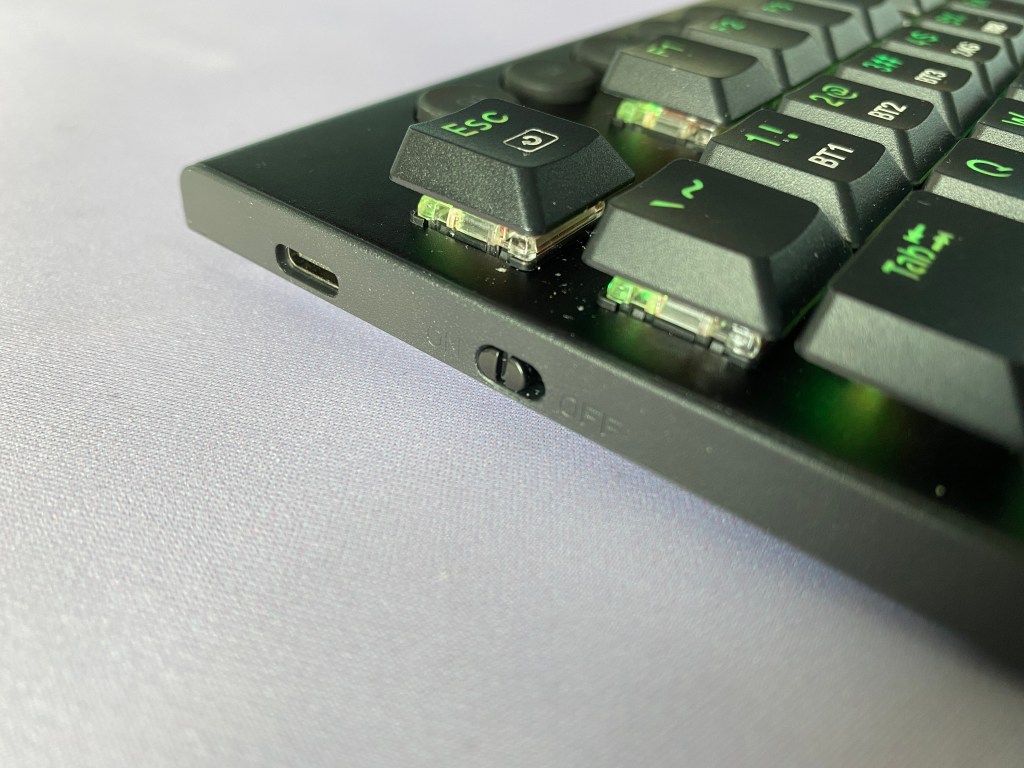
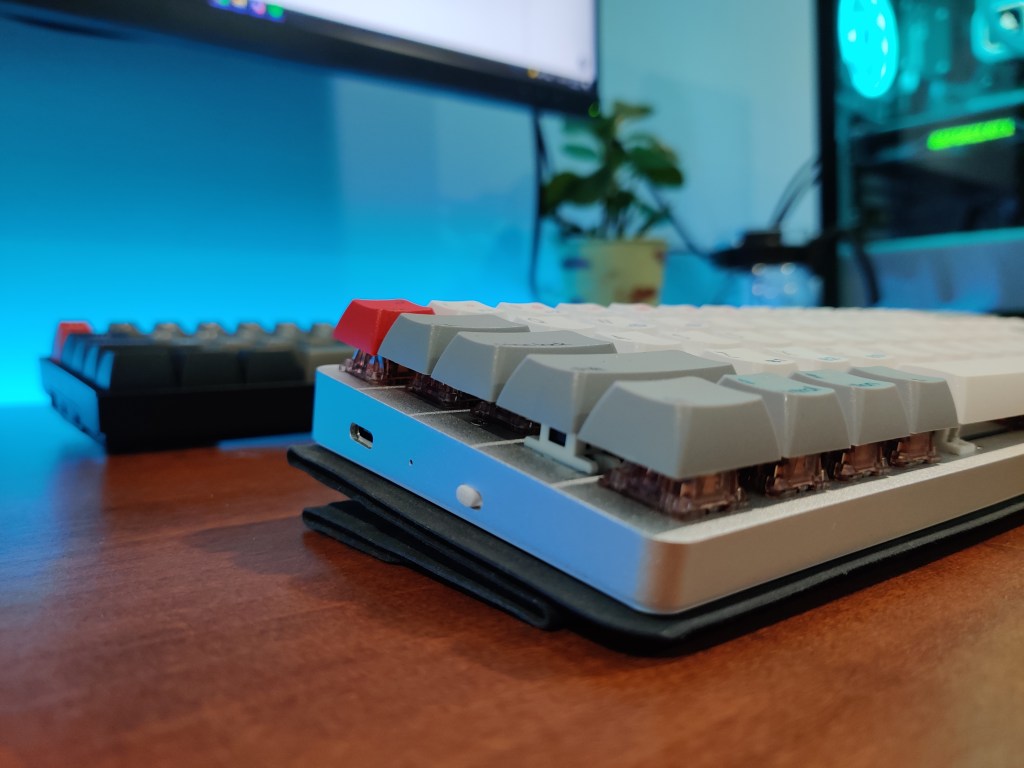
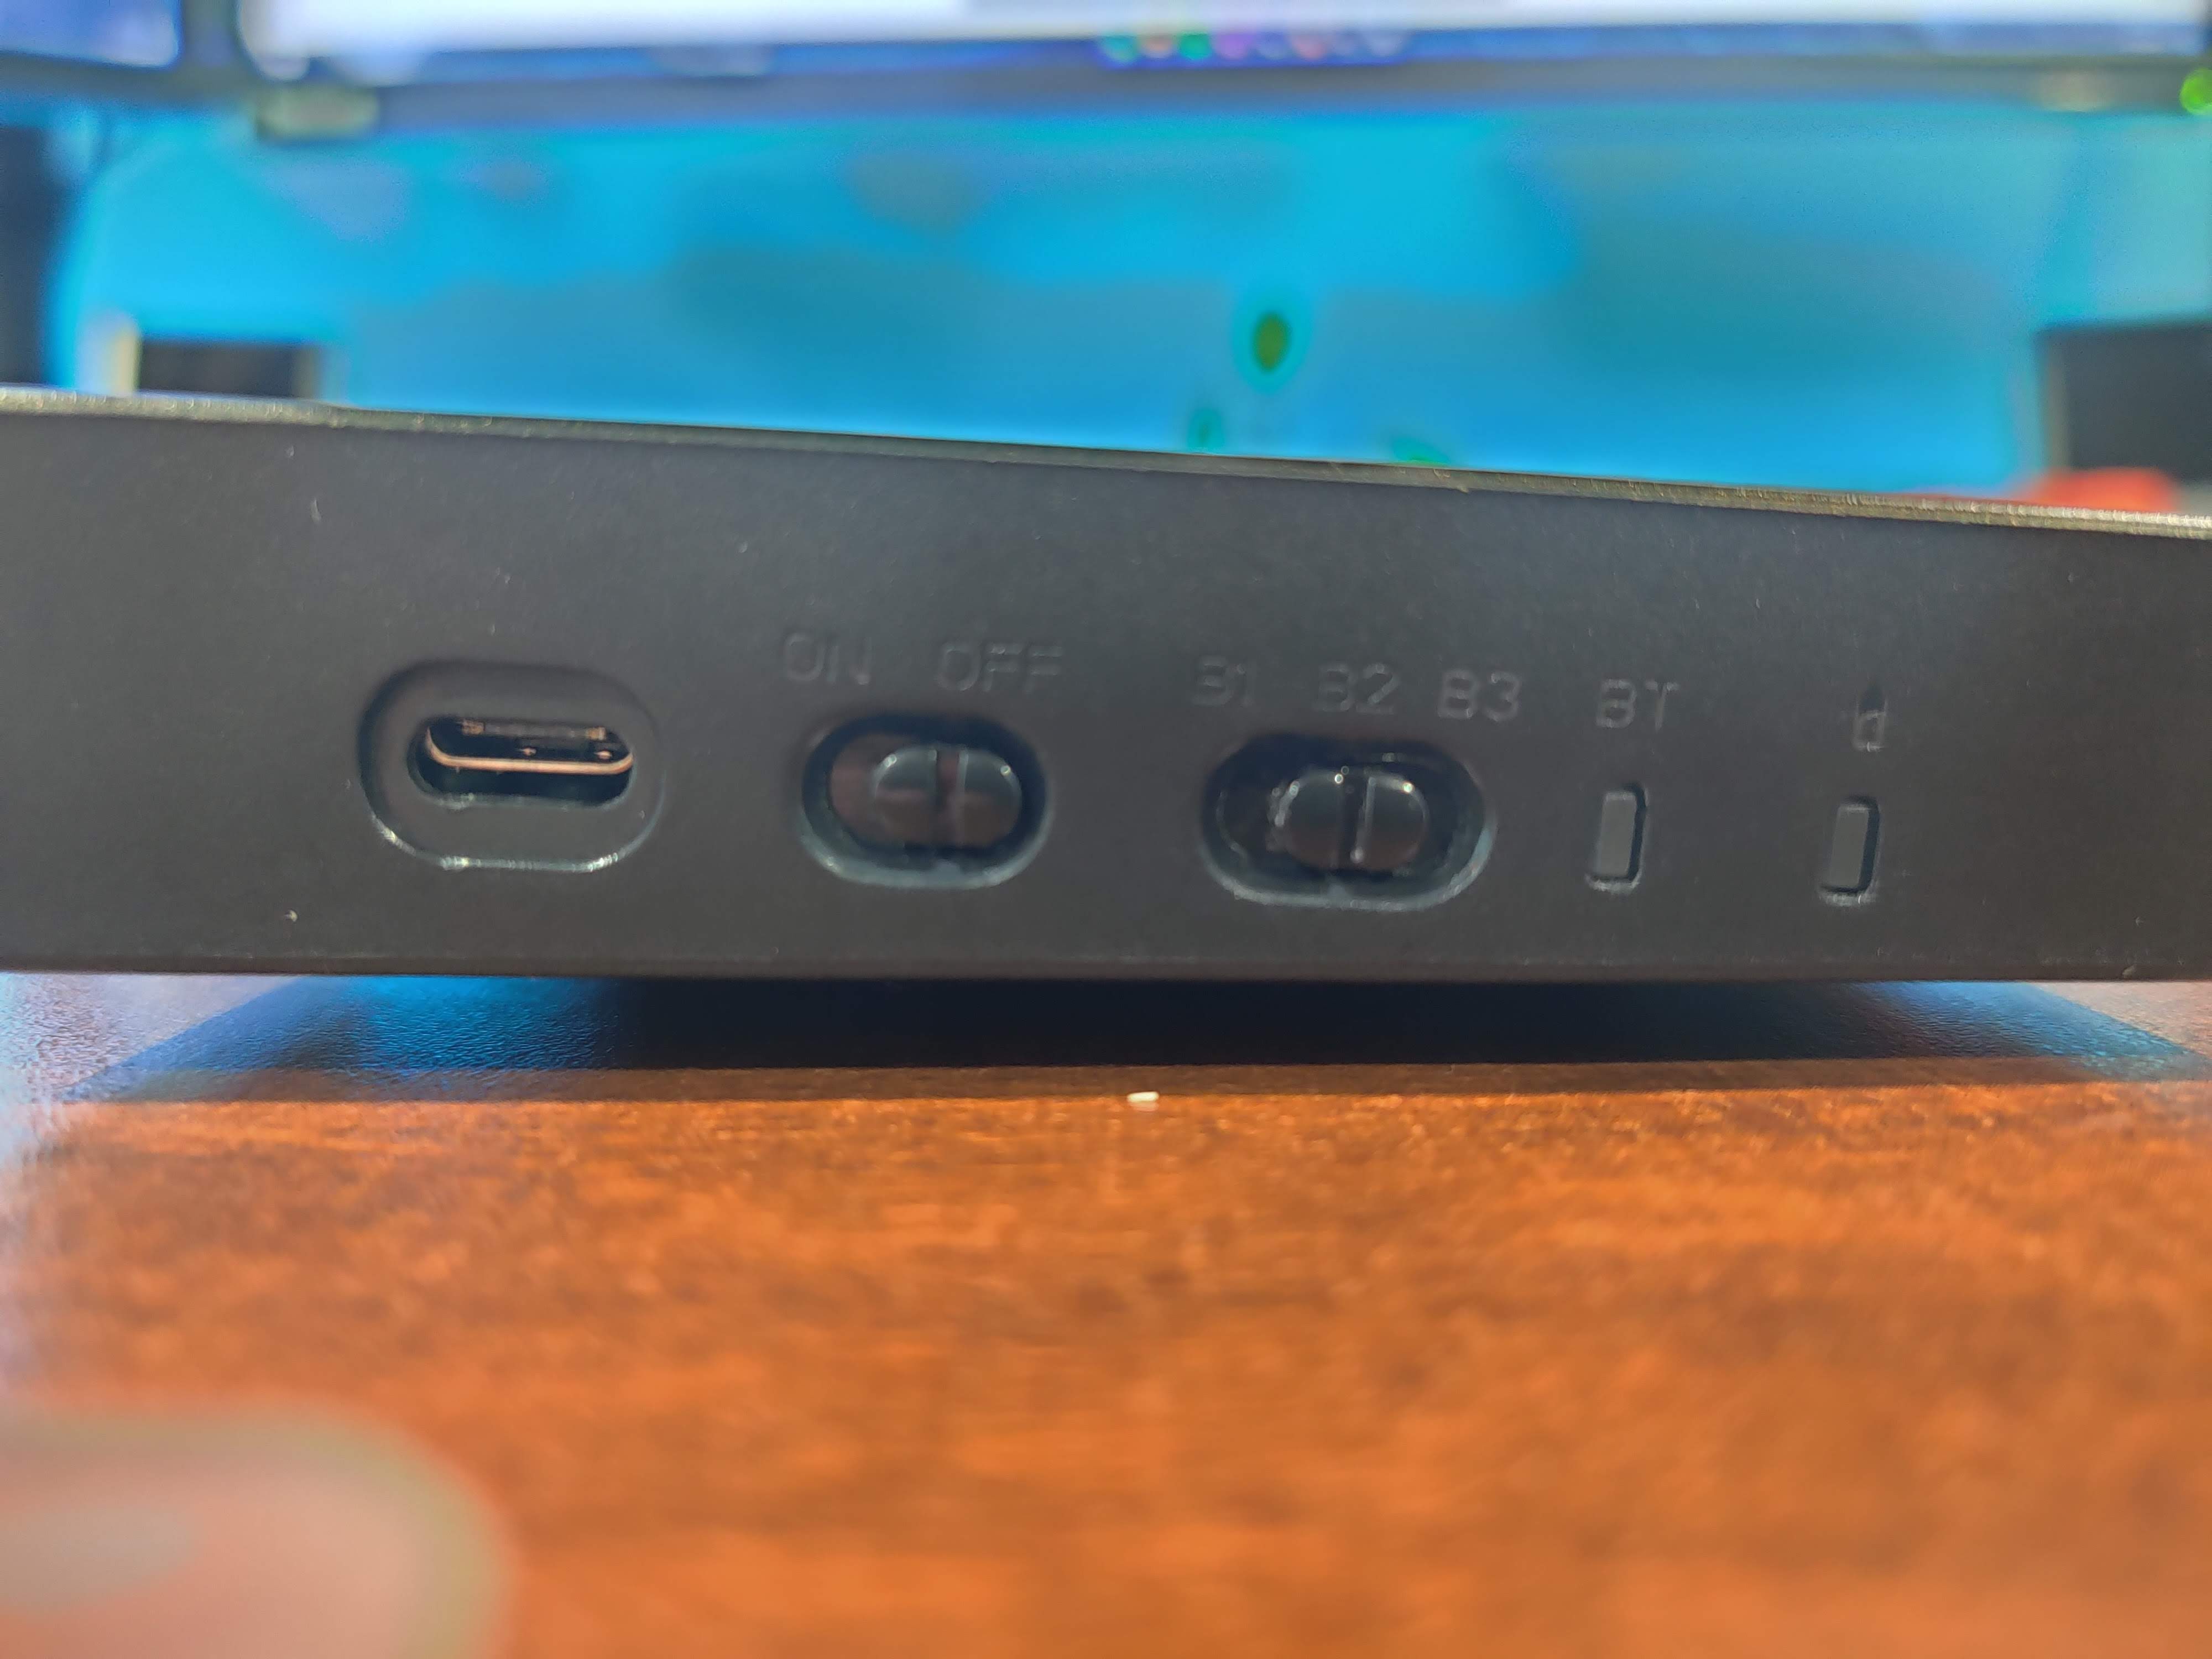
On the bottom of the board are four rubber feet. Two of which flip out for additional height adjustment. On the side of the board are a power switch and the USB-C port. The side placement of the port is not ideal but since this board is wireless I rarely used the board wired anyway so it was not much of an issue. Additionally, the wire given with, a 90-degree angle, remedies this issue.
Overall the build is decent for the price and the design is quite nice.
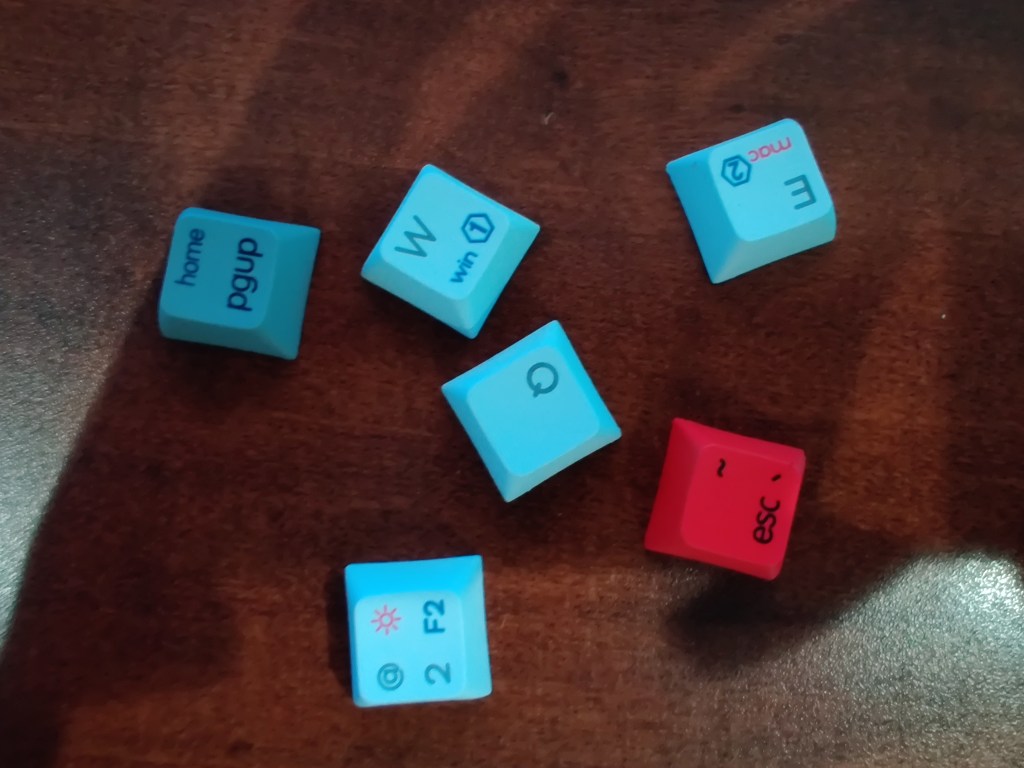
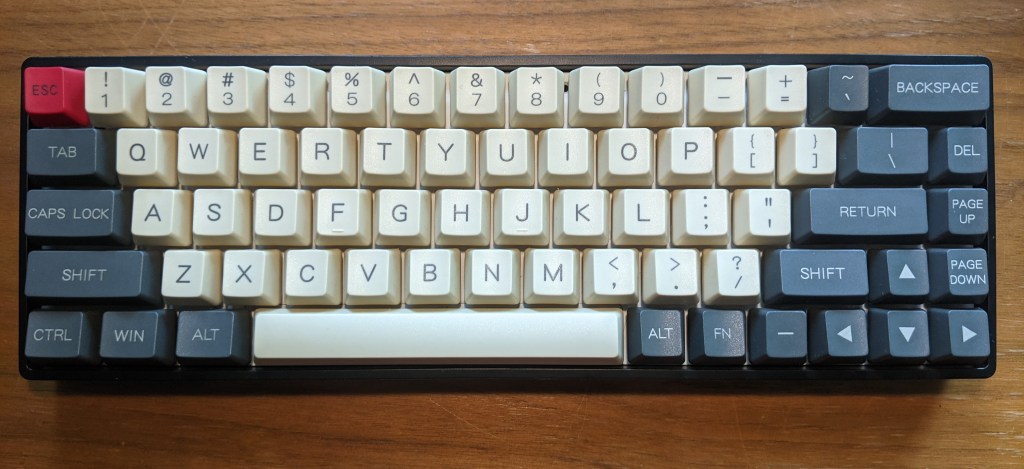
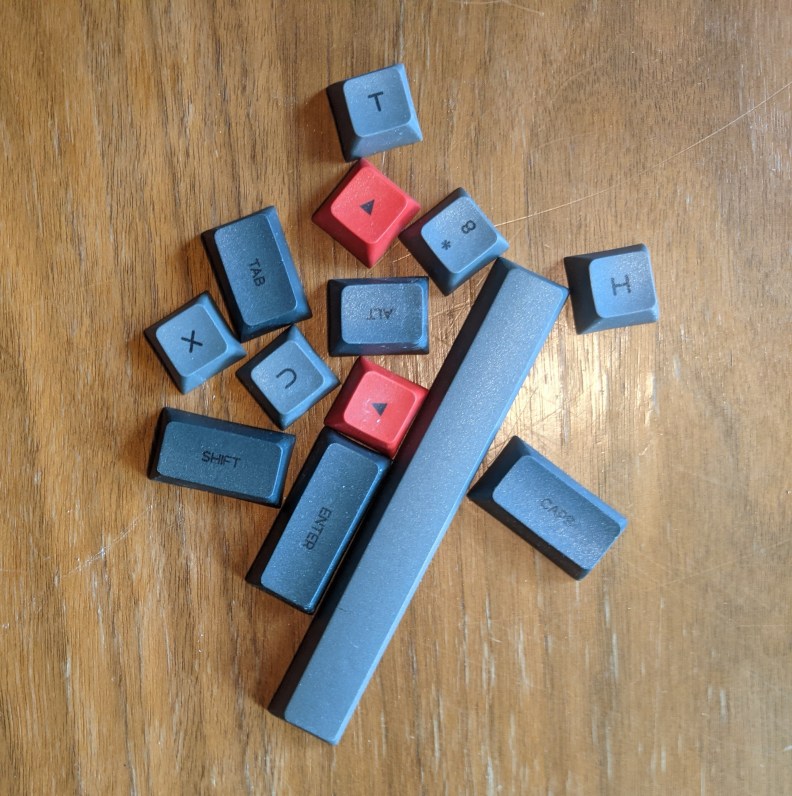
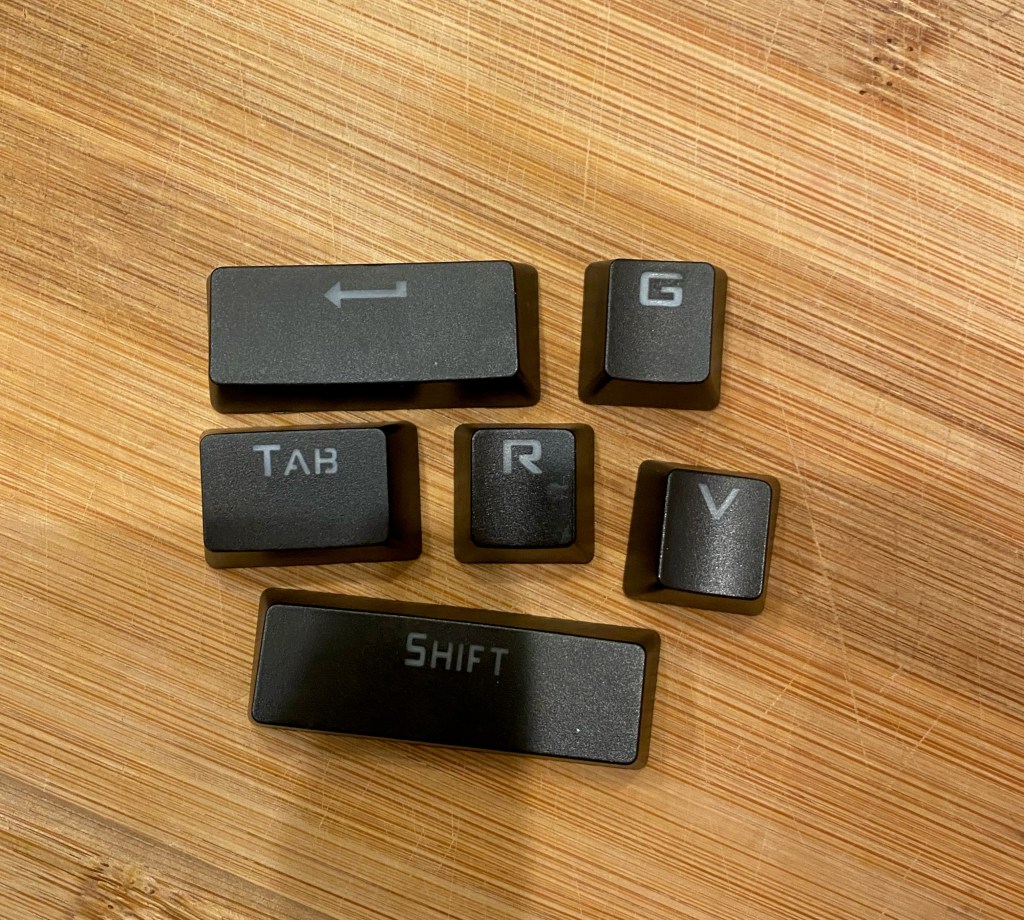
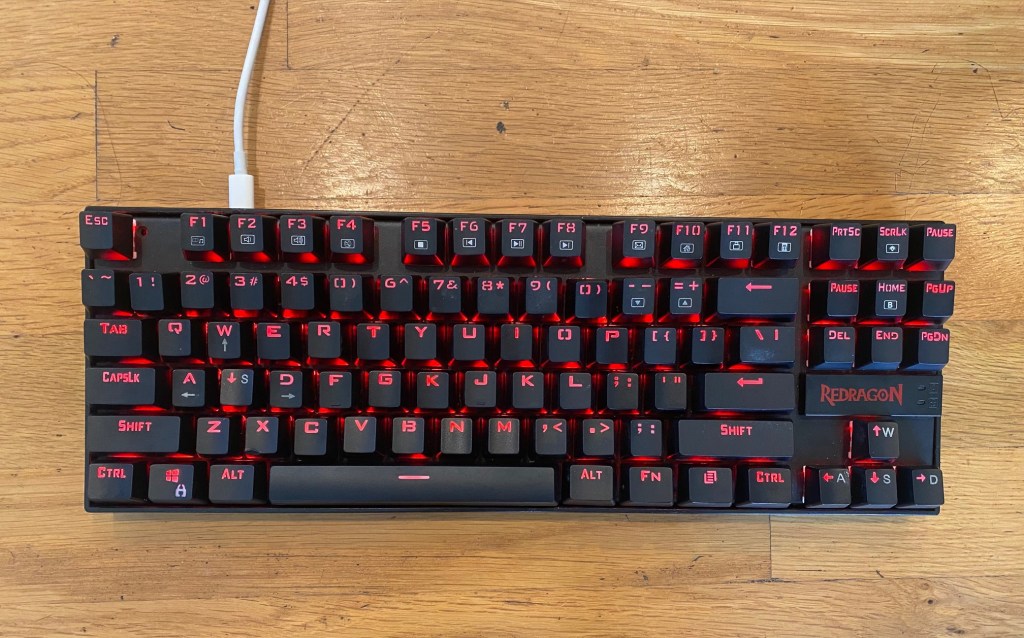
The Keycaps
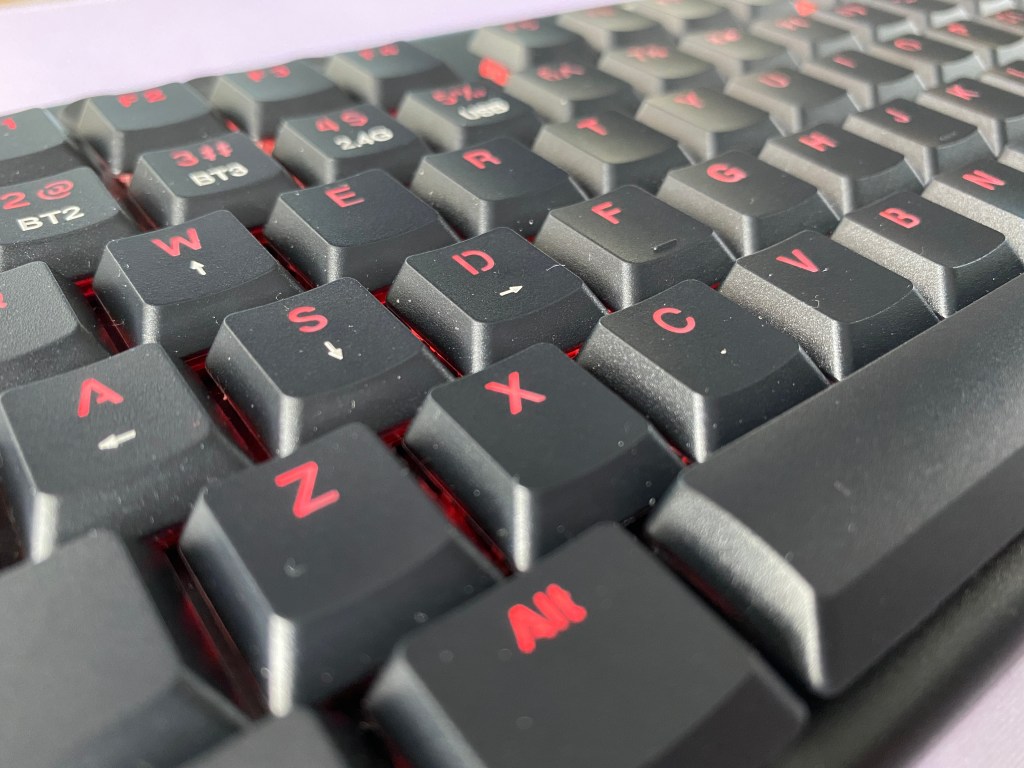
On the Horus K618 you get low-profile ABS keycaps that feature doubleshot legends. This means that the main legends are permanent. For the secondary functions printed in white, those are pad printed so that could become an issue later down the line after extensive use.
The ABS keycaps feel smooth and are what you would expect for a gaming keyboard. The only flaw with the keycaps is the legends. Although the legends while not wear off, they don’t look that great. They have this sort of gamer font with some letters not having connected parts of the letter like on the A or the O keys.
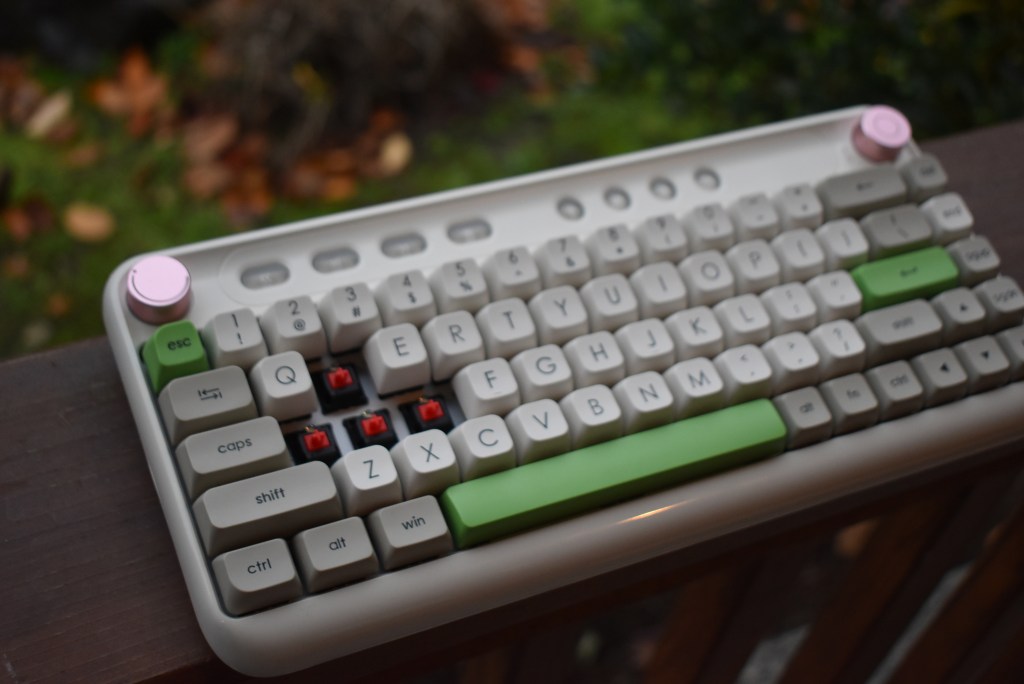
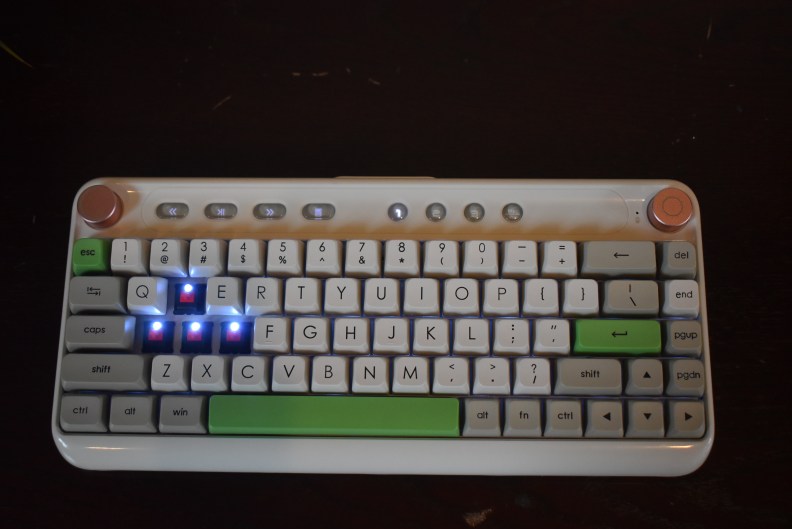
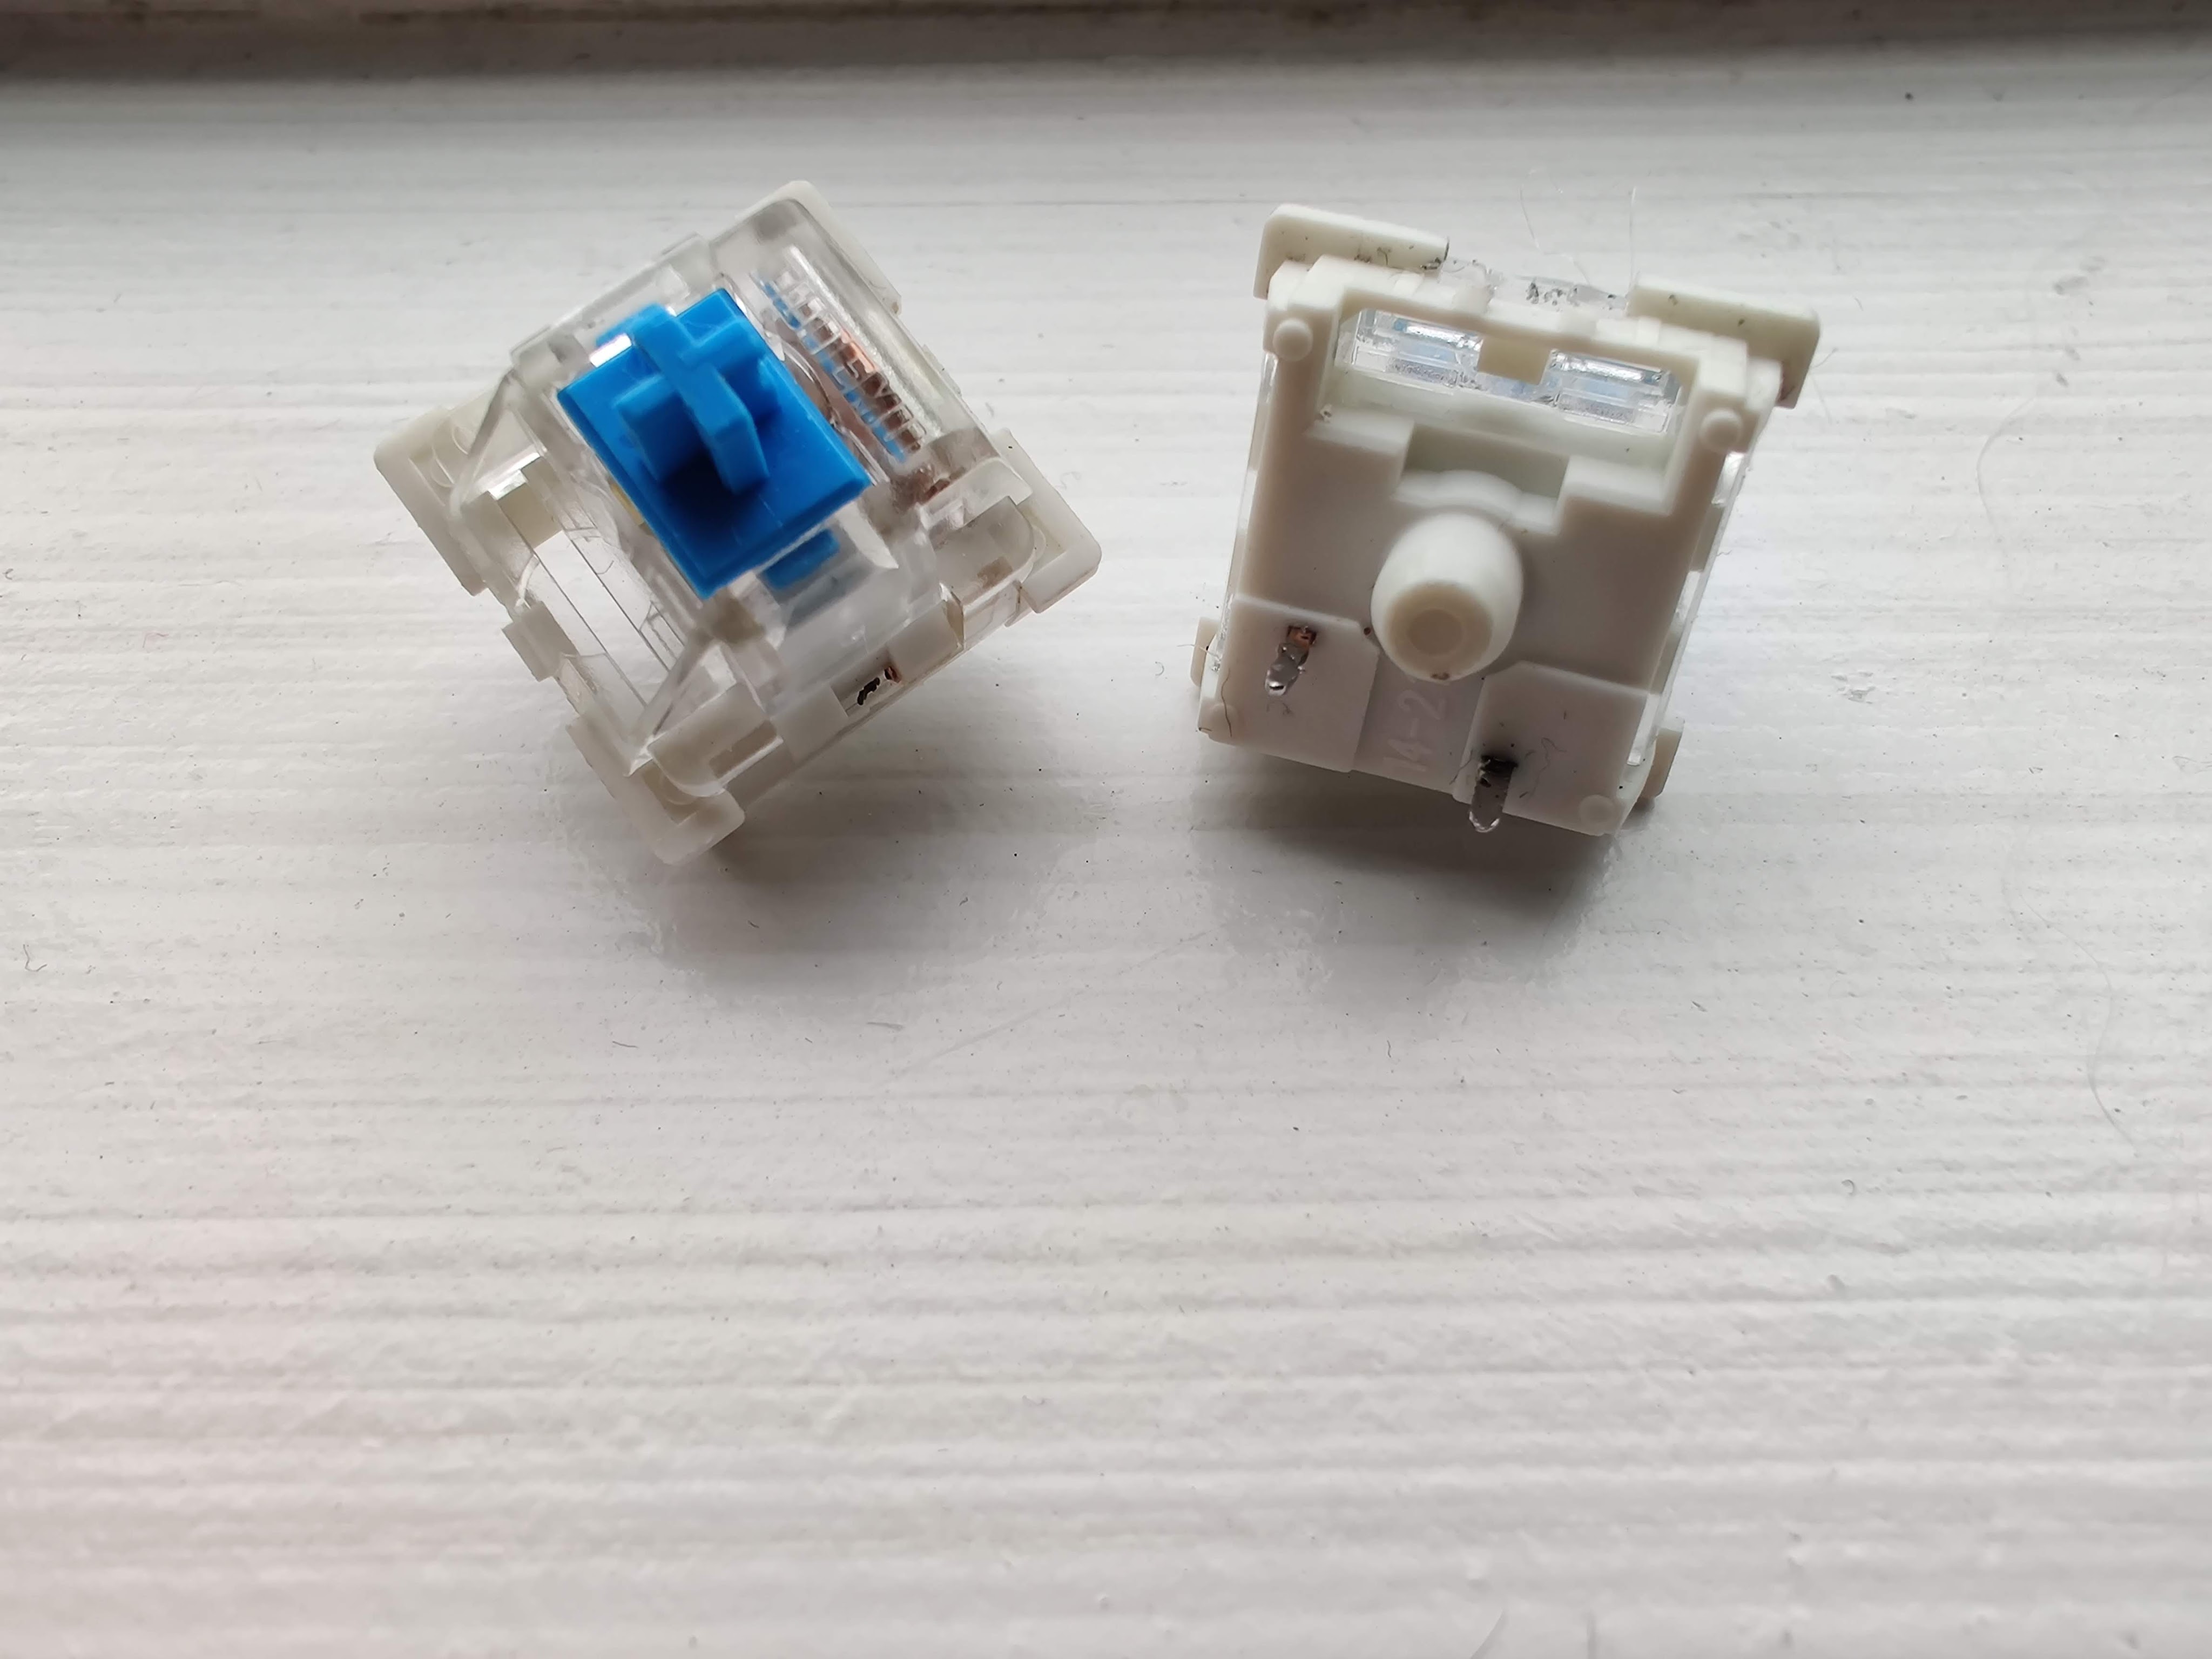
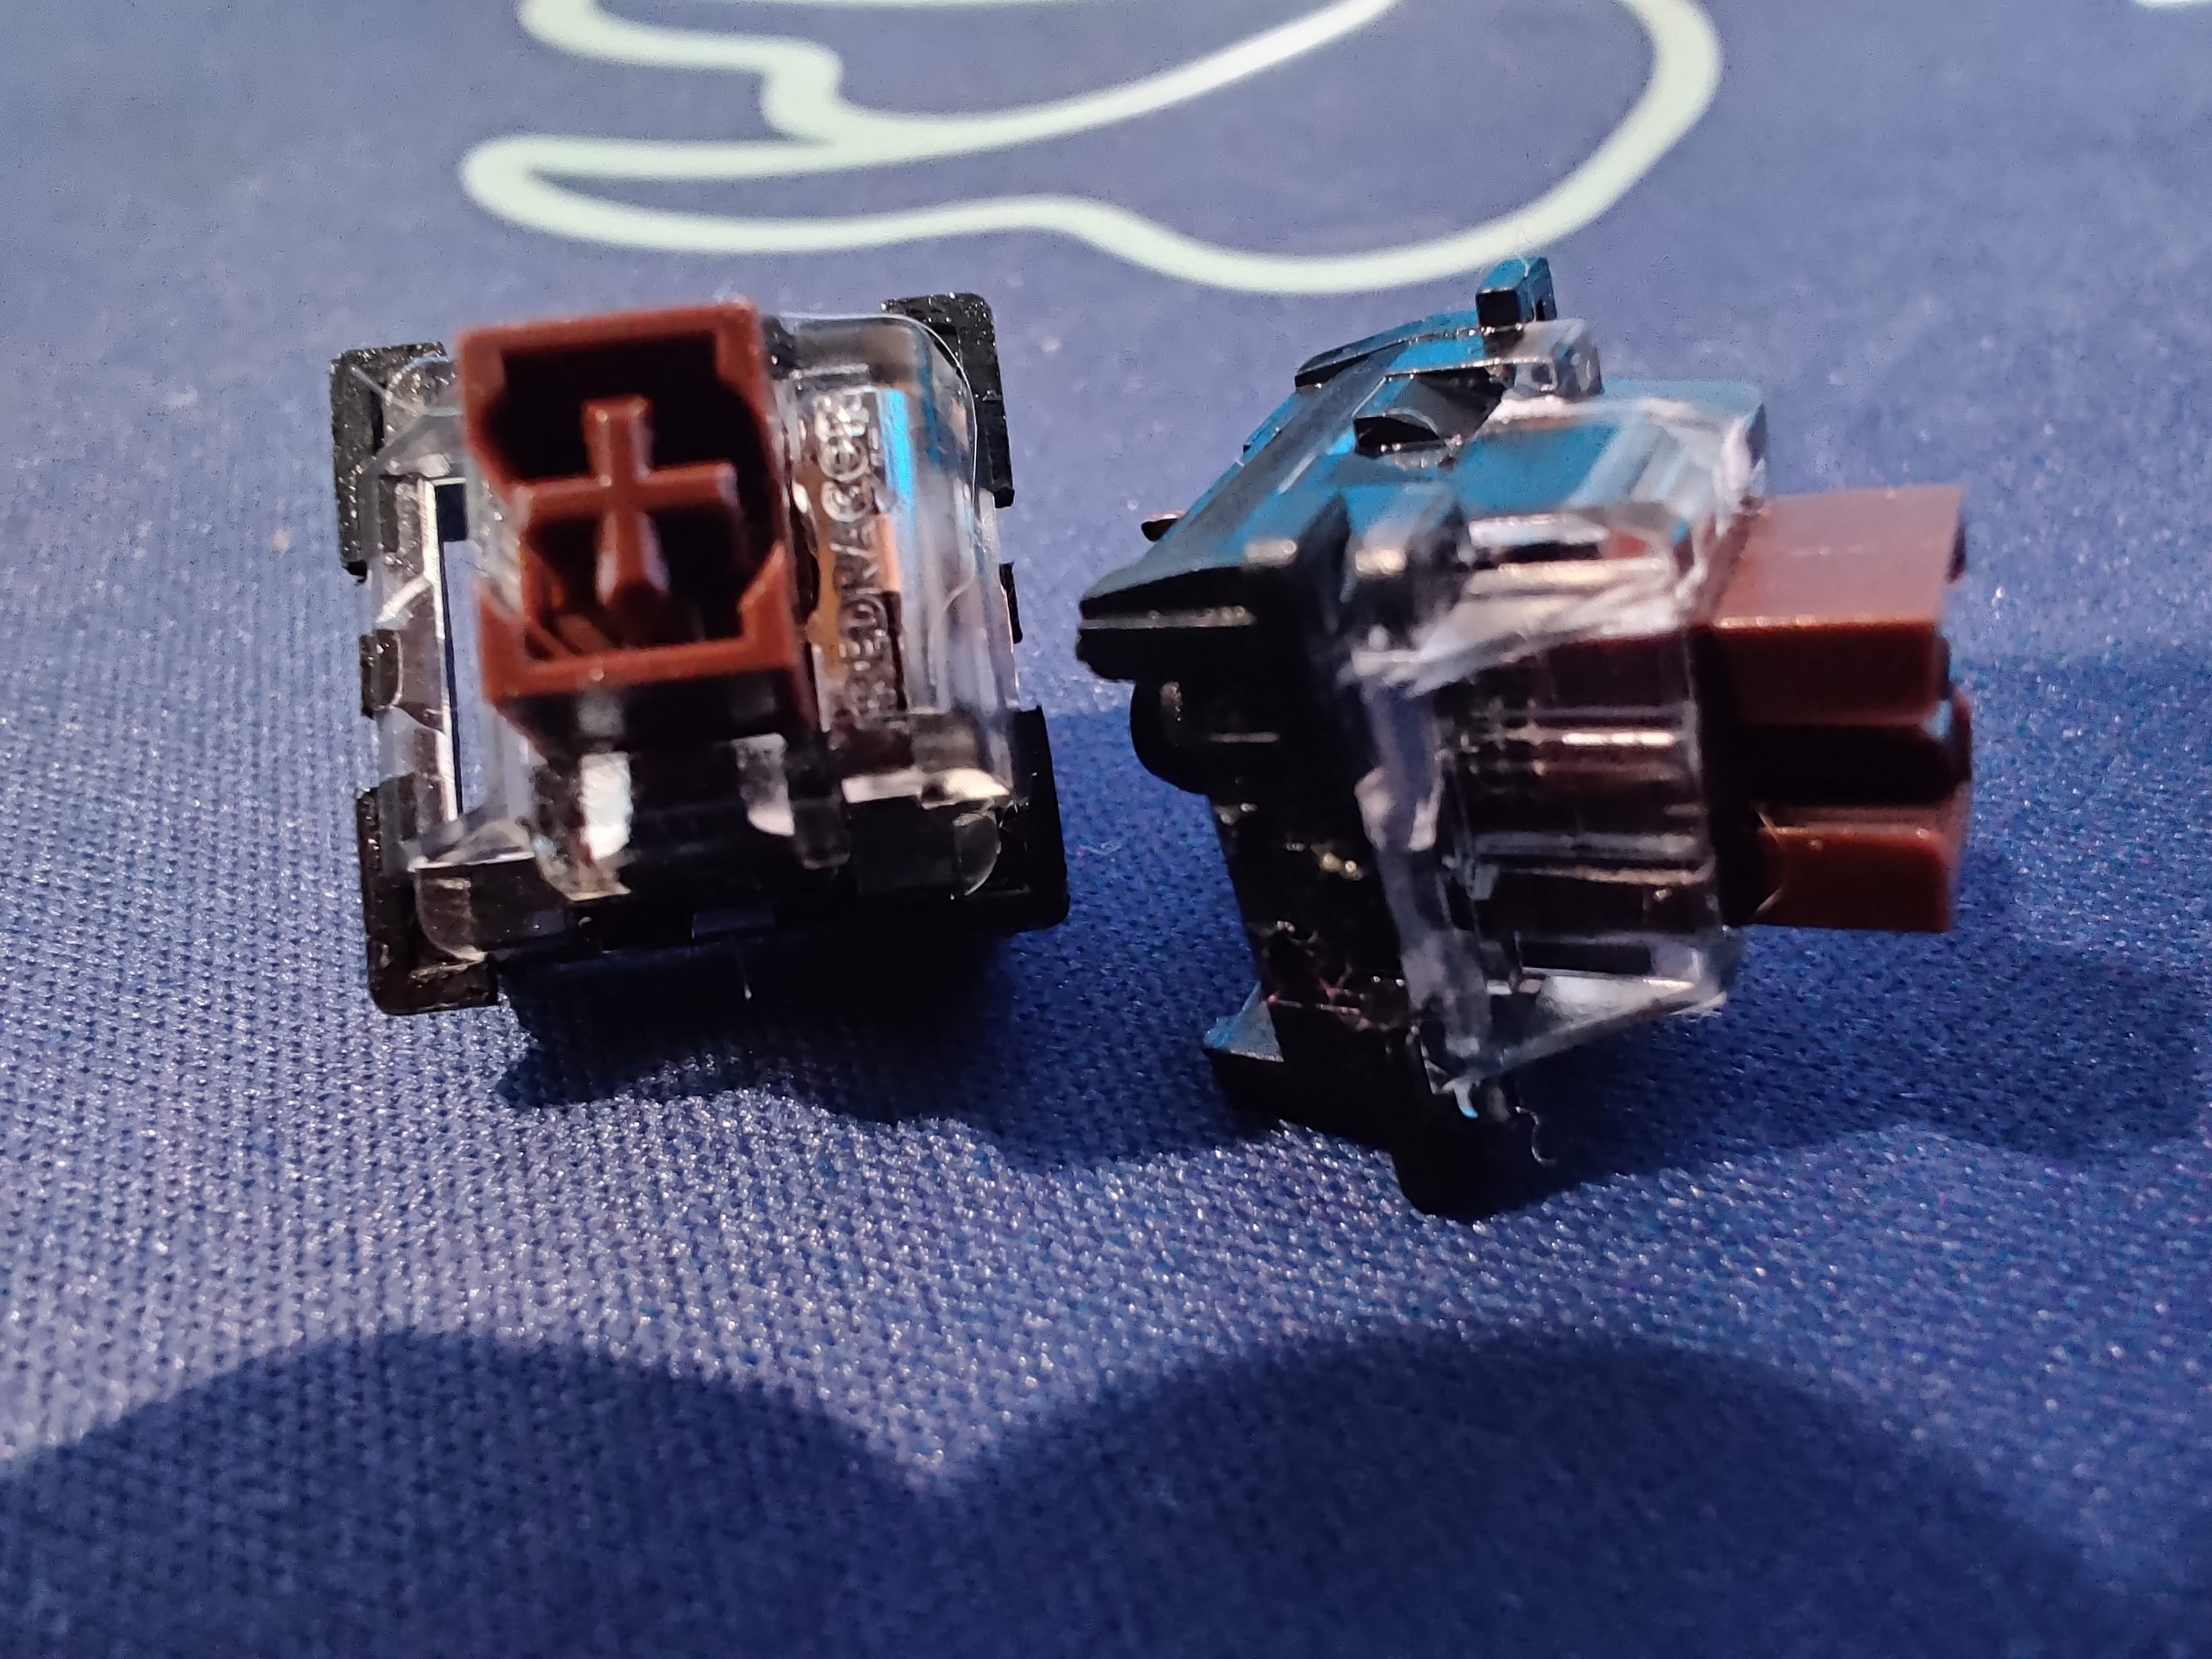
That being said the legends are a good size so they are easy to read and they let a decent amount of RGB lighting through. Also unlike most low-profile mechanical keyboards, the Redragon Horus K618 has switches with cherry-style stems. This means that if you ever wanted to change the keycaps you actually could.
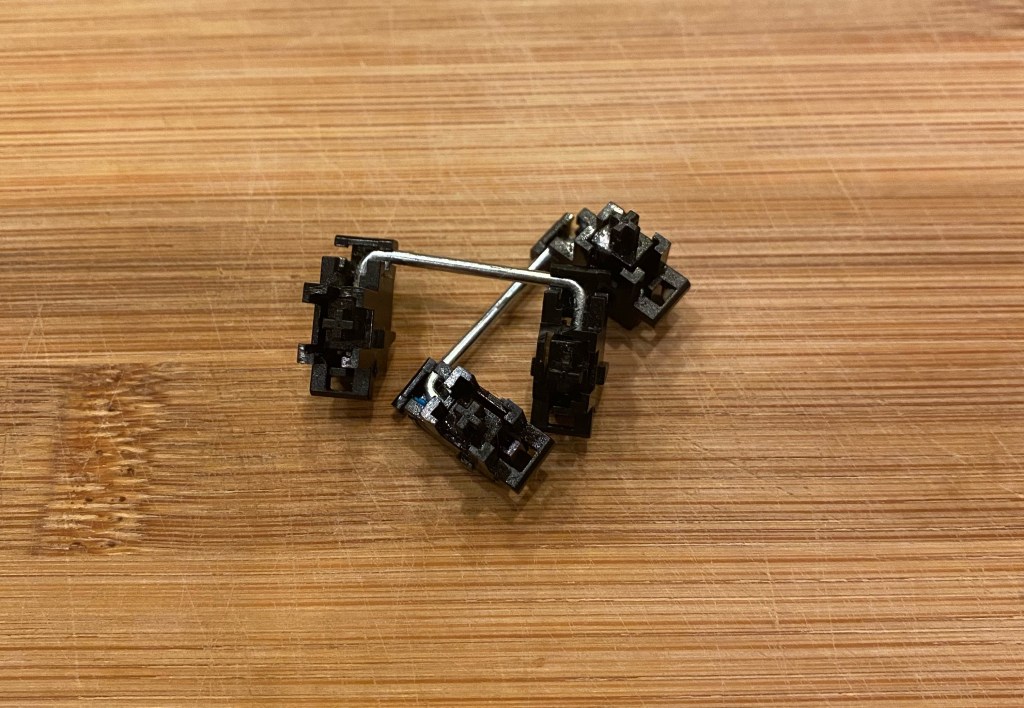
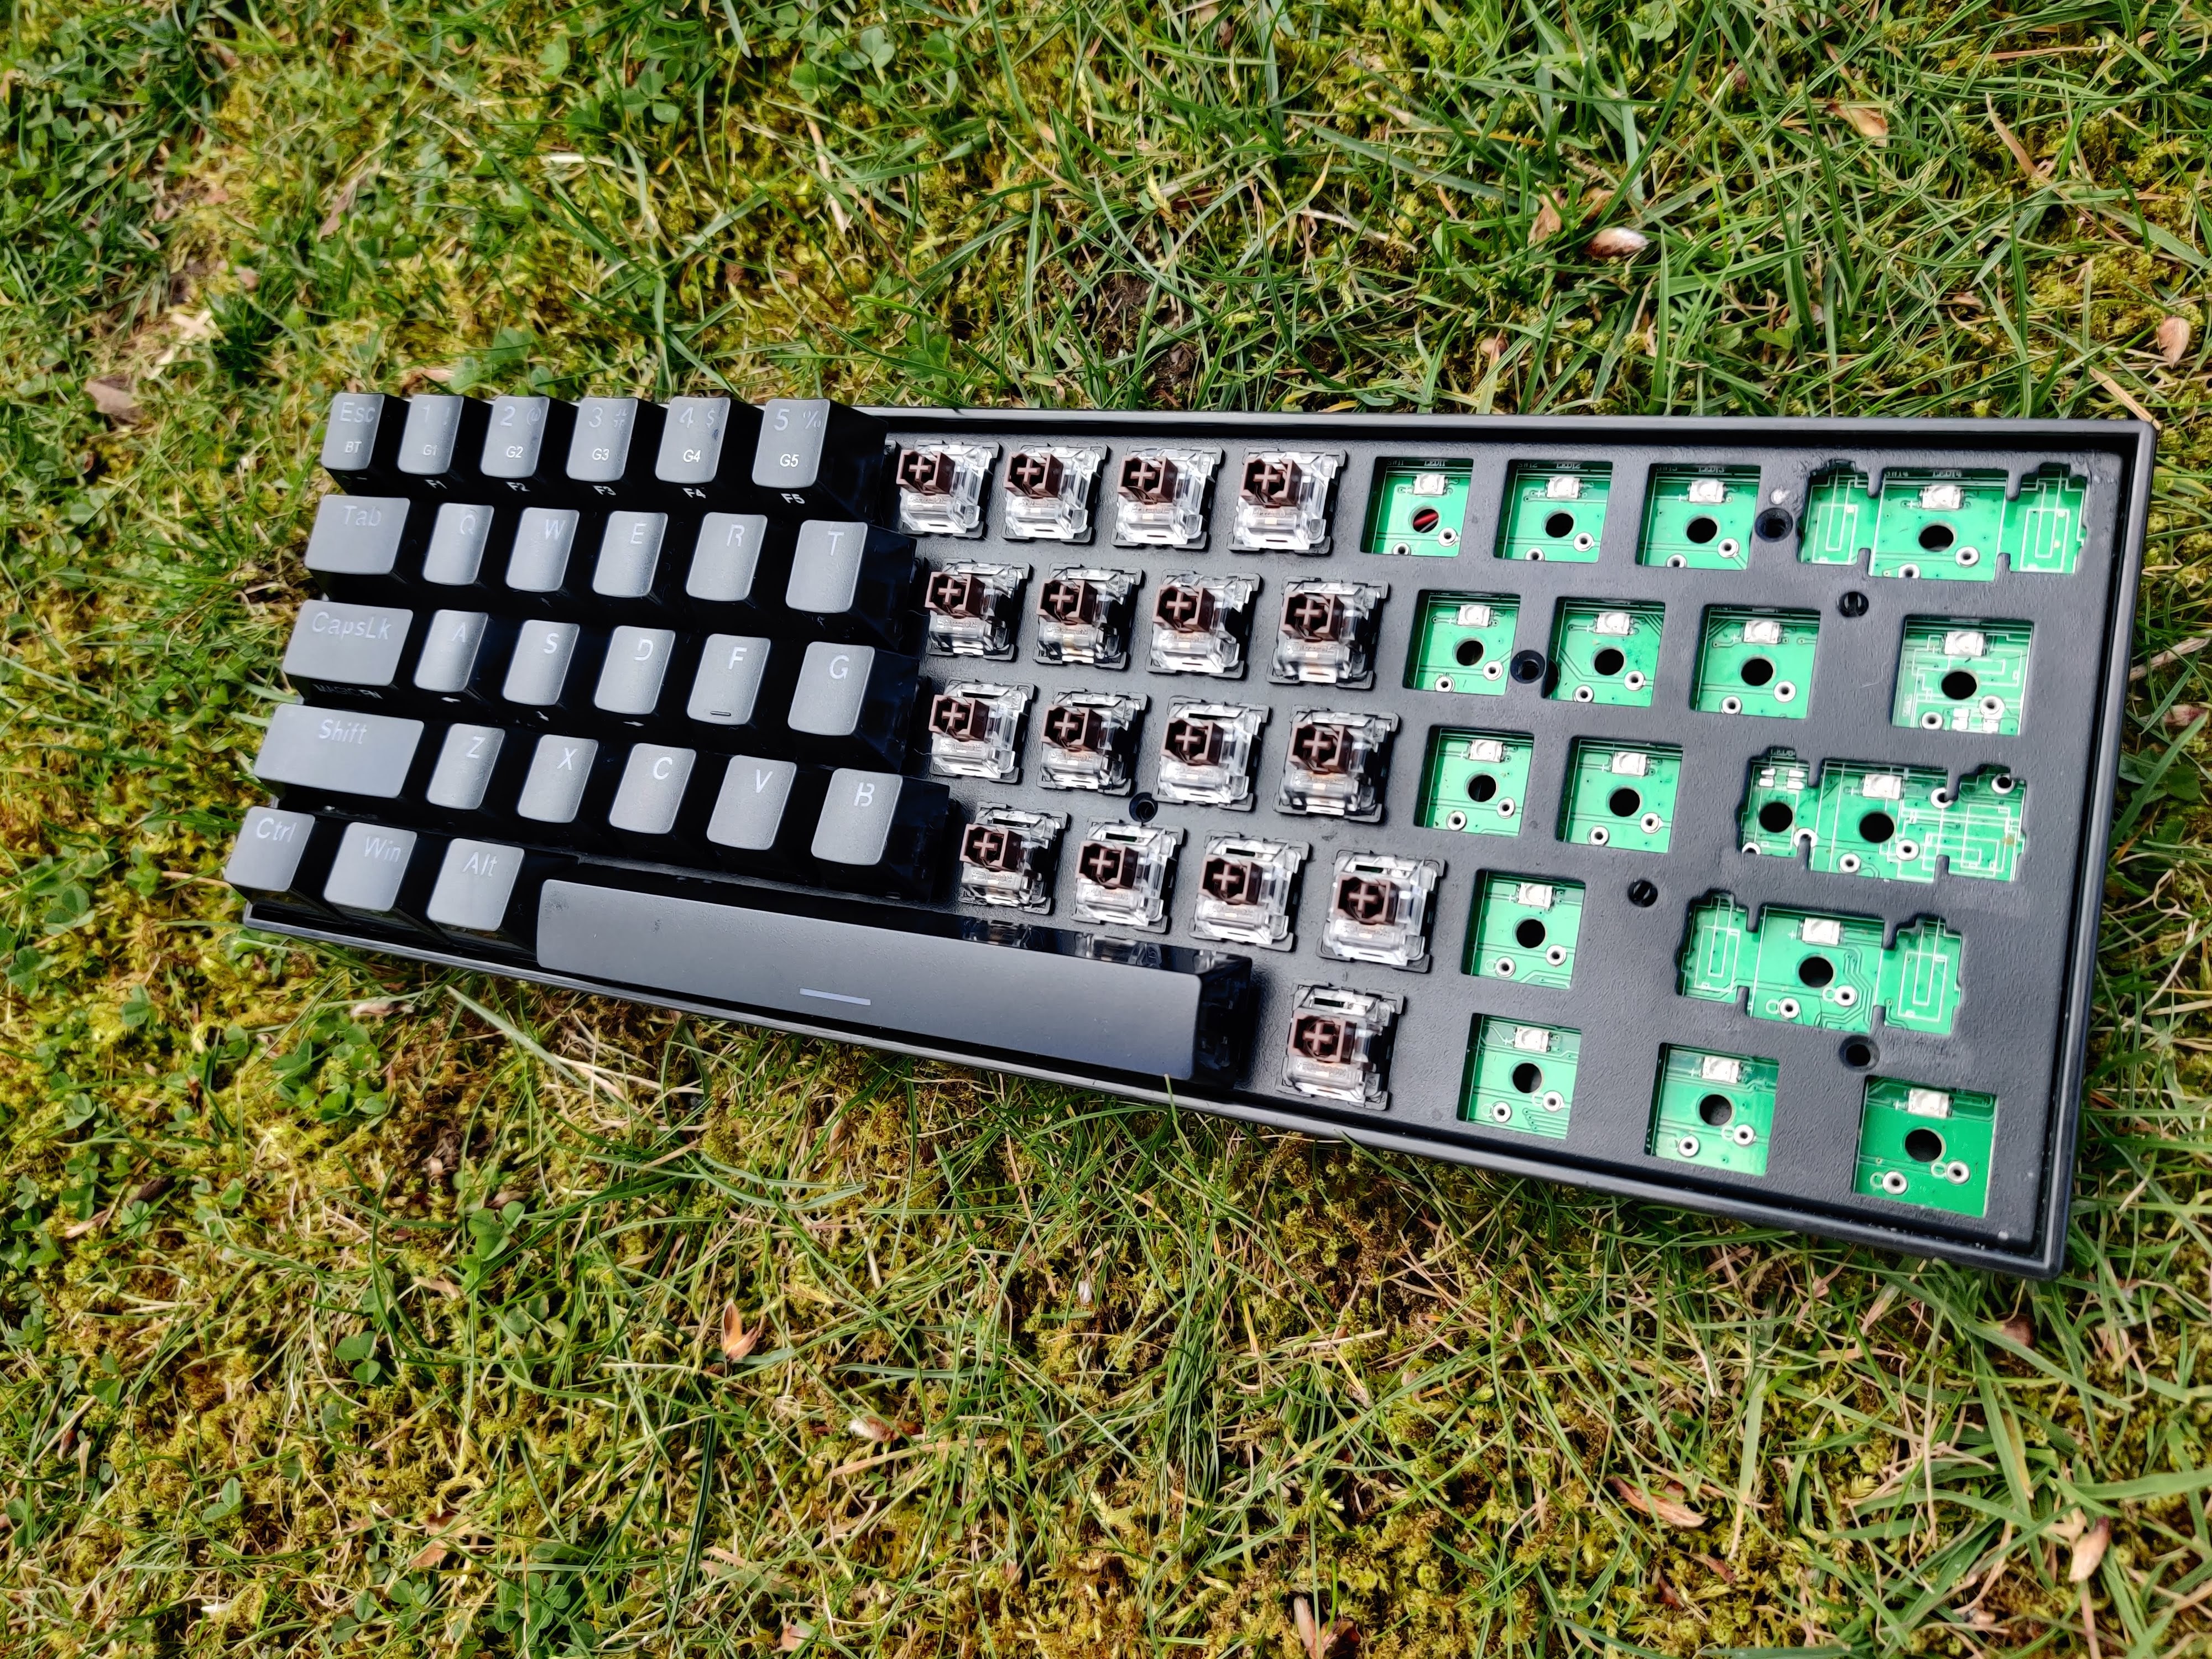
The Switches and Stabilizers
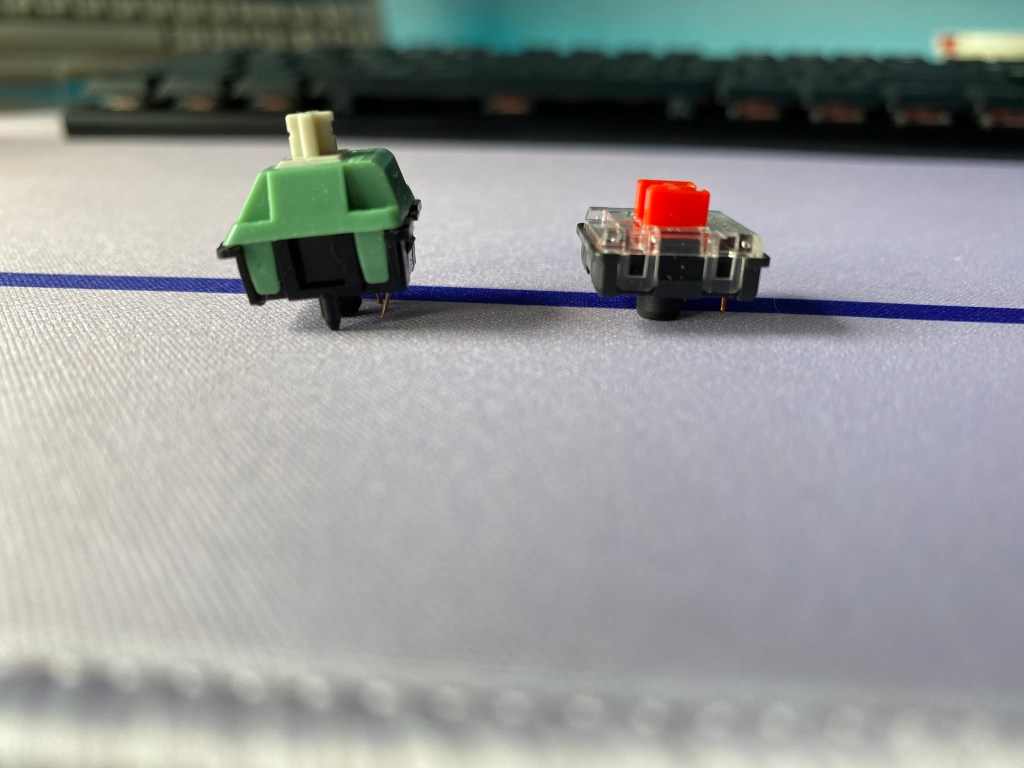
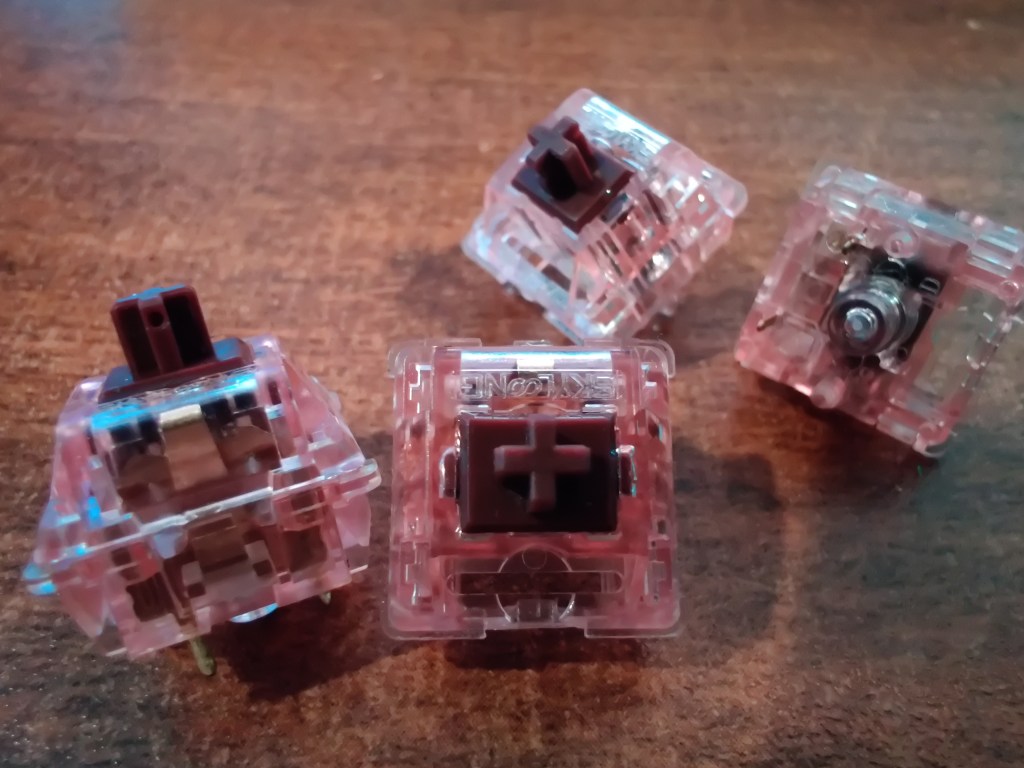
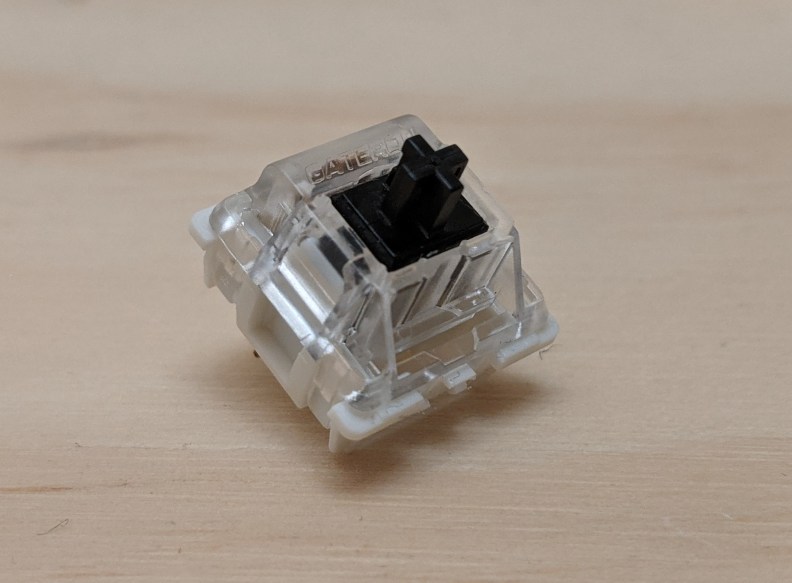
Redragon offers one switch option with the K618 with their low-profile red switches made by Outemu. Weirdly these switches have a different pin layout than the regular low-profile Outemu switches. These switches look to be about half the height of a regular key switch. The low-profile reds are a linear switch with an actuation force of 45g.
The low-profile reds are about what I would expect from other low-profile mechanical keyboards. They feel pretty decent for the average gamer and they were comfortable to type on for extended periods.
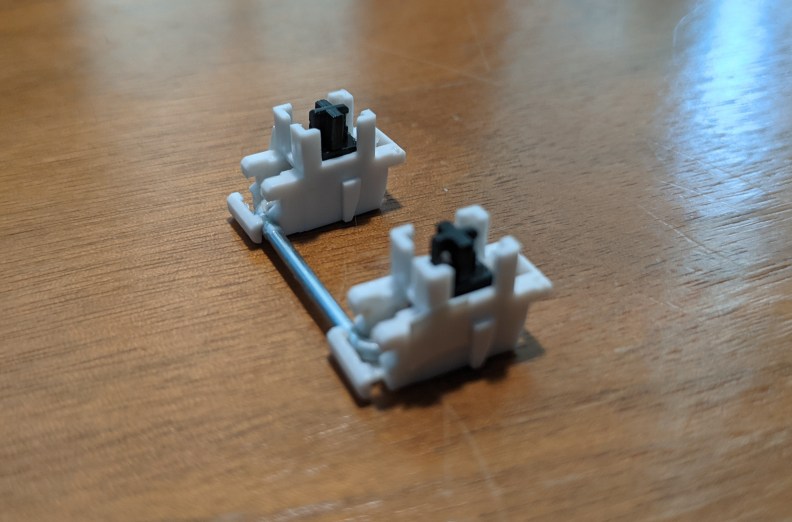
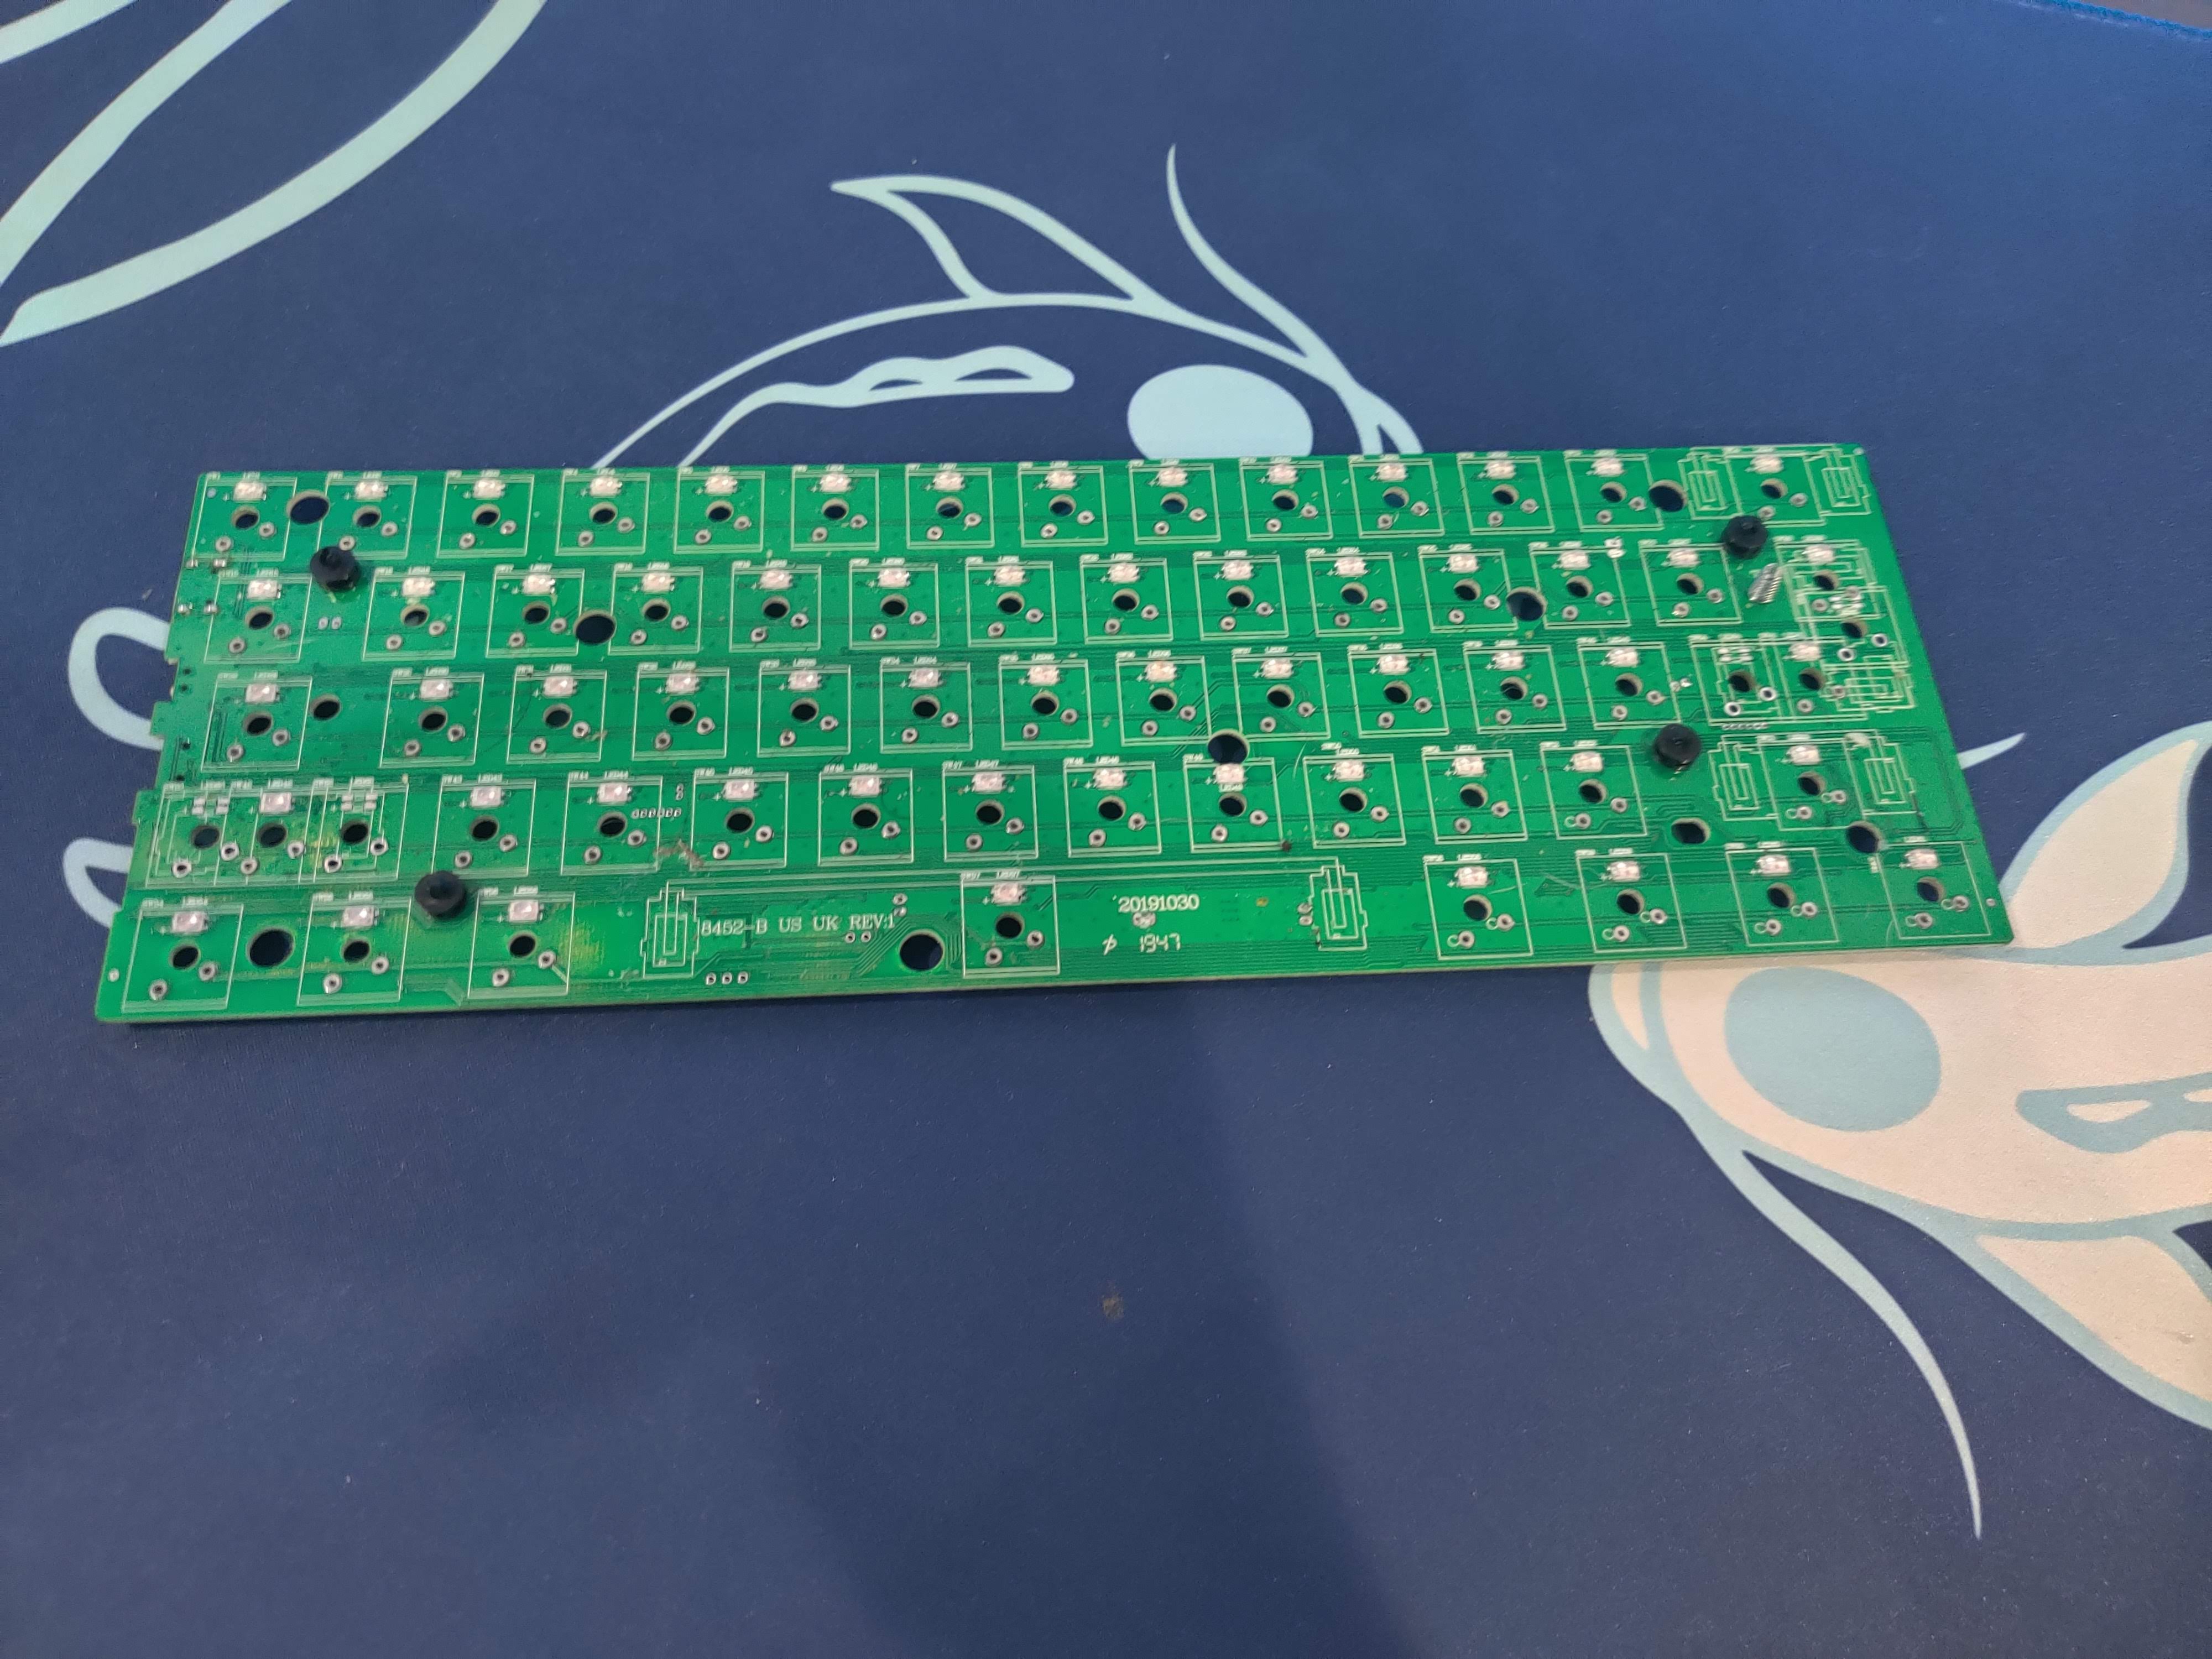
The switches are on a hotswap PCB meaning typically you would be able to replace the switches with other types of switches. However, the nonstandard pin placement means you cannot actually replace them with other switches. Honestly, this is one of my least favorite things about the board but the fact that this is even offered for the price is nice. You are still able to easily replace a switch if it is broken and mod the keyboard pretty easily because of the hotswappable PCB.
The stabilizers on this board are cherry-style plate mount stabs. They were alright. They were better than most gaming keyboards I have had experience with from the likes of Logitech or Razer however they were nothing crazy. Luckily because the board is hotswap I was able to put some dielectric grease onto the stabilizer wires and they sounded much better afterward. Overall the stabs are fine for most people.
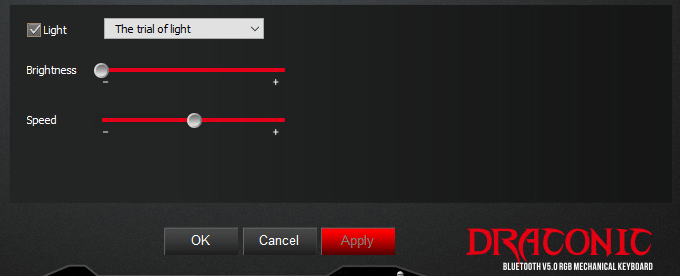
RGB Back Lighting and Software
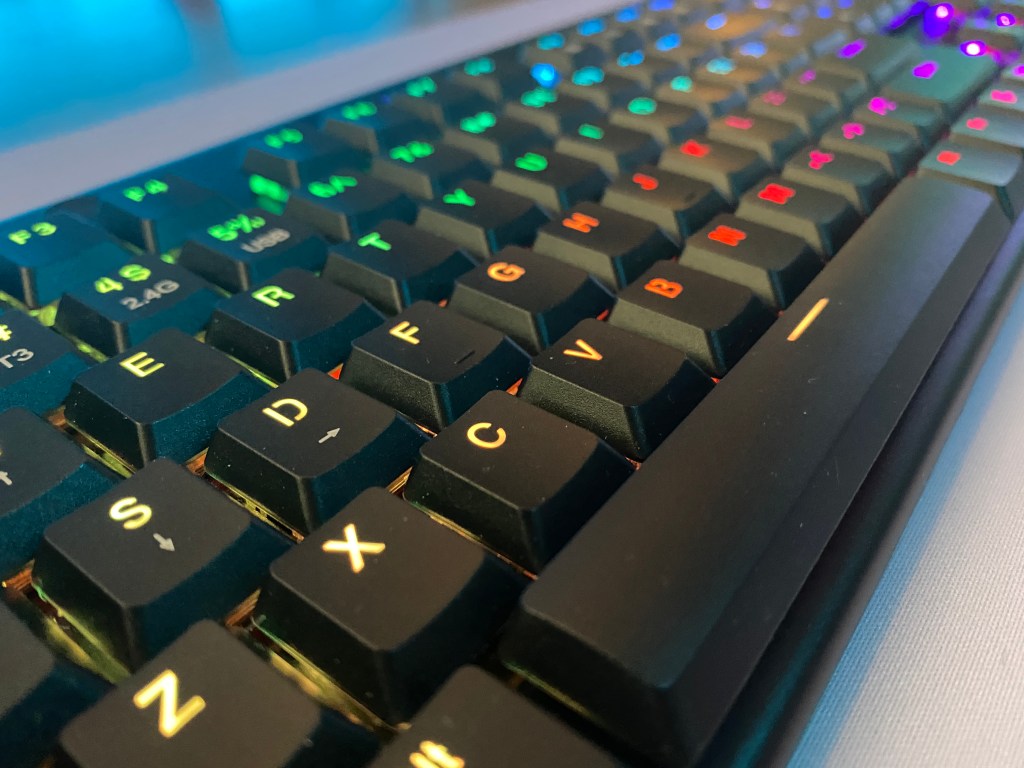
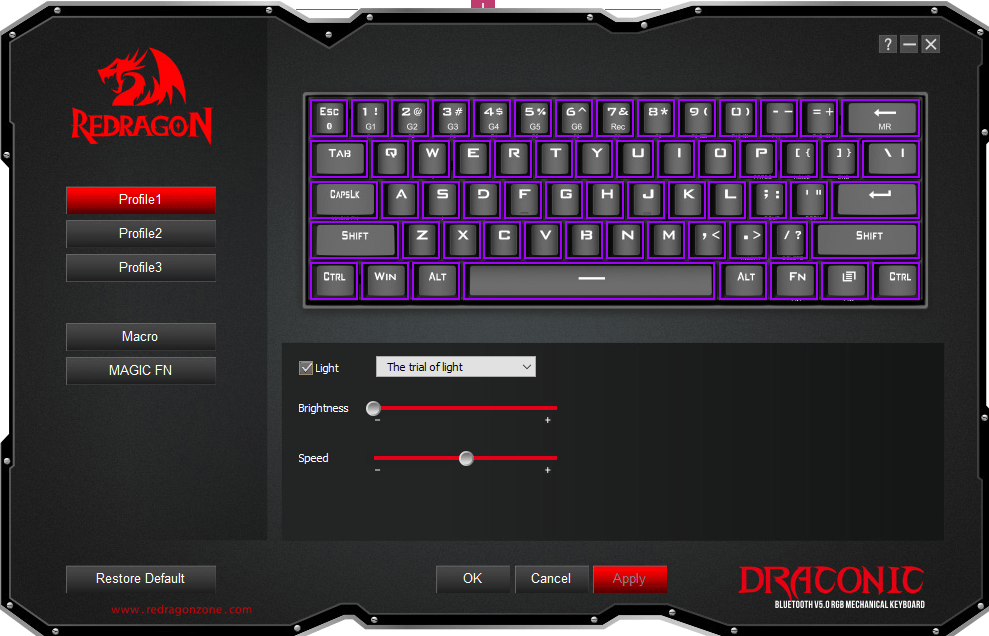
Redragon’s Horus K618 features RGB lighting. The lighting is pretty bright and definitely better than some of the competition. There are a few onboard presets that can be cycled through without using any software. If you want a clean look you can change the lighting all to white.
The software lets you control the lighting, change mappings, and a few other basic things. It is not as good as VIA, arguably the best keyboard software, or even Corsair iCue but it is better than having nothing. Many keyboards even from companies like Keychron have no official software support this is nice to see.
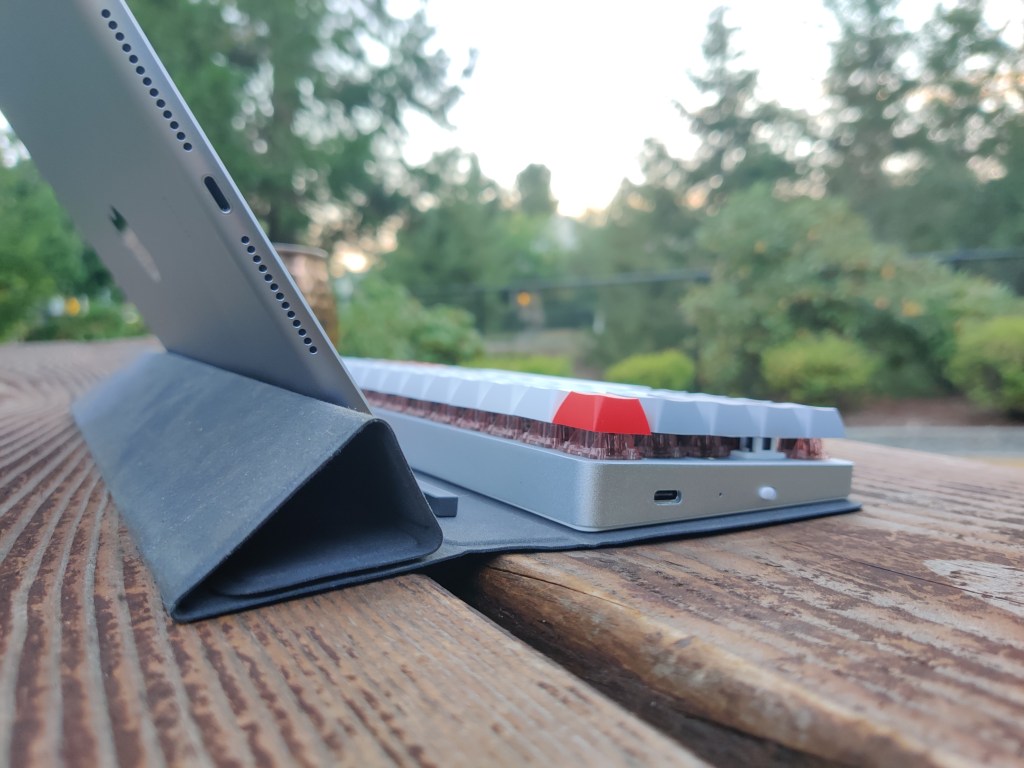
Wireless Connectivity
Aside from the option for a wired connection, Redragon gives you two other options for this board. Connection via a 2.4ghz USB dongle or Bluetooth 5.0. You can connect up to 3 devices with Bluetooth 5.0.
The dongle is stored magnetically at the bottom of the board which is nice so you don’t lose it if you aren’t using it.
Personally, I used the dongle the most. It requires no setup and delivers a connection with less latency than Bluetooth. Although I would recommend a wired connection when gaming, I found that using the 2.4Ghz connection was pretty solid. I never felt like it was ruining my experience during single-player or even casual multiplayer gameplay.
The K618 features a 1900mAh battery that Redragon states should last for up to 30 hours. With white LEDs and the 2.4Ghz connection, I was able to get around 25 hours of use. If you use the RGB lighting you might get a little less and with lighting turned off you would probably get more. It also depends how much you are actually typing on the board in a day. You could probably go three to five days with this board.
When the board is not being used, after a minute, it will go into a sleep state to conserve battery. If you start typing on it though it will start typing almost immediately. This is better than my experience on a lot of other wireless boards like on Keychron boards. Also when you are running low on battery the board wi
Overall wireless connectivity makes the experience of using this board very enjoyable. It is well implemented and I don’t feel like they cheaped out at all.
Media and Macro Keys

Media and macro keys are always a nice to have. Before I had a dedicated macropad they were a must for me.
The media keys work well. They feel slightly mushy but have a tactile response when you press them down. There are also secondary functions for some keys which can do things like open the calculator app.
The scroll wheel allows you to either change the brightness of the lighting or volume. I found that it doesn’t make much of an impact in changing volume. You have to scroll it all the way down just to go down 2 percent. To me, it isn’t that great for changing volume on the fly. Also, I wish the macro keys had dedicated backlighting at all times too.
Conclusion
Overall what would bring the Redragon Horus K618 to 5 stars for me is if it had the same pin placement for regular outemu hotswap, nicer keycap legends, and an aluminum frame. That being said the K618 delivers a solid build and plenty of features that make this a very enjoyable experience.
If you want an aluminum build, compatibility with different types of switches, and dedicated mac support then Keychron’s low profile offerings like the K1 may be a better option for you. However, if you want a better wireless experience, brighter lighting, macro keys, and software then get then the K618 is the one for you.
I also found that it is easy to compare the K618 to the Logitech G915. You get most of what the G915 has with the Horus K618. If you are willing to pay extra though, for over double the price, the G915 offers better software, a low latency lightspeed wireless connection, and slightly better-looking keycaps.
All this being said I still think that the Redragon Horus K618 is the best value low-profile keyboard that you can buy today.
So if you would like the Redragon Horus K618, check it out here at the Redragon store.
Thanks for reading and if you would like to see more keyboard content, check out our keeb reviews or the sound tests on my YouTube channel.


You must be logged in to post a comment.