
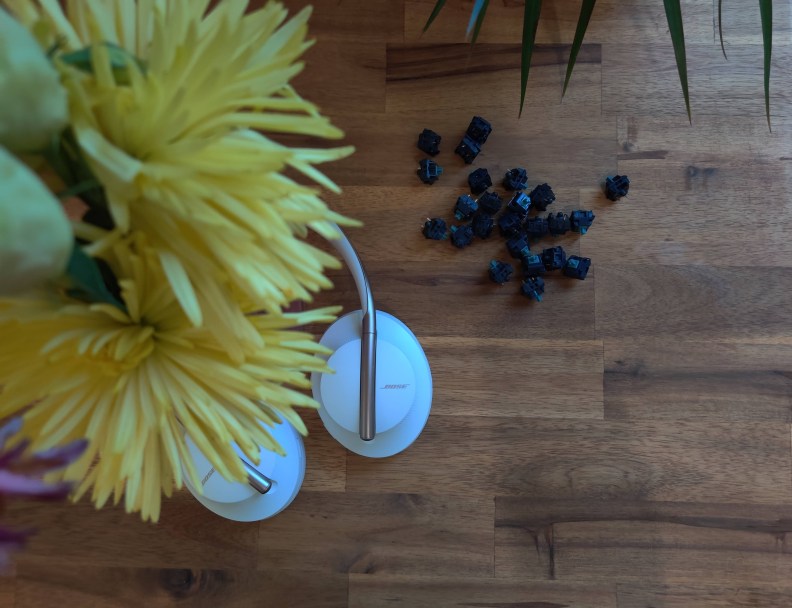
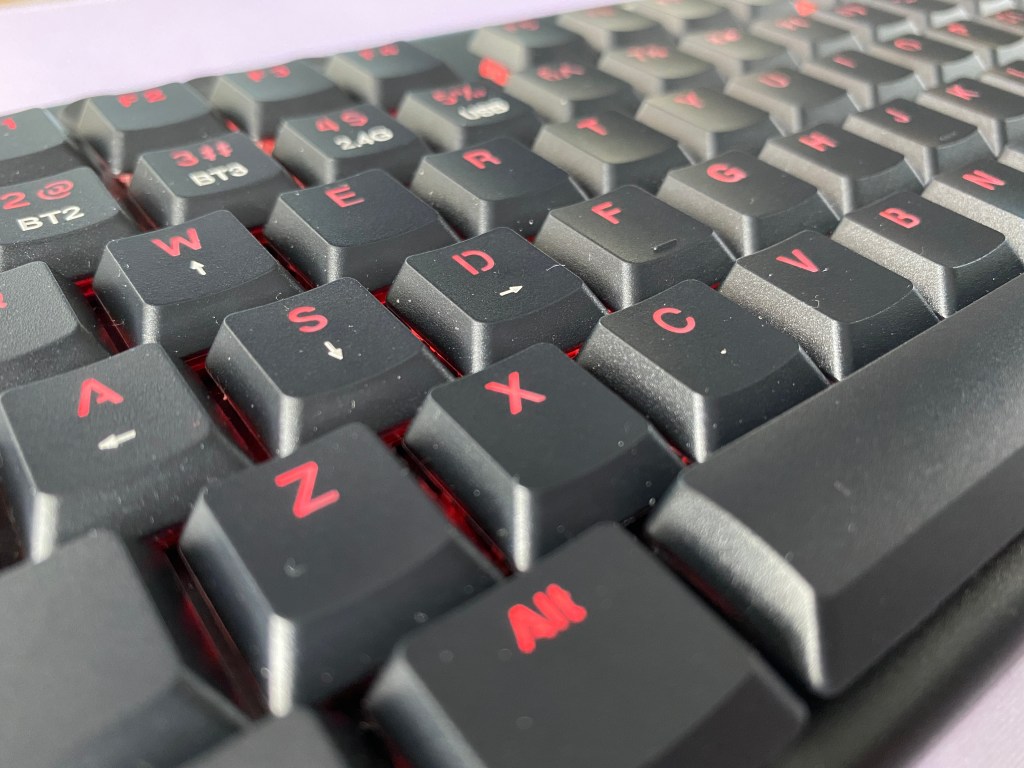
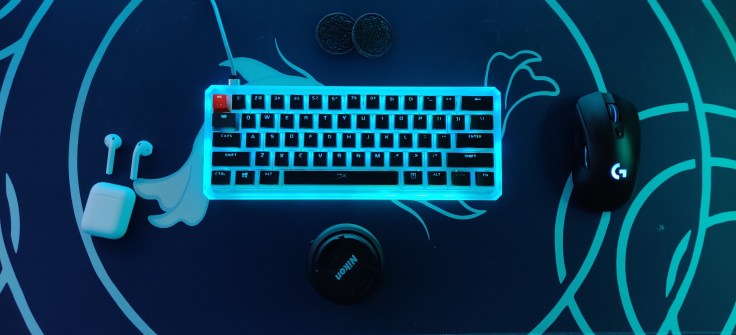
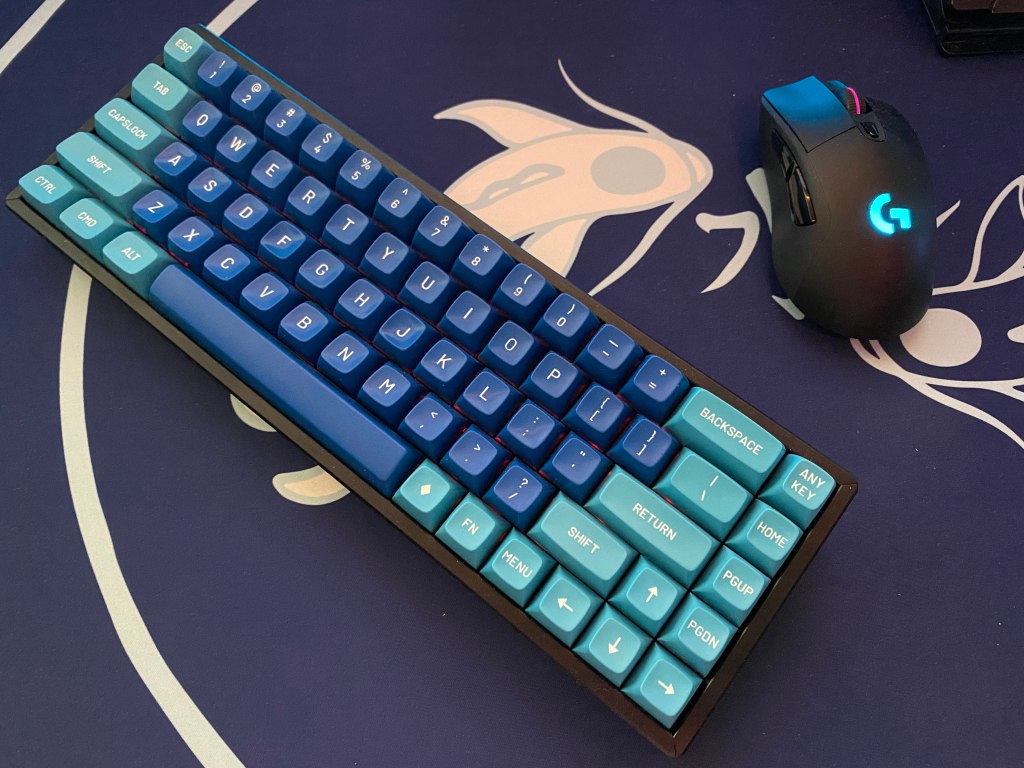
When building a mechanical keyboard, one of the key decisions is finding which key switch is right for you.
A linear switch is a switch that has uninterrupted travel all the way down. There is no feedback in the travel and the only way to tell you have actuated the switch is when the action shows up on your screen.
If you are a fan of linear switches there are a large number of options available, so which one is the right switch for you? Today we are going to discuss the top ten linear switches in our testing so you can find the right switch for your next build.
Terminology
Just like in our Tactile Switch article we have included a short guide to clarify some terminology that might be thrown around when describing switches.
Actuation: Actuation is when the switch actually activates and outputs to the device.
Bottom out: When the switch finishes traveling and hits the bottom housing.
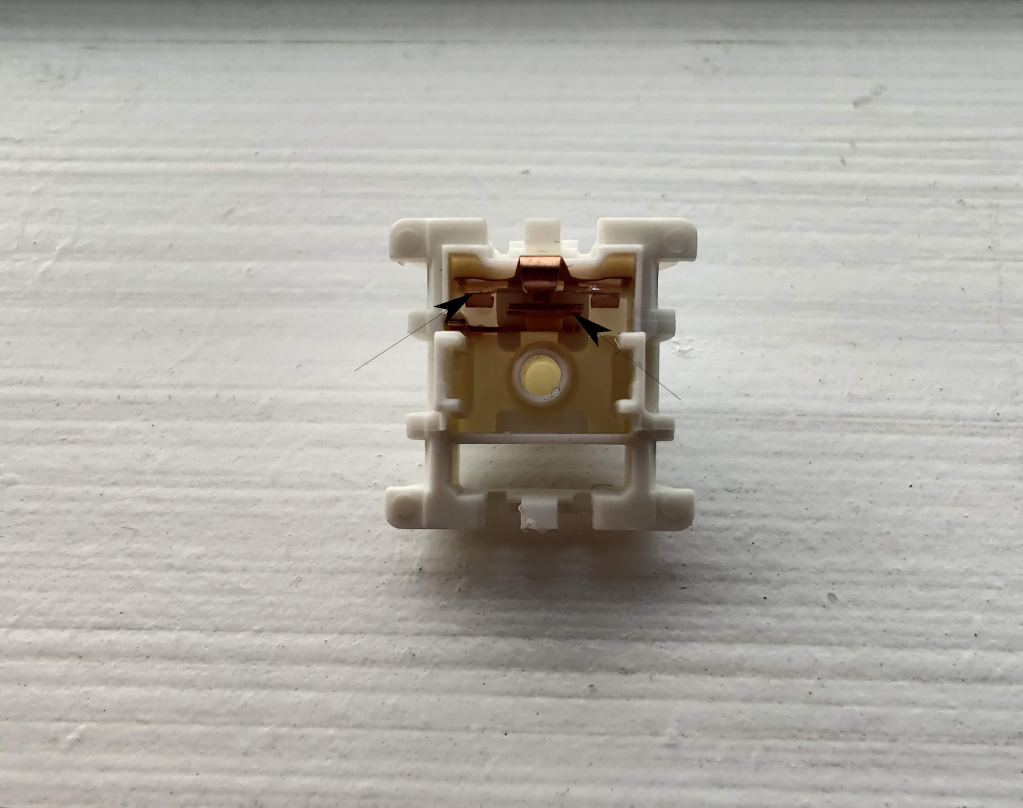
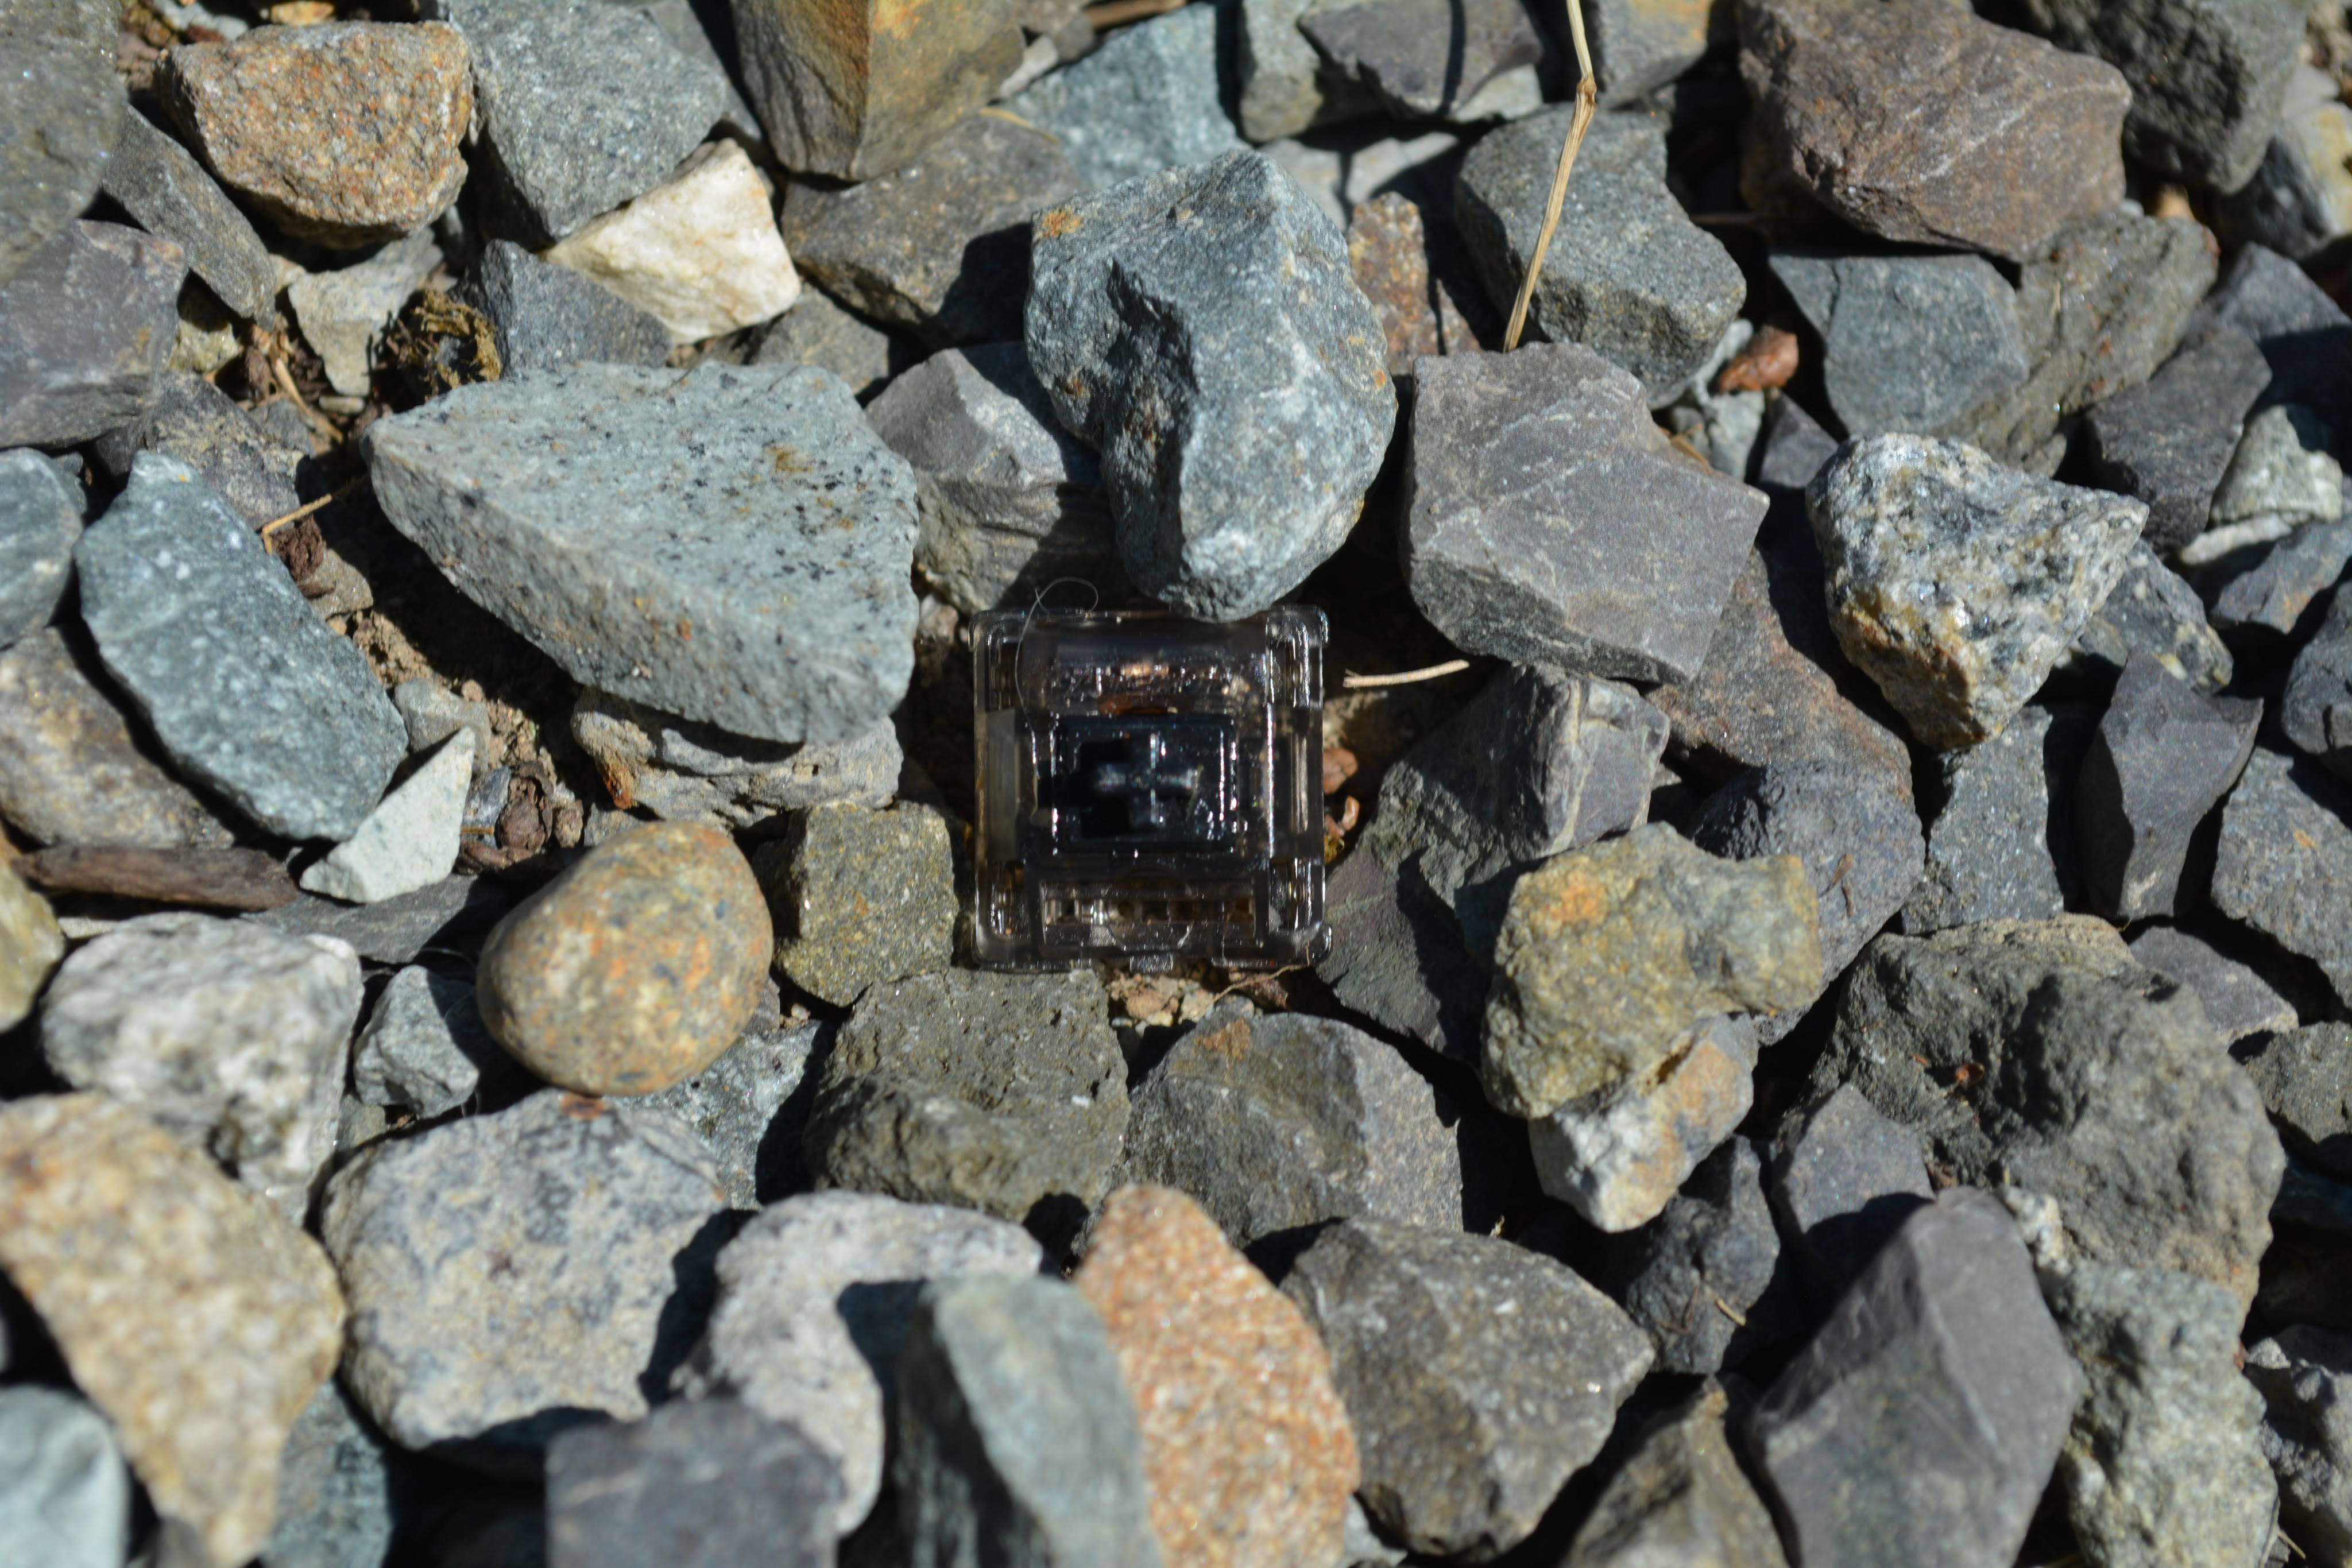
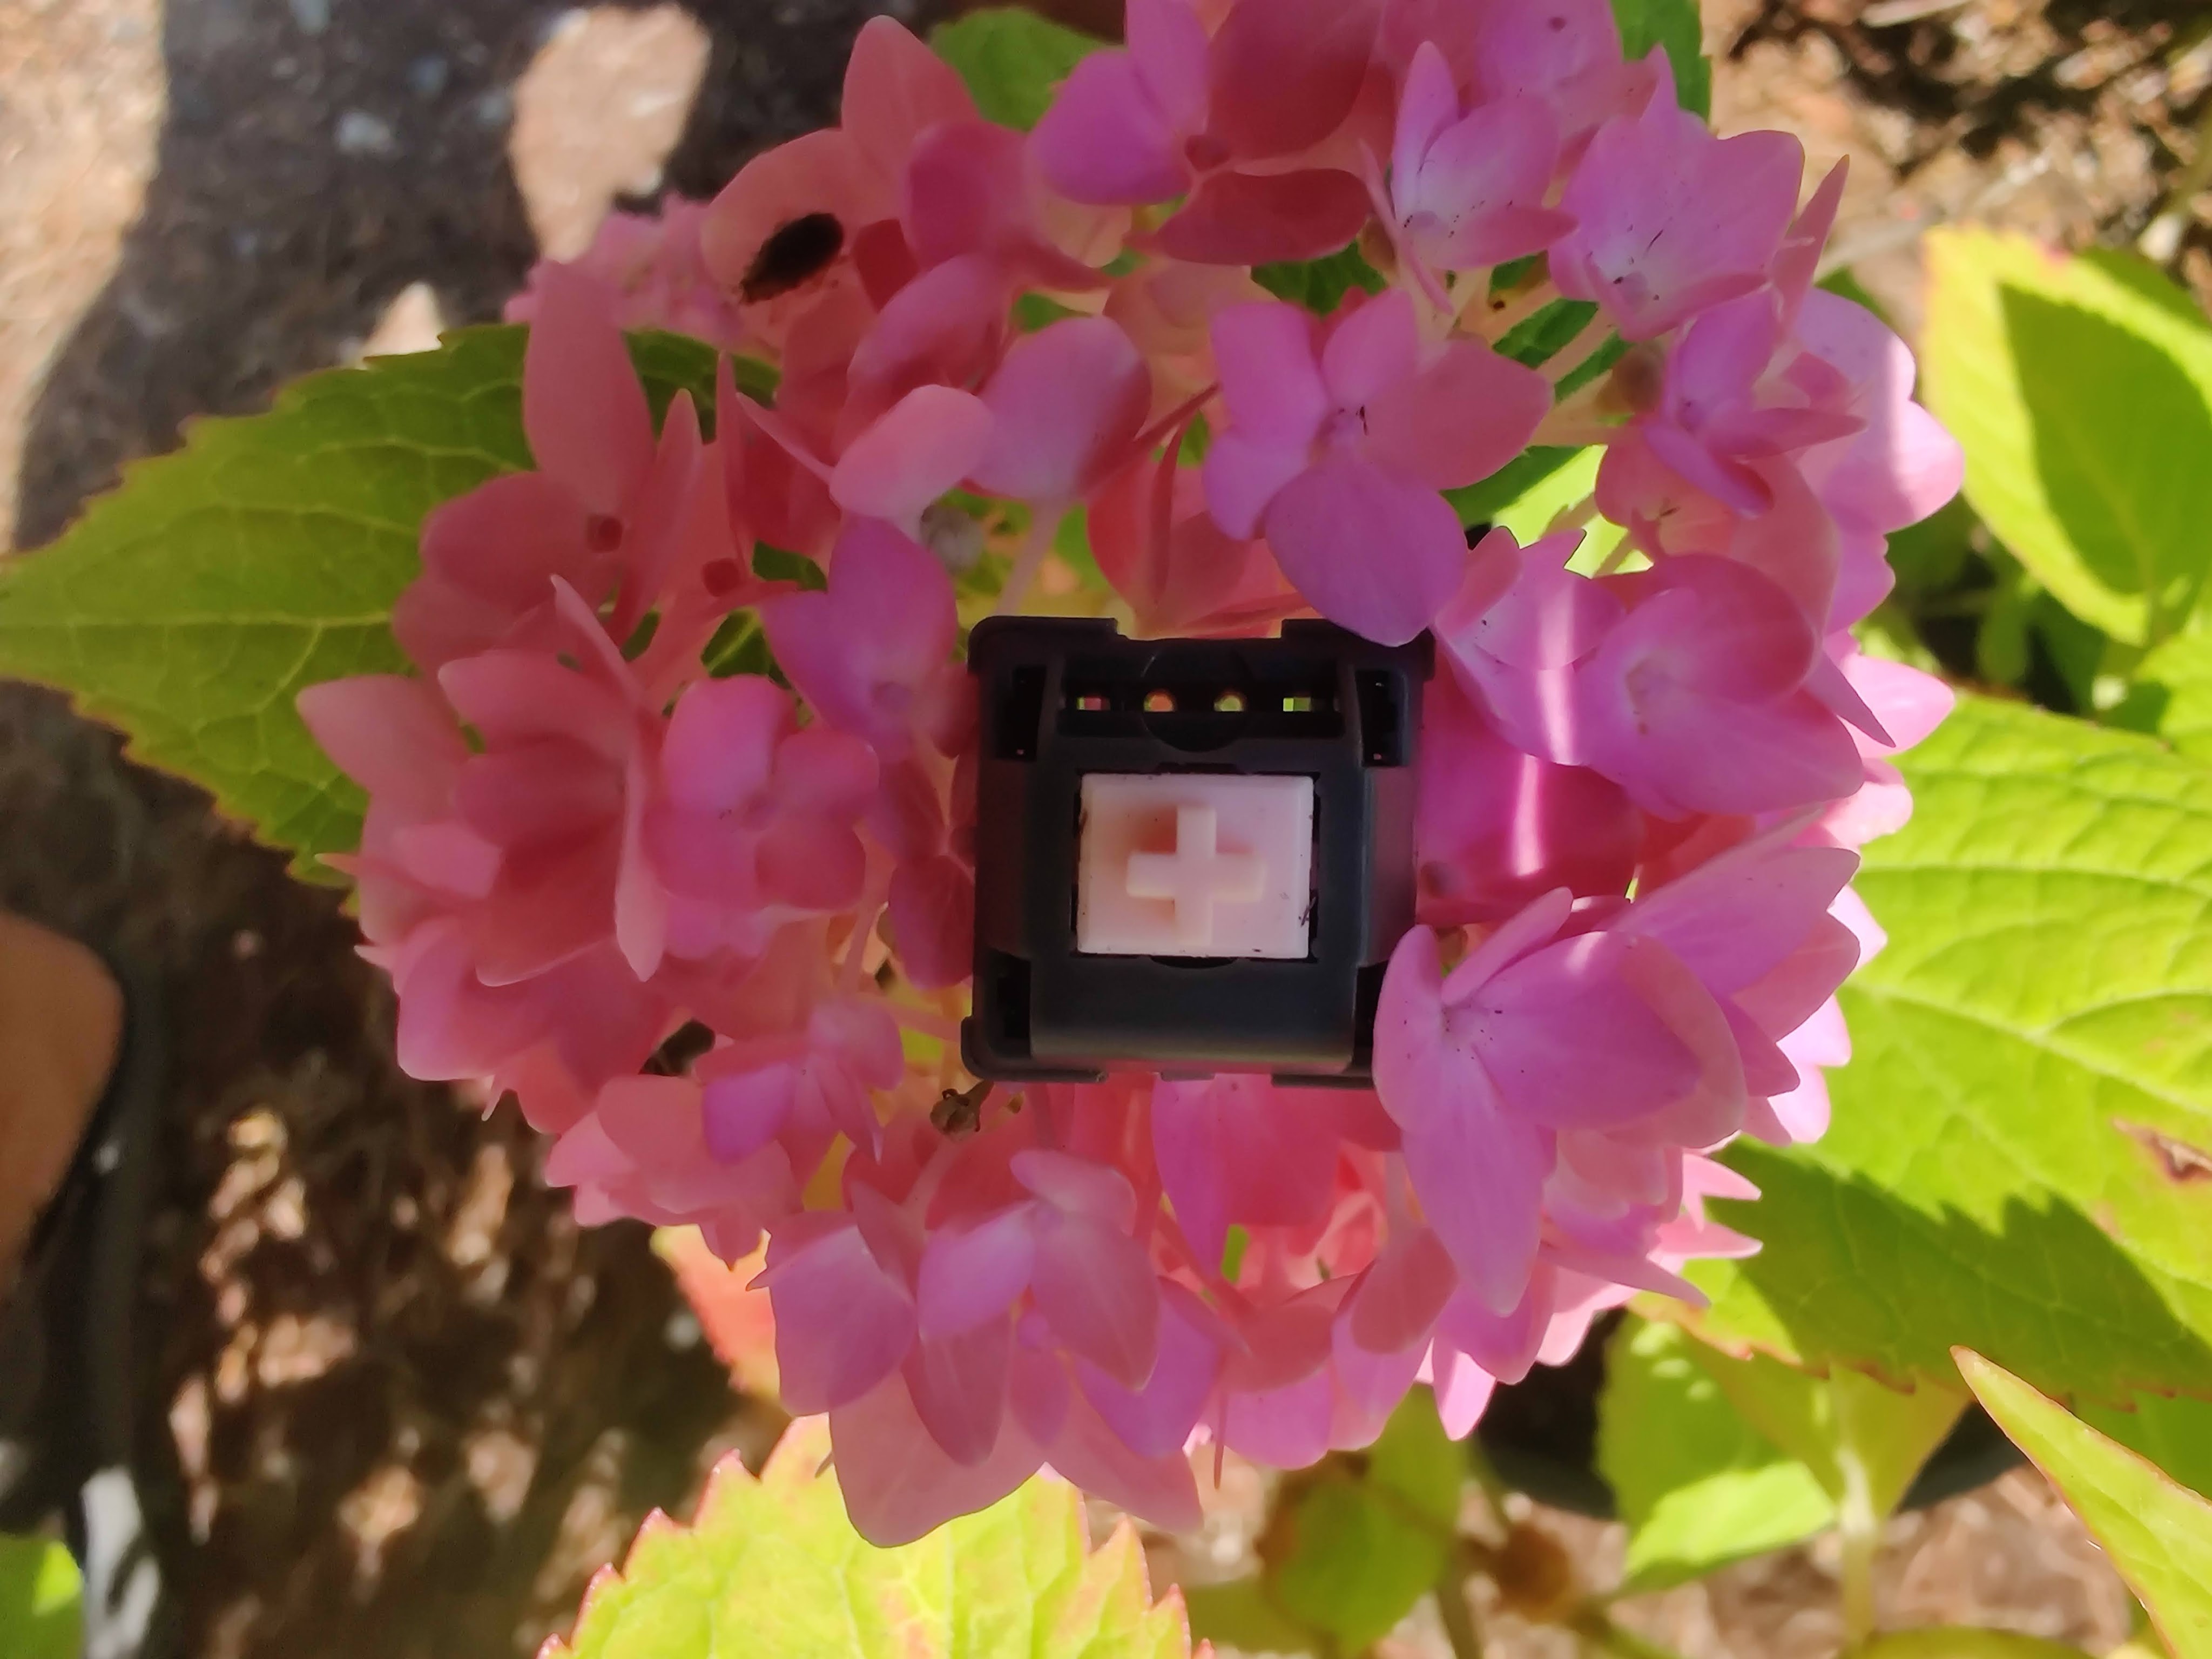
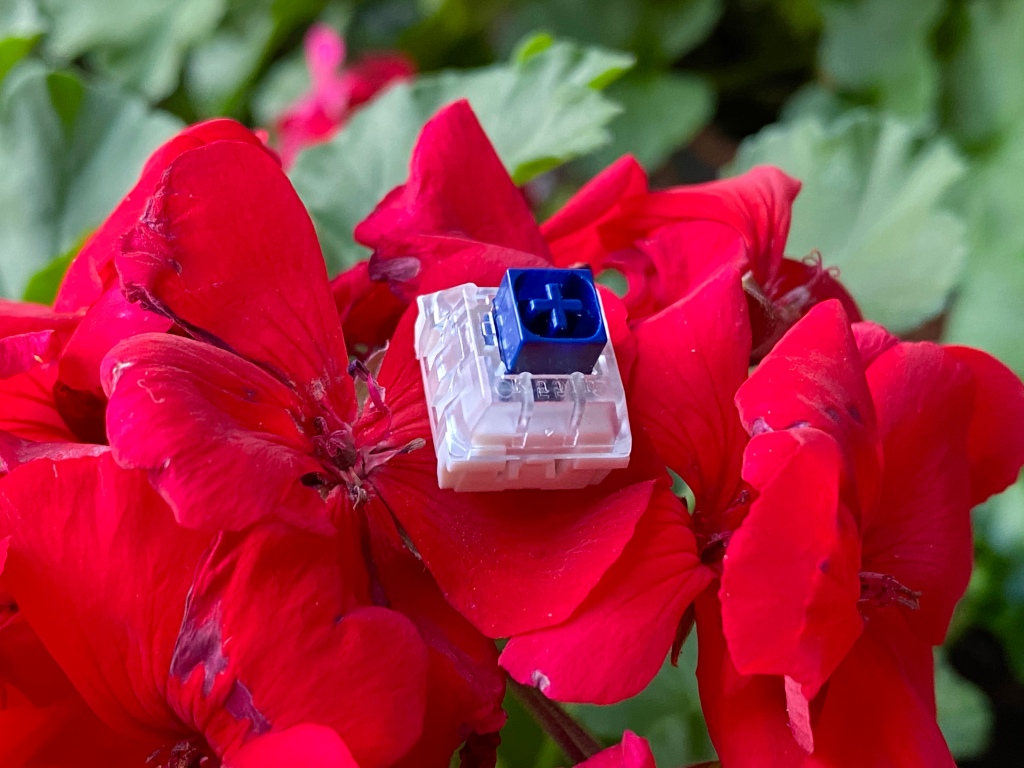
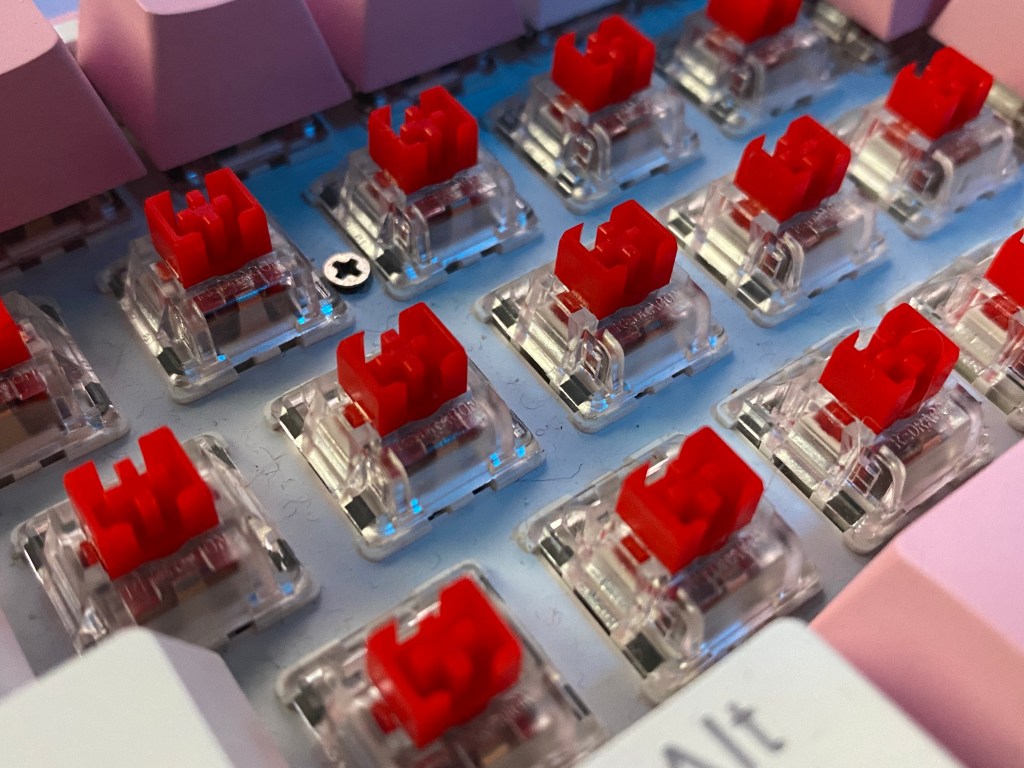
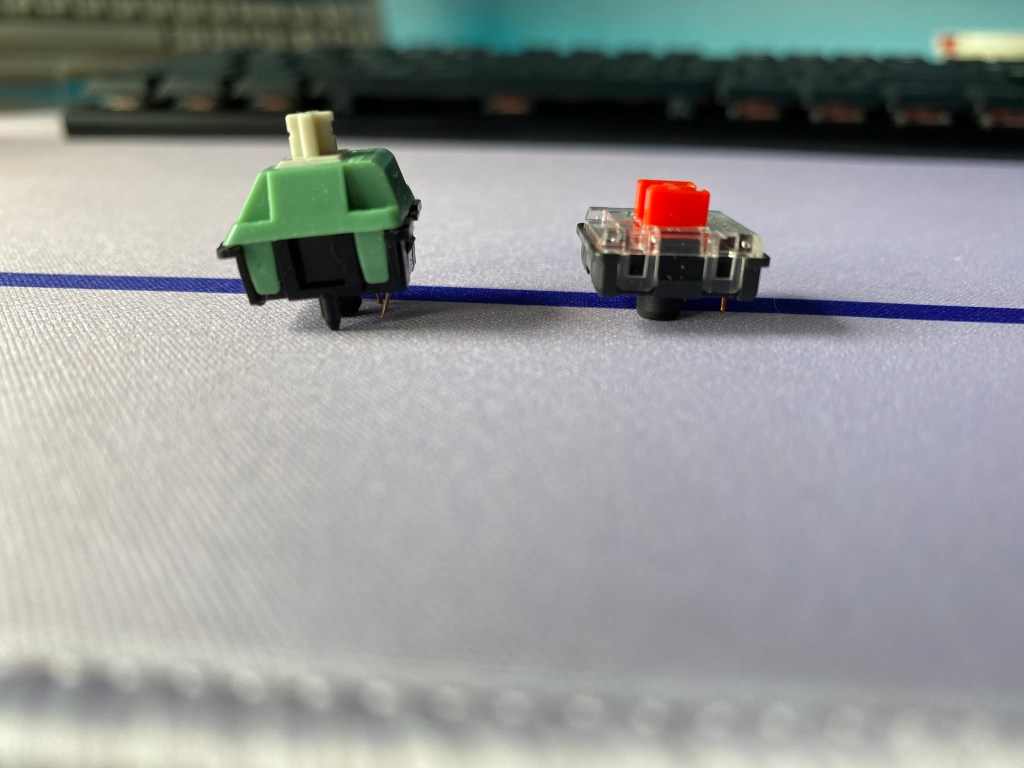
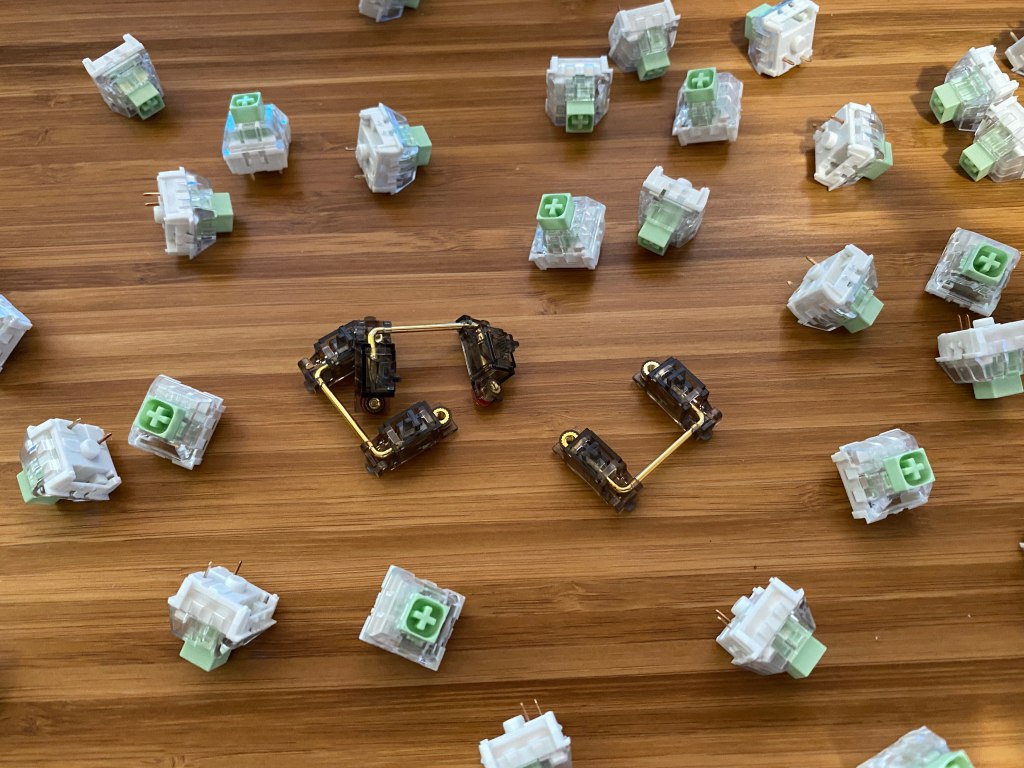
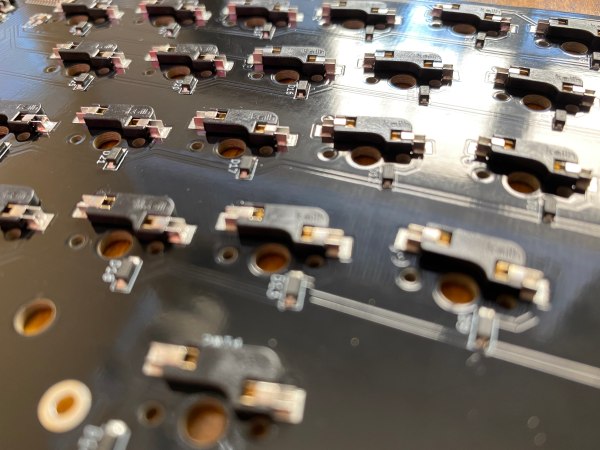
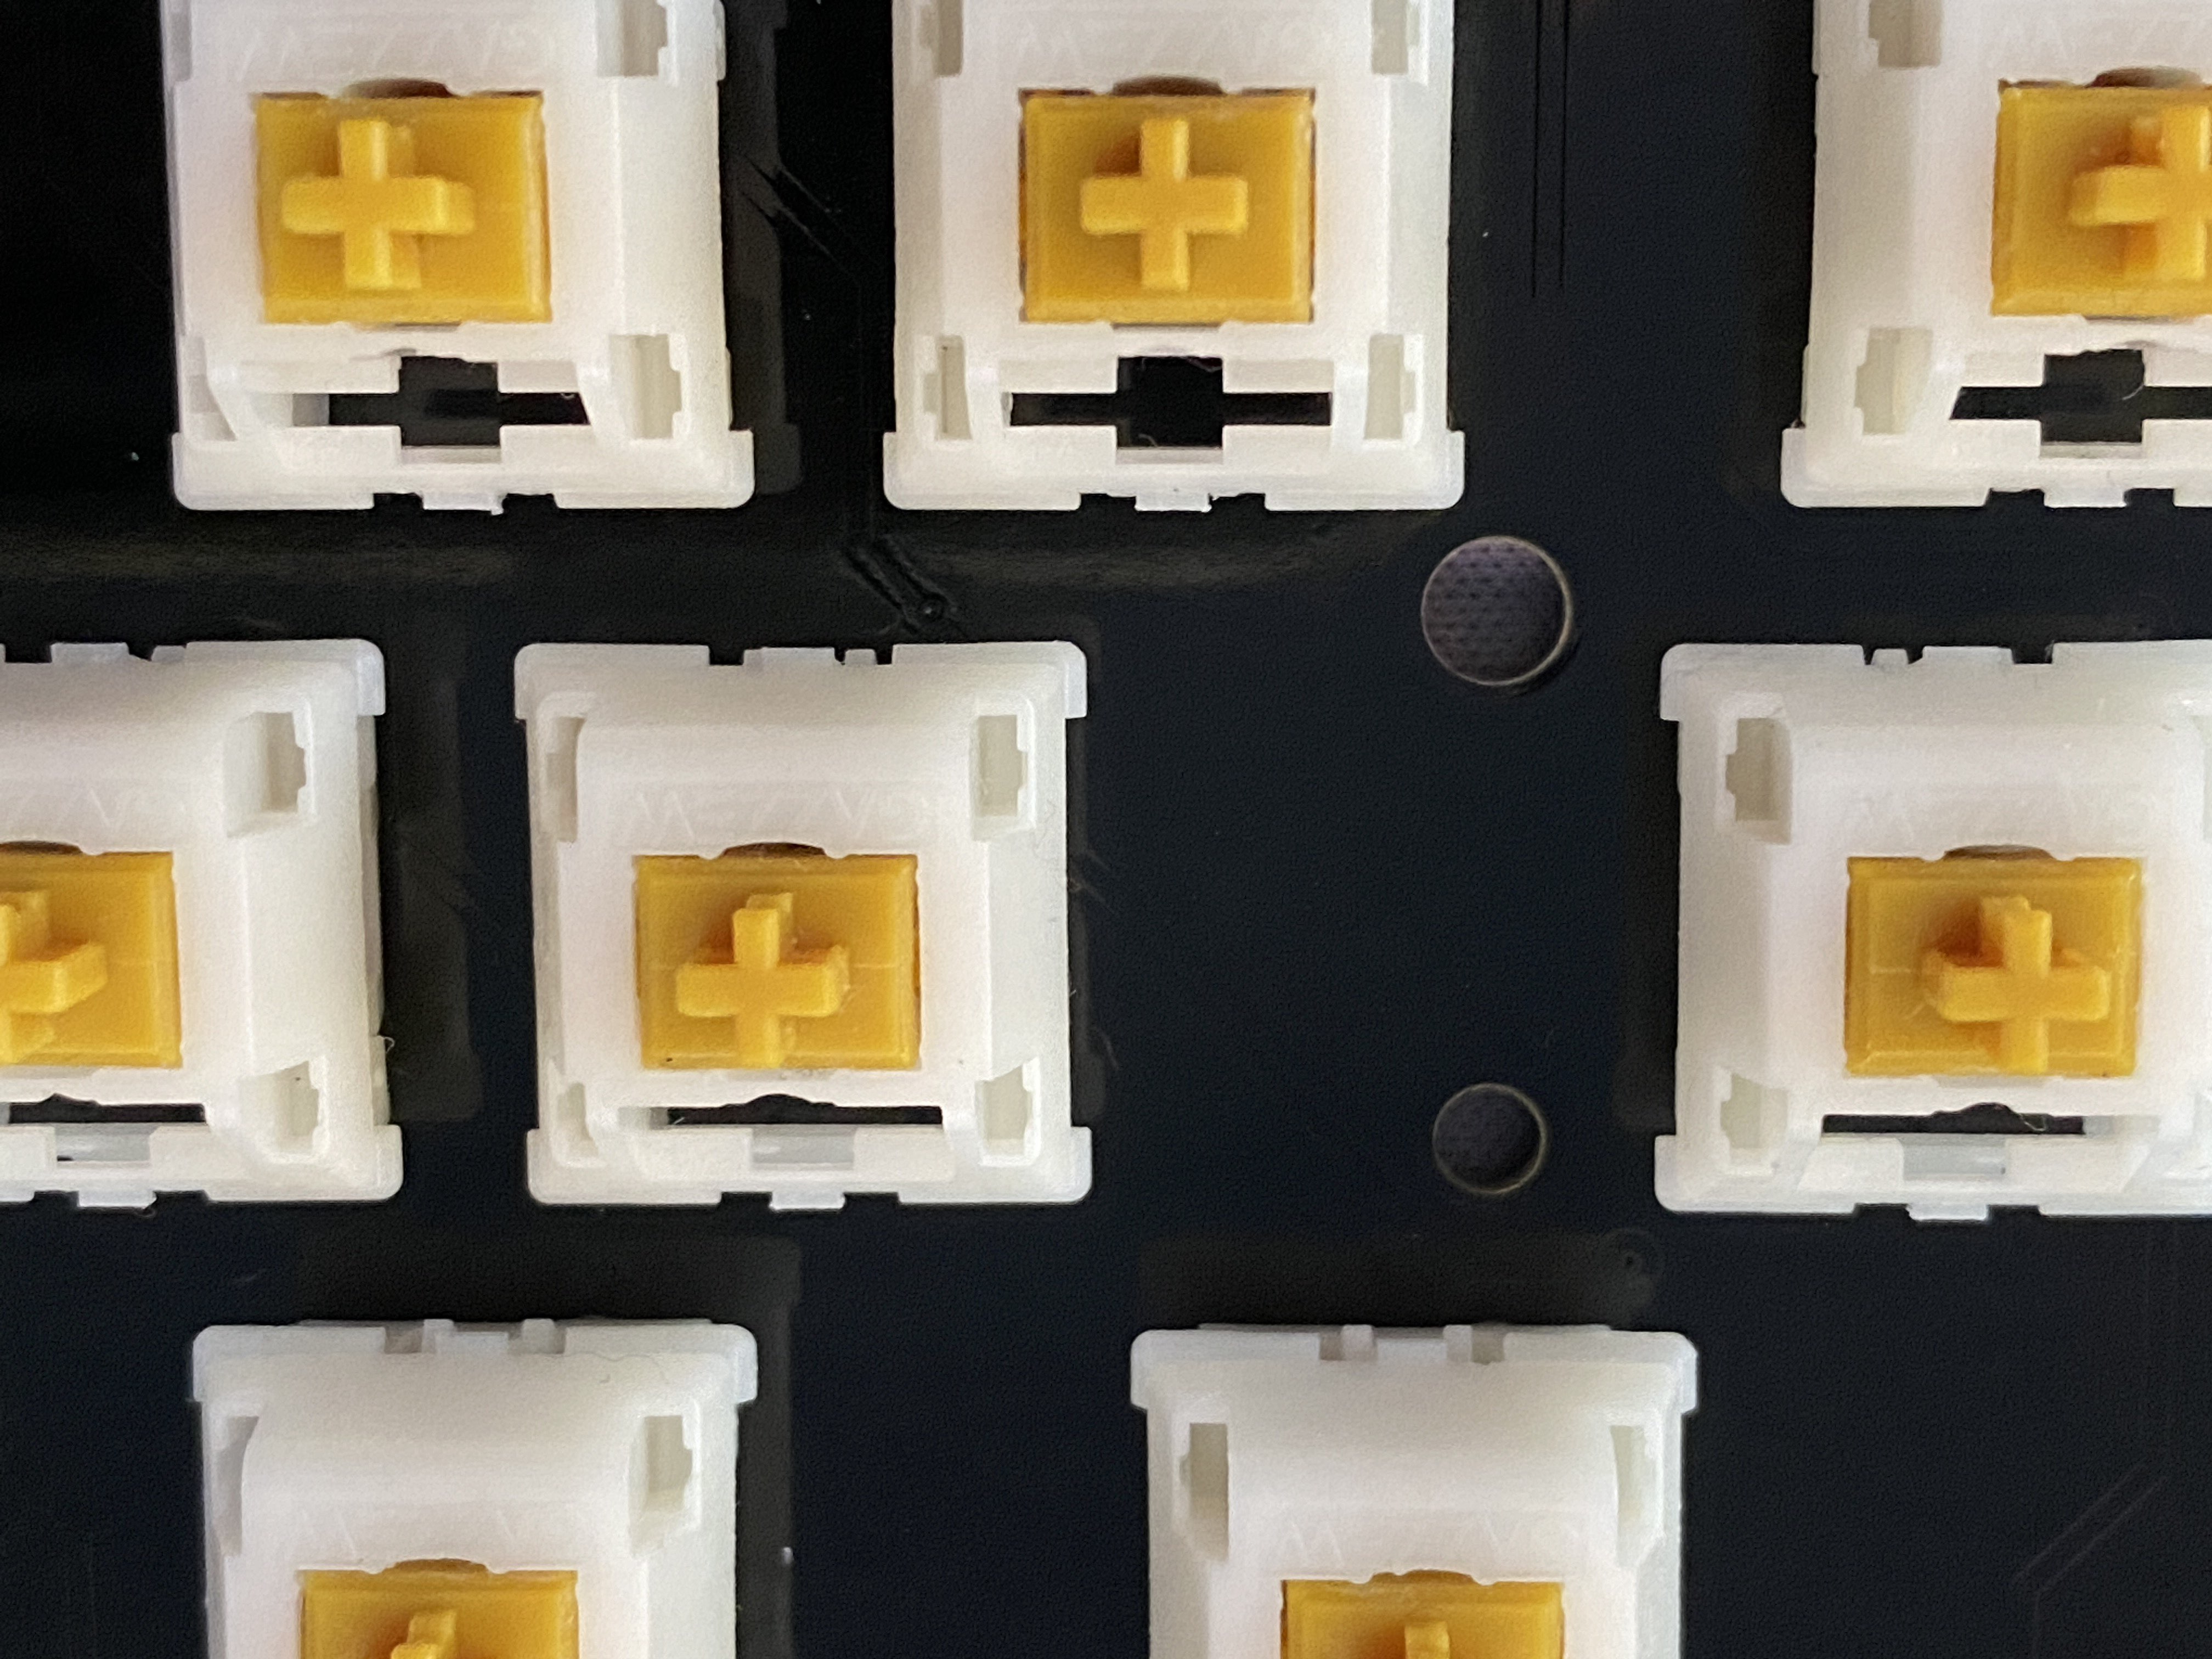
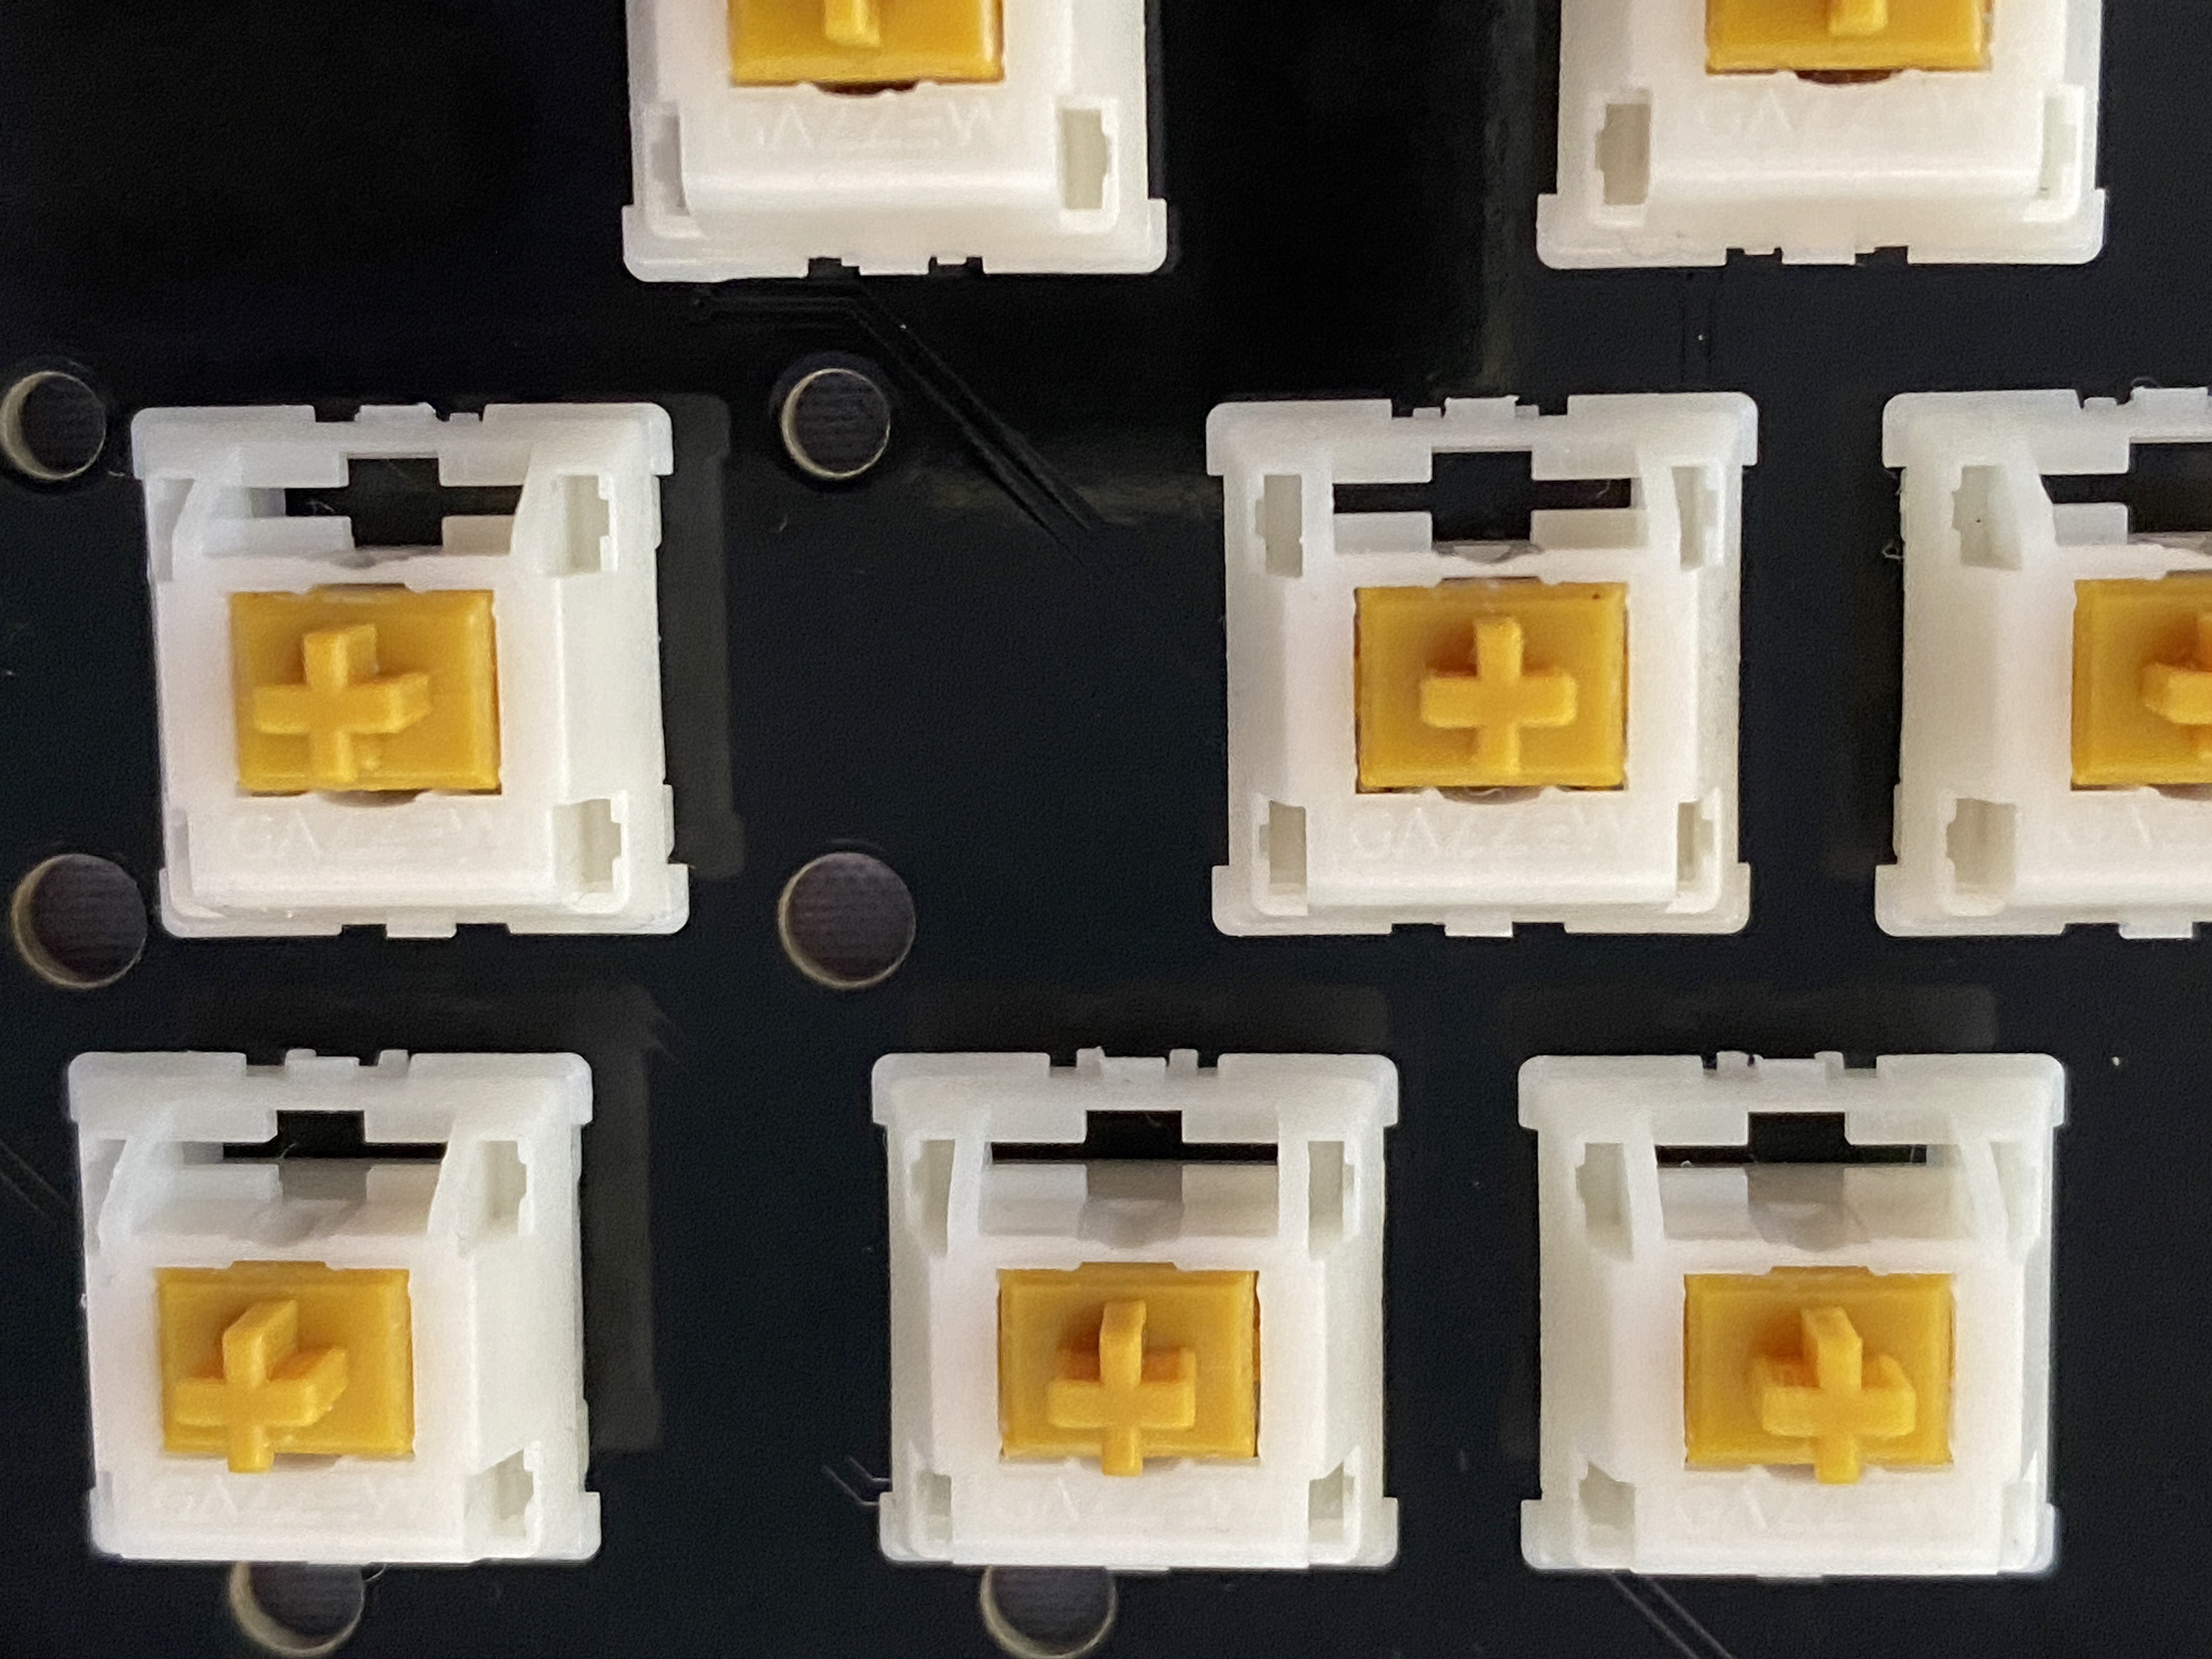
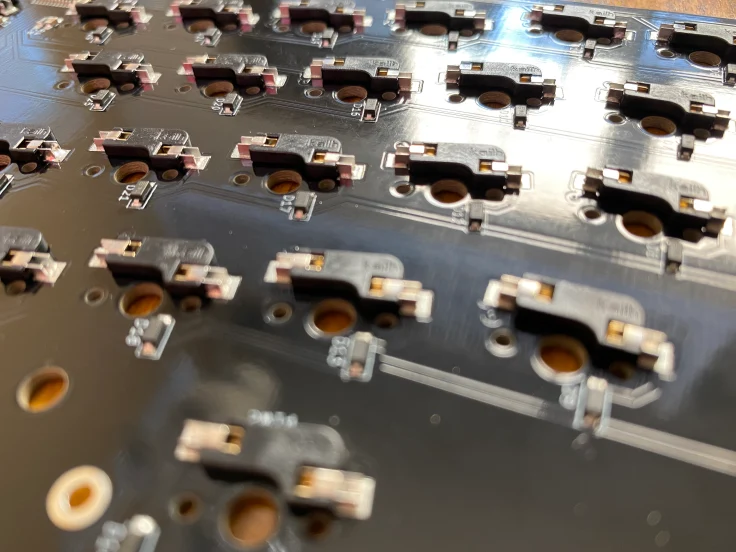
Leaf: The metal contacts in a switch. The leaf actually is responsible for actually actuating the switch. The leaf is in the bottom housing as the picture shows.
Ping / Spring Ping / Leaf Ping: This is a metallic reverb produced by the sound of the spring, leaf, or both. In most cases, it can be fixed by lube.
Disclaimer… Please Read!
This review is largely preference, my rankings will likely be very different from yours. Do not base your opinions solely based on mine. Use this guide to gain a general understanding of the switch and where enthusiasts like me stand on these switches. Guides like this, sound tests, and opinions of content creators like Teaha Types are good ways to find switches that you believe are interesting and worth trying. Ultimately we recommend you to just hit up your local vendor and buy a pack of whatever switch your fingers and ears desire to try out. That way you can find the best switch for you.
1. Durock POM Linear: The Best Long Pole Linear
Durock’s POM linears initially lit up the keyboard market with their interesting sound produced by the long pole stem. Like many popular tactiles such as Drop’s Holy Pandas or Boba U4Ts, the POM linears feature a longer than usual stem which changes how the switch sounds when bottoming out.
The POM linears can be described as having a clacky sound profile but the long pole stem exaggerates this sound by making it sharper and slightly louder than a normal linear bottoming out. Stock these switches are quite smooth but lubed they become one of the best switches on the market. Their smoothness lines up with the performance of many other high-end switches produced by JWK.
We do recommend lubing your POM linears for the best sound and feel but filming is not necessary as the housings are already nice and tight.
Due to the unique and pleasant sound profile paired with the silky smooth travel these switches definitely take the number one spot on our list. They are a top option to consider if you are looking for a long pole linear.
2. KTT Strawberry: Poppy, Smooth, and Great Value
KTT’s Strawberries are one of KTT’s offerings as a high-end switch. At around 40 cents per switch, their price puts them in the mid to low-end range of switches in terms of price. However, this switch outperforms its price point by delivering what we would consider to be one of if not the best-valued linear switches on the market.
The KTT Strawberries are one of the smoothest stock switches out there right now as they are prelubed and when lubed they still deliver an experience to many of the other top switches on this list that are as much as double the price. They are not as smooth as Tangerines but when lubed they are able to even outperform popular options such as Ink Blacks.
As for sound, they are similar to the rest of KTT’s linear lineup with a nice poppy sound that is enjoyed by many enthusiasts and content creators. Their clean and not overly thin-sounding clack makes them a satisfying option if you are sick of the thock hype train and you want to try something a bit different.
Like the KTT Roses, the Strawberries come with a 63.5g progressive spring. This is especially enjoyable if you like light initial force when pressing down your switch. Neither lubing nor filming is required with these switches as their housings are quite solid and they are already prelubed. If you do want a slightly deeper sound and smoother travel though, lubing with a thinner lube like Tribosys 3204 over the stem is a good way to improve the experience.
The Strawberries take the number two spot on this list for being a solid option without breaking the bank. Despite being so cheap their combination with carbon fiber plates has made for one of my favorite keyboard configurations out there.
3. Gateron Ink Black V2: Heavy Weight with Thock
Gateron Ink Black V2s are arguably Gateron’s most popular switch. They are on the heavier side with a 60g actuation and a 70g bottom out. Like most linears they actuate at 2mm with a total travel of 4mm. They do not come prelubed and stock are decently scratchy for the price. However, when lubed they provide their popular thocky sound signature.
We do recommend lubing these switches as stock you don’t really get to experience the Inks’ potential. Filming is also recommended but the switches are not terribly loose without films.
Ink Blacks take the number three spot on this list because they do provide a nice deep sound but there are many switches that provide better smoothness.
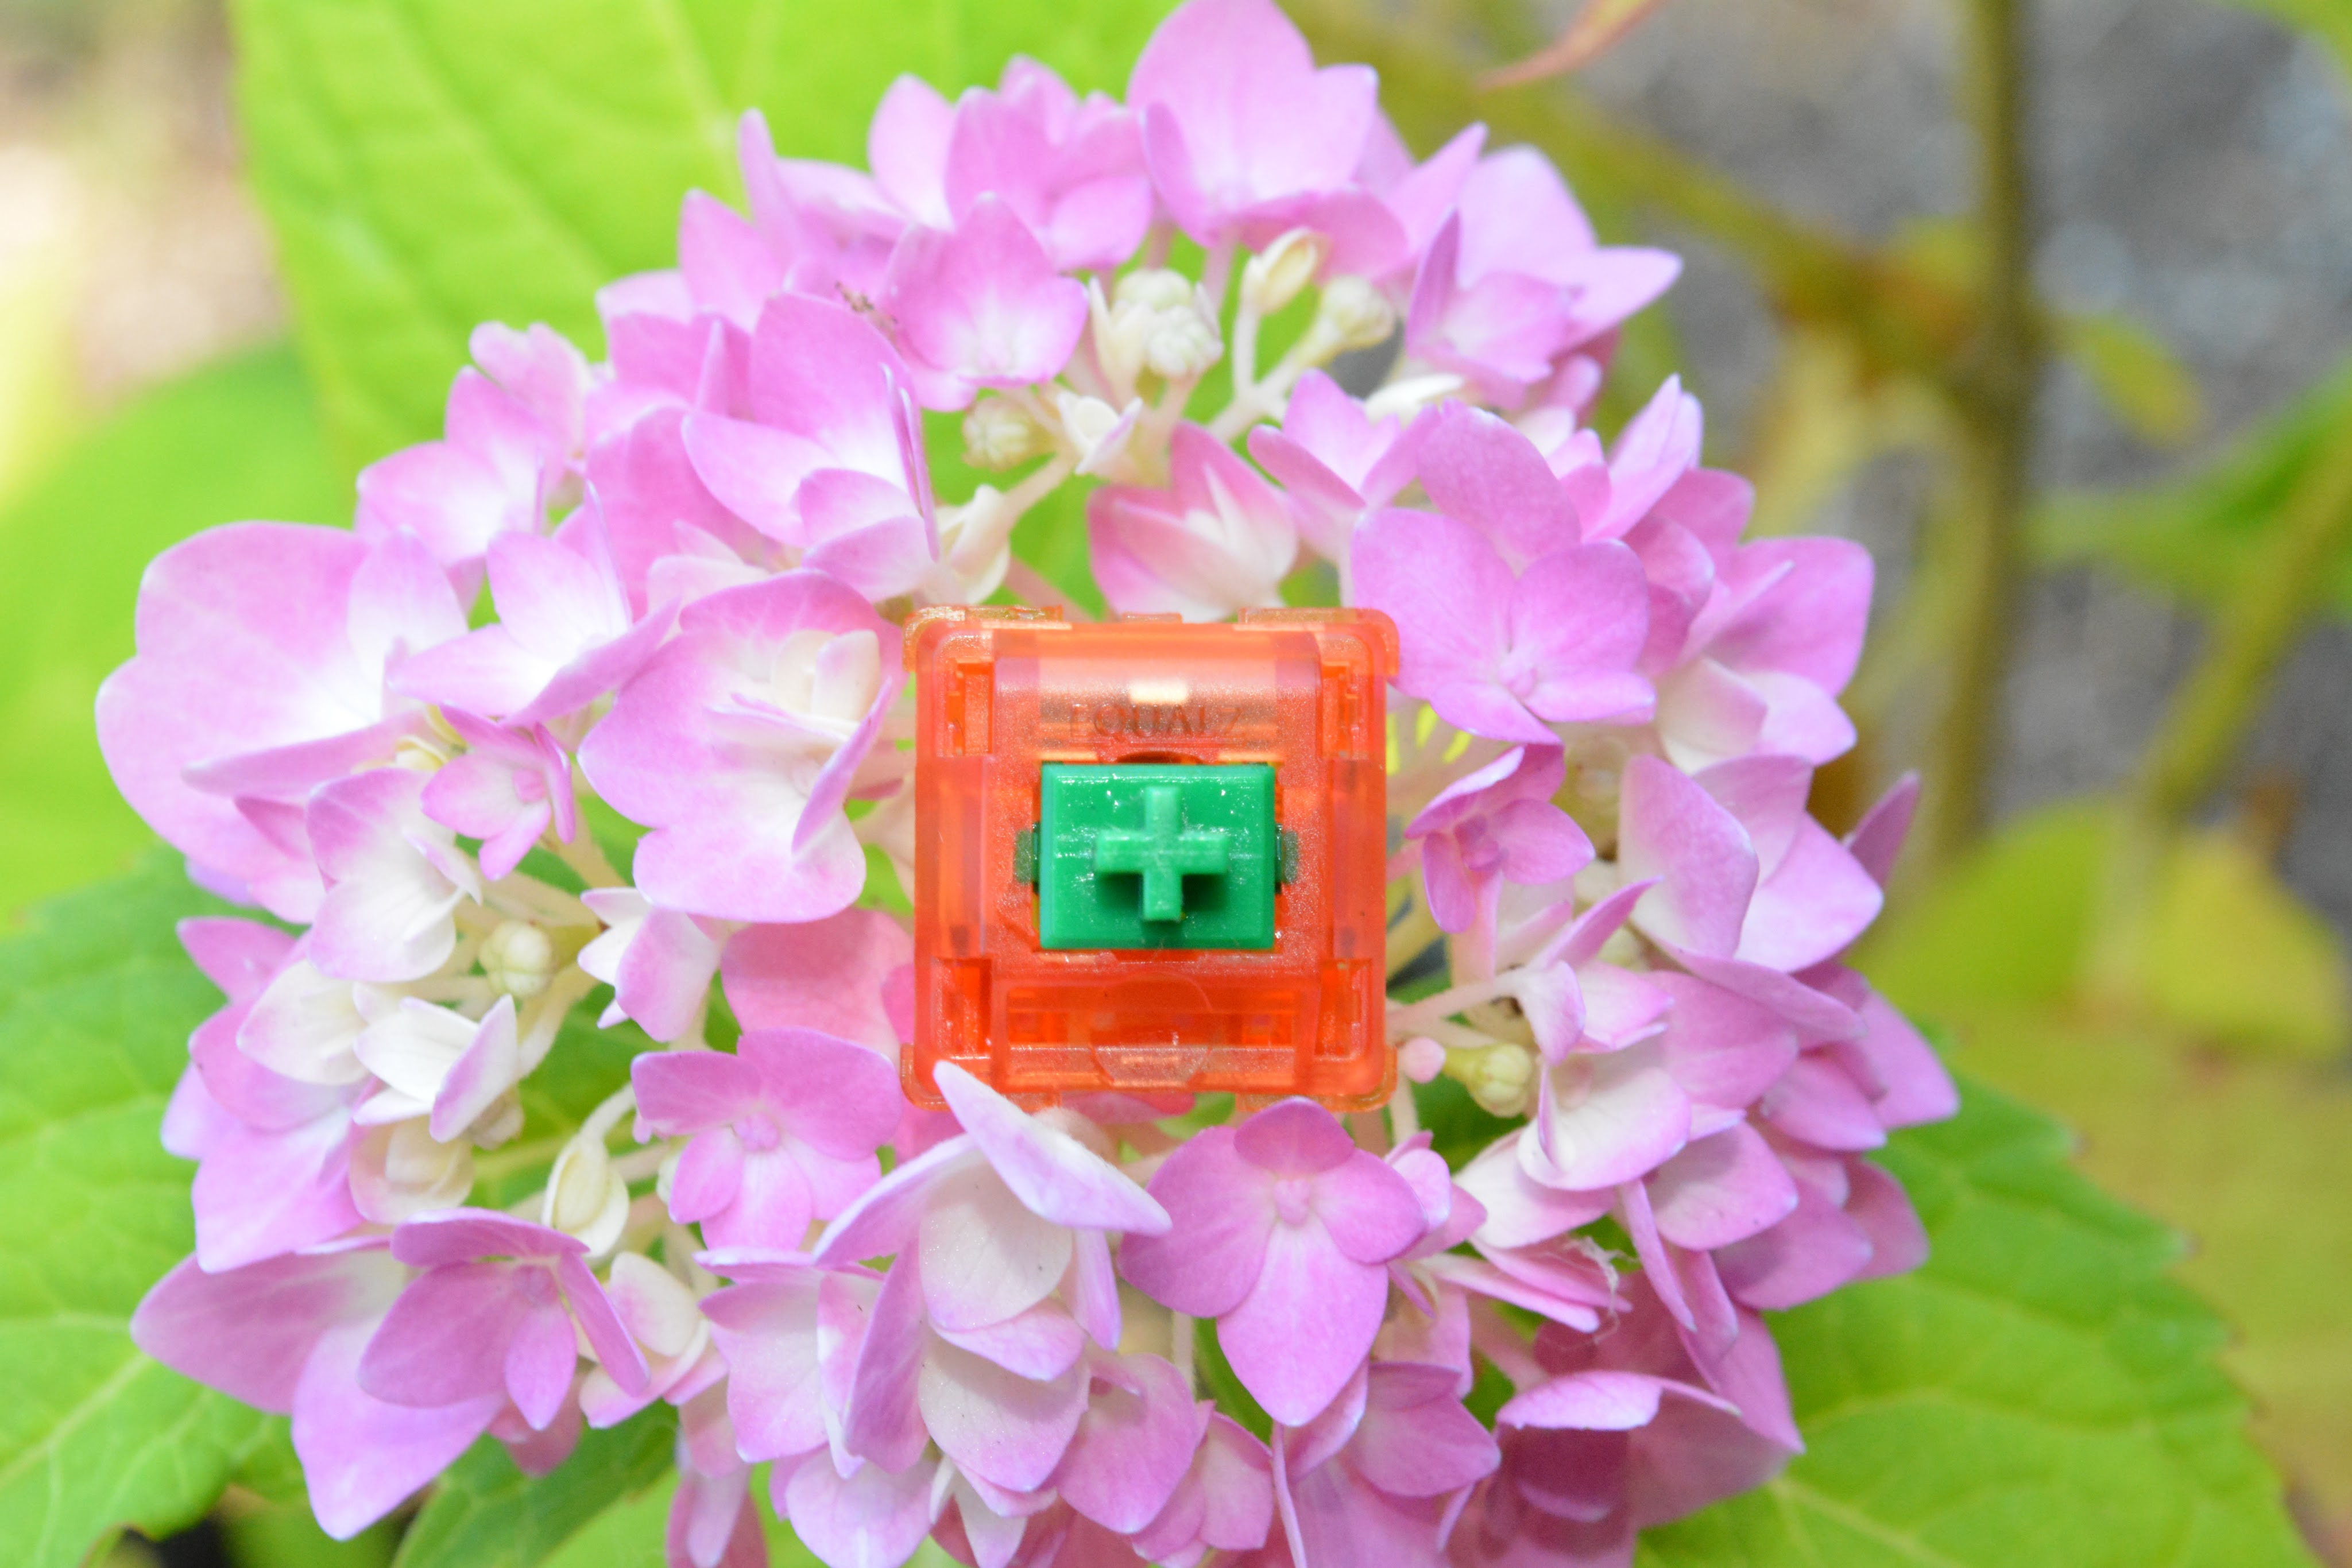
4. C3 Equalz x TKC Banana Splits: Good Looking, Good Sounding

The Banana Splits are amazing. They are produced by both TKC and C3 Equalz adding to their fruit switch lineup with other popular options such as Tangerines, Kiwis, and Dragonfruits. They feature a hyper smooth experience and nice creamy yet clacky sound that is enjoyed by many keyboard enthusiasts. Banana Splits sound especially good on spacebars. Not to mention they also have a creative colorway.
TKC’s Banana Splits feature the typical 2mm actuation point and 4mm bottom out. They have no long stem action and come with only a 62g weight option. Banana Splits do not require filming but lubing really brings out the best in these switches.
They take the fourth place spot on our list because despite having a popular sound and a great feel they are not super accessible, are costly, and there are still a few other switch options that I like a little more.
5. Bobagums: The Best Silent Linear
Gazzew’s Bobagum linears took inspiration from the Boba U4s, which are top-tier silent tactiles. Bobagums come in both 62g and 68g spring variations. They also feature great silencing ability and an incredibly smooth travel.
Lubing these switches is always recommended but filming is not as housings may struggle to close with many types of film since they are already so tight.
These switches are perfect for a work or school keyboard. So if you want a mechanical keyboard experience without disturbing the people around you, the Bobagums could be the right choice for you.
6. Gateron Milky Yellow: Thock on a Budget
Despite being on the market for many years at this point, Gateron’s Milky Yellows are still considered the king of budget switches. Coming in at only 23 cents per switch they deliver a sound that competes with switches three times the cost and only sacrifices a bit on the smoothness. They have a pleasant thocky sound and feature quite a smooth travel after lubing and filming. Milky Yellows weigh in at about 50g actuation and 60g bottom out.
Gateron’s “Yellow” switches come in many forms and revisions but the black bottom and milky top housings are regarded by many as the best configuration. This configuration provides the best smoothness and a creamy, deep sound that is loved by many keyboard enthusiasts.
Do lube and film these, as without they are quite scratchy and the housings are pretty wobbly stock.
7. KTT Roses: Poppy on a Budget
While not quite as cheap as Milky Yellows, KTT Roses deliver a lower-pitched clack at the low price of about 27 cents a switch. Roses can be decently smooth after being lubed and are better than most budget switches which are often still quite scratchy even after being lubed. KTT Roses have a standard 4mm total travel with a 63.5g progressive spring. This spring is liked by many because of the initially light force of the progressive spring.
If you have a bit more room in your budget and you would like a switch that provides a higher pitched sound than Milky Yellows then Roses might be the option for you. If you would still like a switch with the same sound profile but a lighter spring, KTT also offers recolors in their Grapefruit, Peach, and Sea Salt Lemon switches. They still offer the same housing and stem materials as well as a progressive spring.
Lubing these switches is recommended as they are not prelubed like KTT’s Strawberries. After lubing them their performance reaches a similar level as the Strawberries with a slightly lower pitched sound. You can film them but it is not required.
8. PrimeKB Alpacas V2s: The King of Clack
The Alpacas are arguably the most popular of JWK’s recolors following famous designer Minterly’s Bliss colorway. They feature asmooth travel and a lower-pitched clack. Essentially you won’t get the same thock as Milky Yellows or Black Ink Blacks but Alpacas are also lower pitched than Tangerines. They feature JWK’s gold-plated 62g springs making Alpacas have a nice medium spring weight.
These switches do not need lube or films as they do come pre-lubed with a slight layer of oil and they have pretty tight housings. Lubing these switches can definitely bring out a smoother feel and creamier sound if you are willing to take the time.
Note that the latest V2 Alpacas were tested. The previous iteration for this switch had quite loose housings but that has since been fixed. All official sellers of Alpacas sell the V2 Alpacas but if you are buying or buying a recolor, make sure you are getting a switch with the V2 molds.
Despite being considered such a great switch they sit at our number eight spot because the JWK recolors are all the same and aren’t considered super interesting.
9. C3 Equalz x TKC Tangerine: Smoothest Stock Switch
When the Tangerines first came out in late 2020 they shocked the keyboard community for being arguably the smoothest keyboard switch available. Today TKC’s Tangerines are still considered one of the smoothest linears. They feature a standard 2mm actuation with a 4mm bottom out. They are also offered with either a 62g or 67g spring with a light green or dark green stem respectively.
Although the Tangerines are incredibly smooth, the sound profile is considered by many to be boring and flat. This doesn’t make Tangerines a bad switch by any means, especially because sound preference is subjective. However the other switches on this list I have found to still have a similar level of smoothness and as well as more interesting sound profiles. If you do find that you find that the sound of Tangies suits your preferences then it is certainly a fantastic linear switch to consider.
These switches are fantastic stock because they are pre-lubed but if you would like a more creamy sound then lubing could improve the sound. Lubing with a thinner lube like Tribosys 3204 is recommended as Krytox 205g0 may be too thick. Tangerines do benefit from filming but it is not completely necessary.
10. Vintage Cherry MX Blacks: A Classic
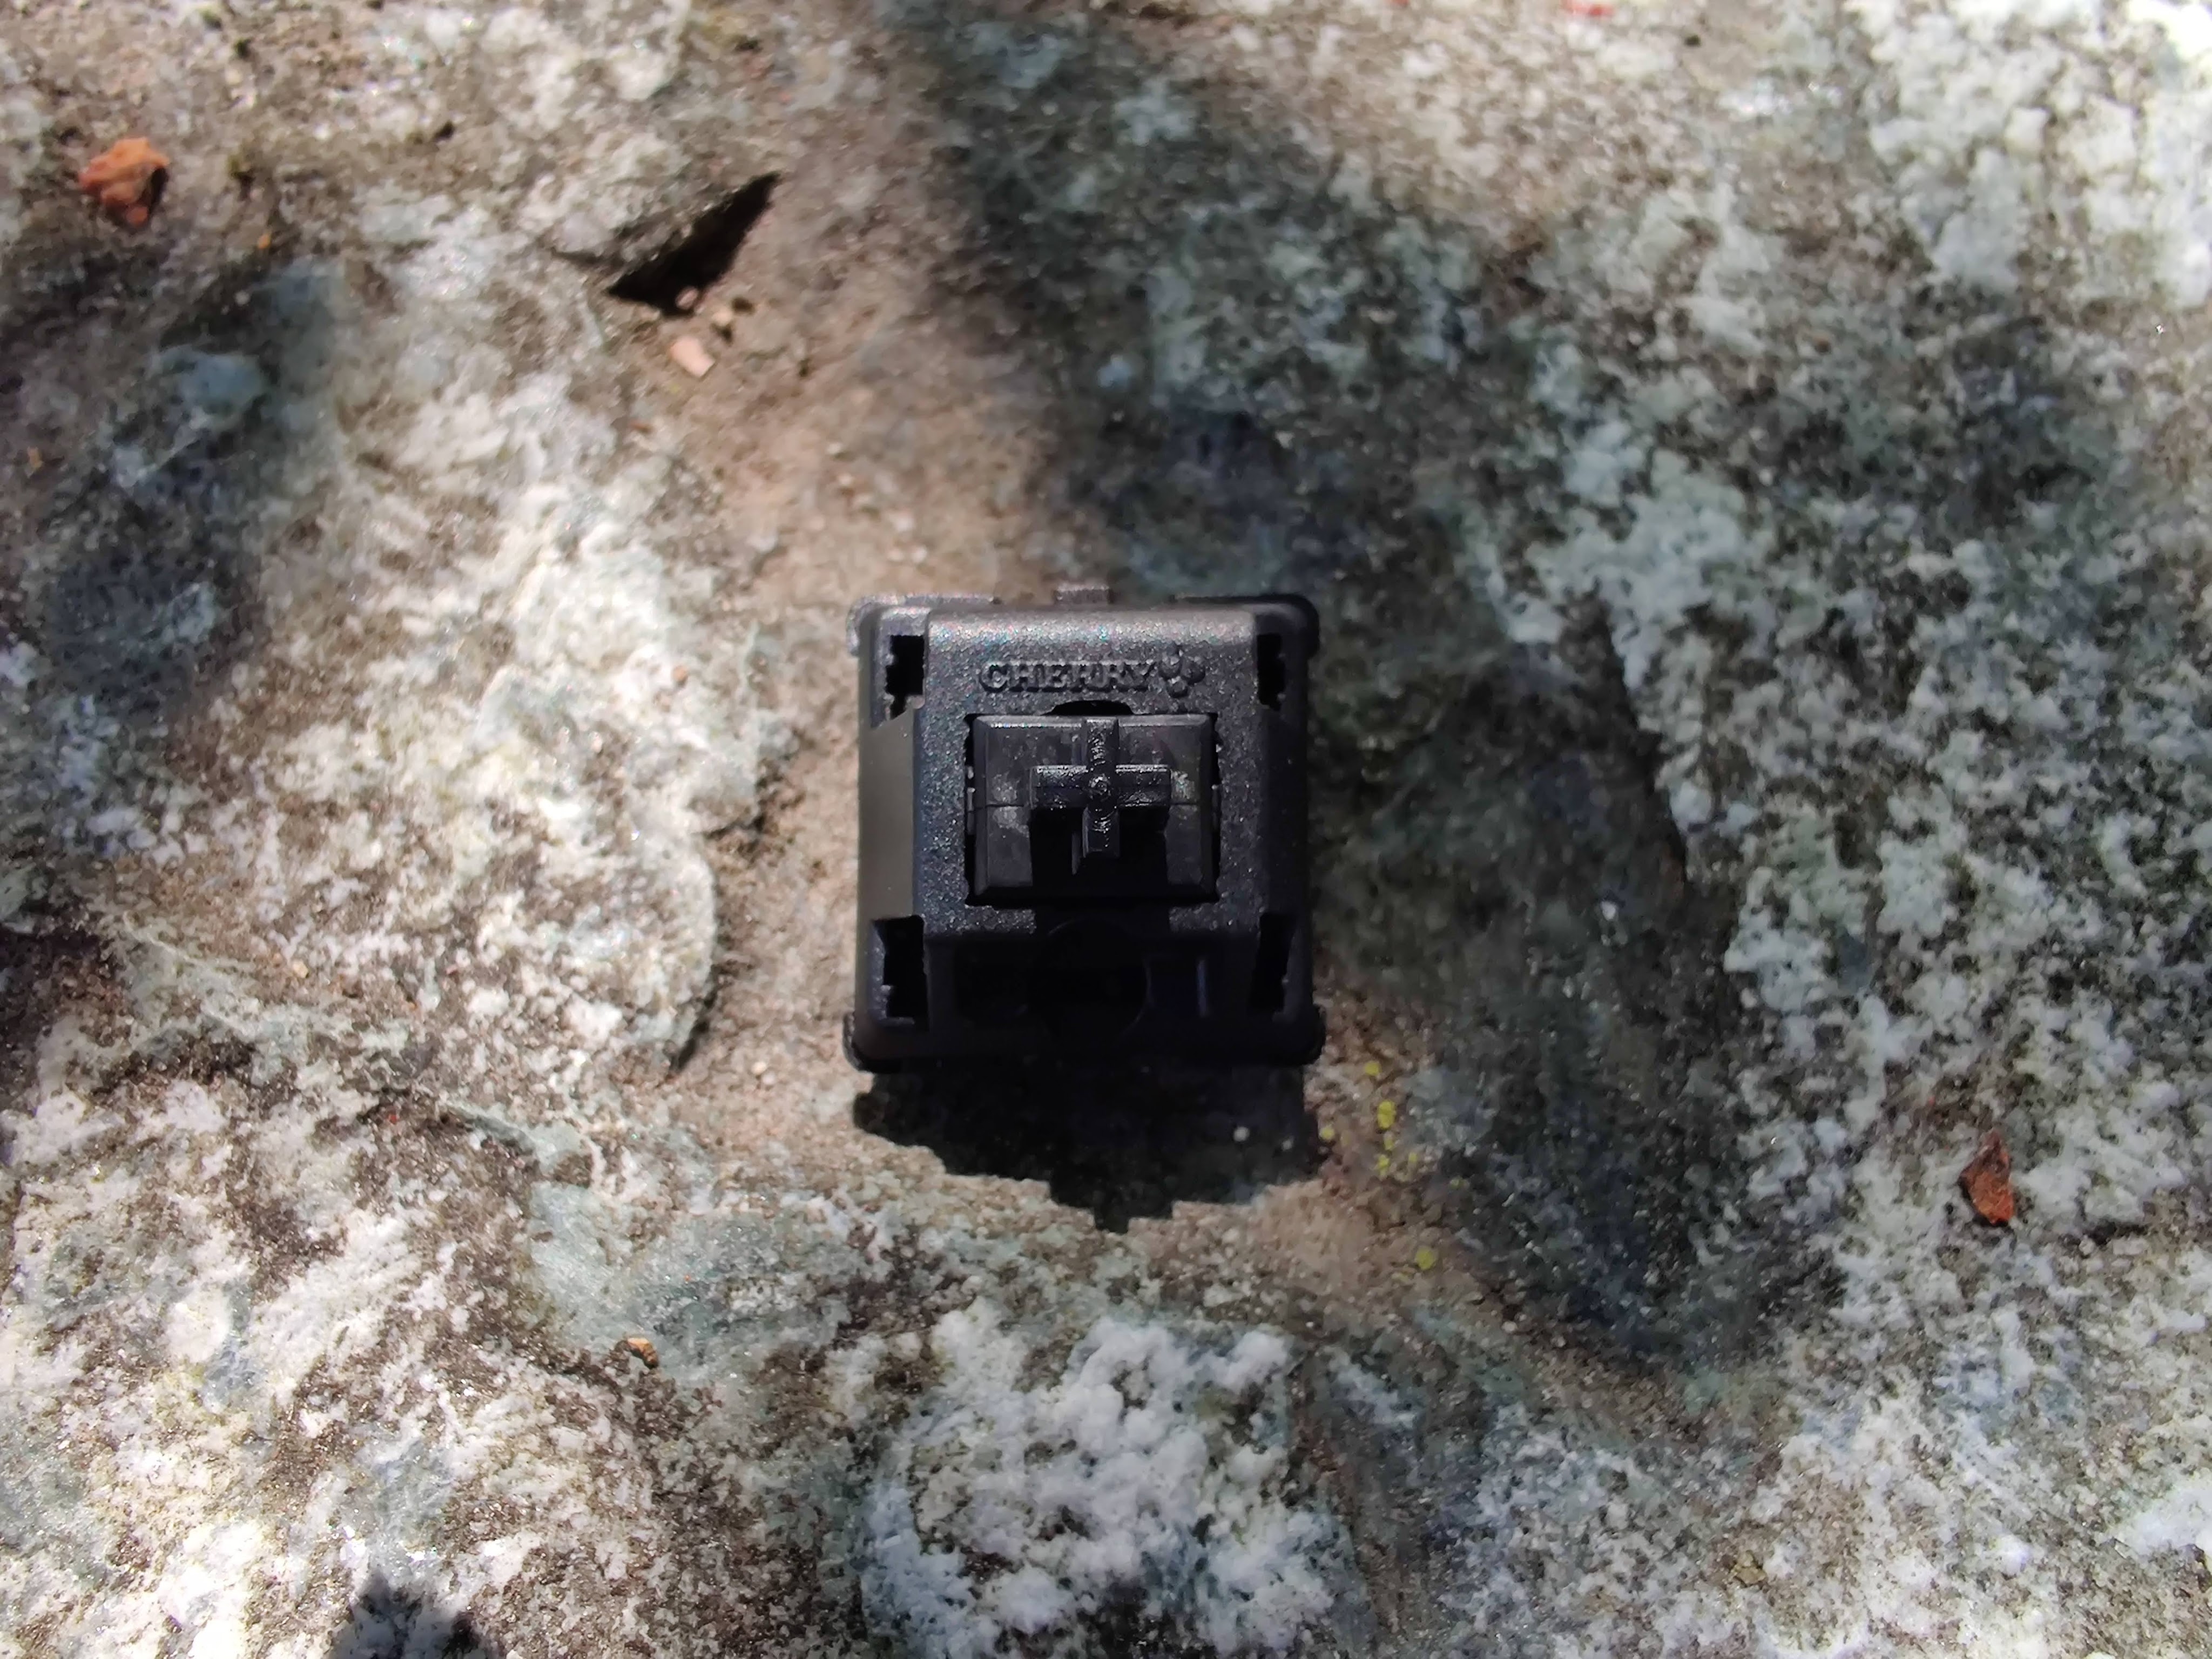
Chances are if you have even the slightest experience in this hobby you have heard of Cherry’s lineup and cherry MX Blacks. These switches are those exact things, except old. When a switch is made a mold is used to cast the plastic, so these switches use an older mold which was known to be very smooth. This paired with cherry’s magically sounding amazing housings made the holy grail of linears.
Now if there so good why aren’t they number 1? Because these switches are very hard to come by, for starters it is near impossible to get these switches through a commercial vendor like NovelKeys, Cannonkeys, etc. Second, in most cases these switches must be removed from an old keyboard (like really old) and then cleaned and sold via mechmarket or something like that. That being said, these switches follow the standard Cherry MX Black weighting which is about 60g operating and 80g bottom out.
These switches do need lube but filming is hit or miss since they have nice and tight housings from the factory.
If you really want this typing experience but you are unable to find Vintage MX Blacks or you just don’t want to pay that much for a used switch you can also use machine broken in switches like RNKBD’s Cherry MX Black Ultraglides. Machine broken in switches are able to simulate a similar level of smoothness as vintage MX Blacks which have been naturally broken in over time.
Conclusion
All these switches are great choices for any linear build. Some switches that weren’t included which are also great are most JWK manufactured linears such as the Durock L Series, Halu Halos, H1s as well as Tealios, KTT, and TTC switches. If you want to hear some sound tests to better make a decision check out my YouTube channel for some sound tests.
If you want to try or buy any of these switches then a great place to start is by looking at your local vendor. Take a look at our vendor list. A compilation of tons of keyboard vendors sorted by region.
If you enjoyed this article and you want to talk more about tech then consider joining our Discord!


You must be logged in to post a comment.